BRAKELIGHT Failure Sensor
- Ensure brakelights illuminate when brake pedal is depressed. If one bulb does not illuminate, check bulb condition. Repair as necessary and recheck. If all brakelights illuminate, go to next step. If brakelights do not illuminate, check brakelight system. See appropriate wiring diagram in
EXTERIOR LIGHTS article.
- Open trunk. Remove left inside trunk panel to gain access to brakelight failure sensor. Turn ignition switch to OFF position. Disconnect brakelight failure sensor 6-pin connector. Start engine and let idle. BRAKE LAMP indicator should not illuminate. If BRAKE LAMP indicator illuminates and does not go out, check for a short to ground in White/Green wire between BRAKE LAMP indicator and brakelight failure sensor. See WIRING DIAGRAMS
. If White/Green wire is okay, replace printed circuit board in instrument cluster. If BRAKE LAMP indicator illuminates and goes out, go to next step.
- Connect failure sensor 6-pin connector. See Fig 1
. Using a fused jumper wire, backprobe between ground and terminal No. 3 (Black wire) of brakelight failure sensor 6-pin harness connector. Turn ignition switch to ON position. Depress brake pedal. If BRAKE LAMP indicator illuminates, replace brakelight failure sensor. If BRAKE LAMP indicator illuminates and then goes out, check for open or poor ground in Black wire between brakelight failure sensor and ground at left rear corner of trunk. See WIRING DIAGRAMS
.
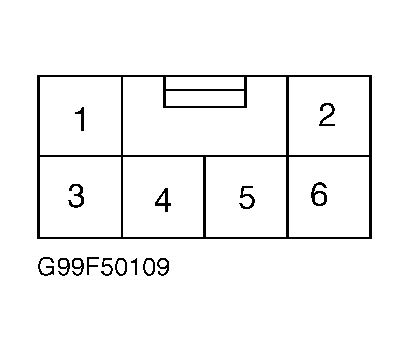 Courtesy of AMERICAN HONDA MOTOR CO., INC.