Fuel Tank: Installation
- Install primary fuel pump/sender assembly, secondary fuel pump/sender assembly and fuel tank pressure sensor if replacing just the fuel tank.
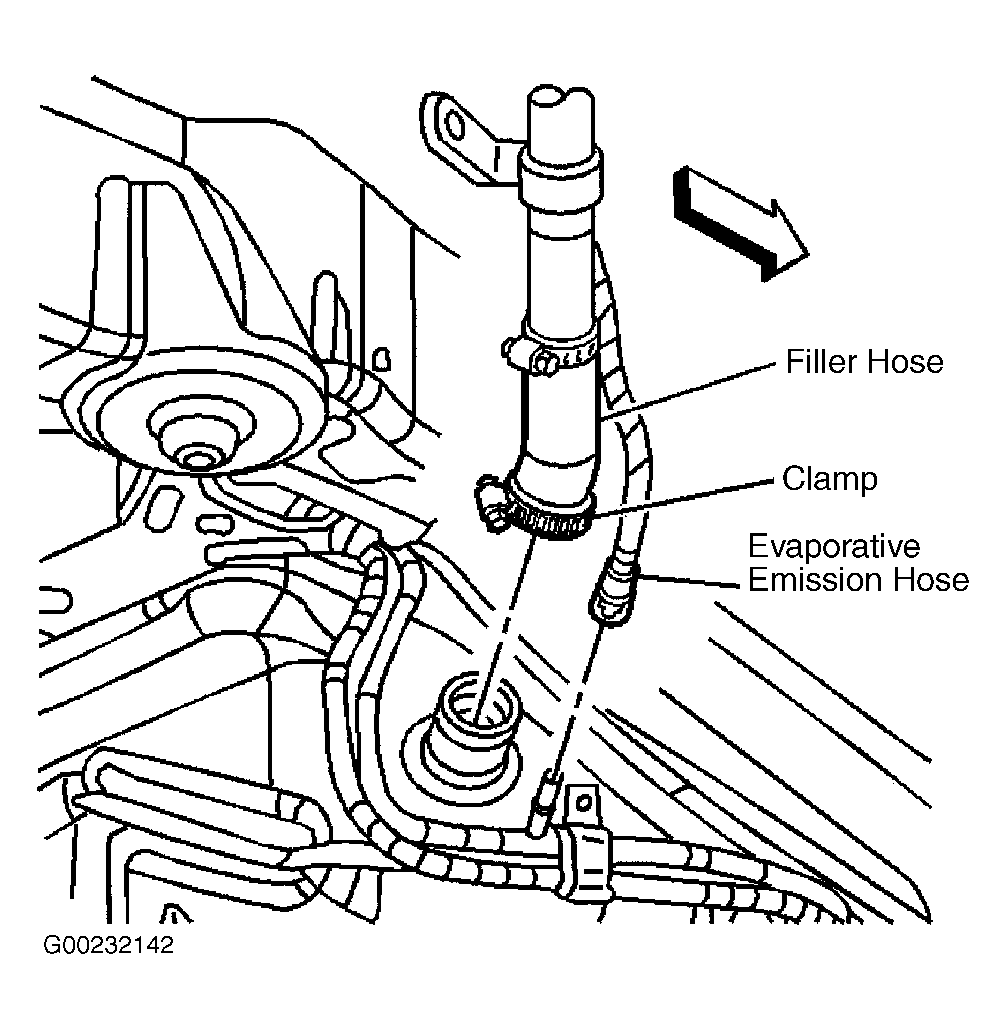
- Ensure fuel tank wiring harness, EVAP wiring harness, EVAP hoses at the EVAP and fuel/EVAP hoses at the chassis pipes are properly routed while raising the fuel tank. With the aid of an assistant, carefully raise fuel tank to vehicle, aligning filler neck with filler hose.
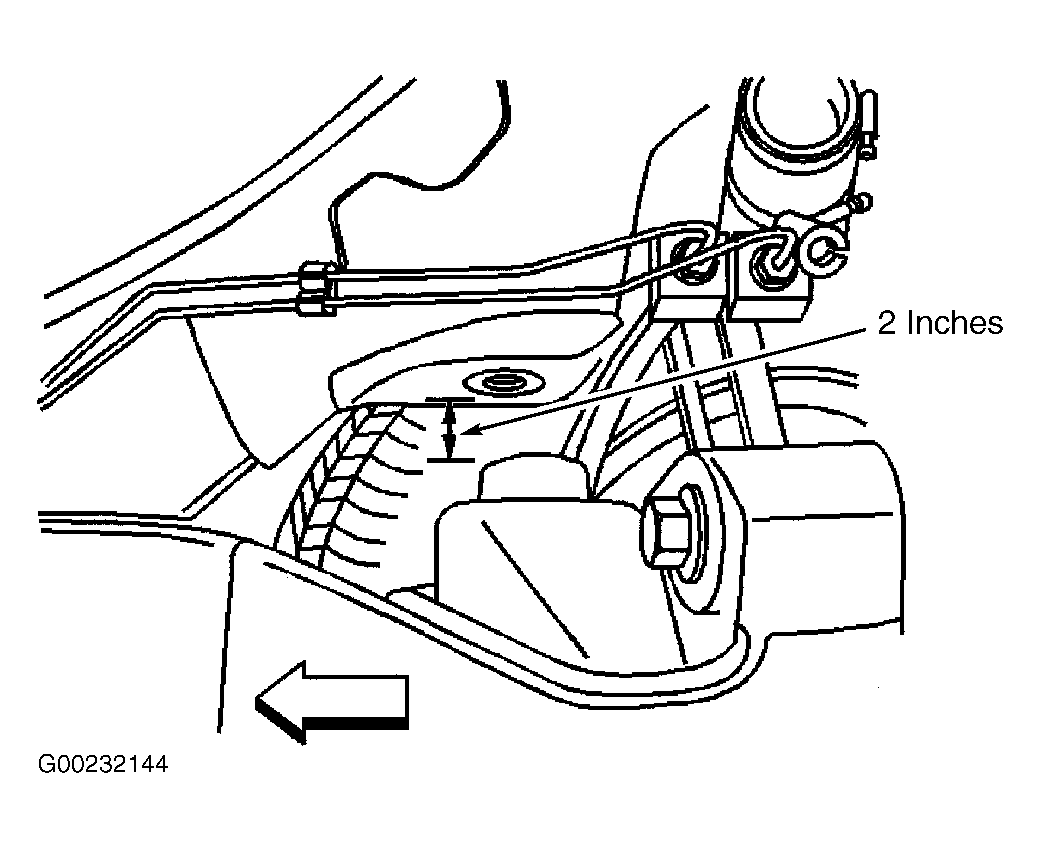
- Ensure fuel tank straps are not pressed into fuel tank. Carefully bend fuel tank straps back to their original form. See Fig 6
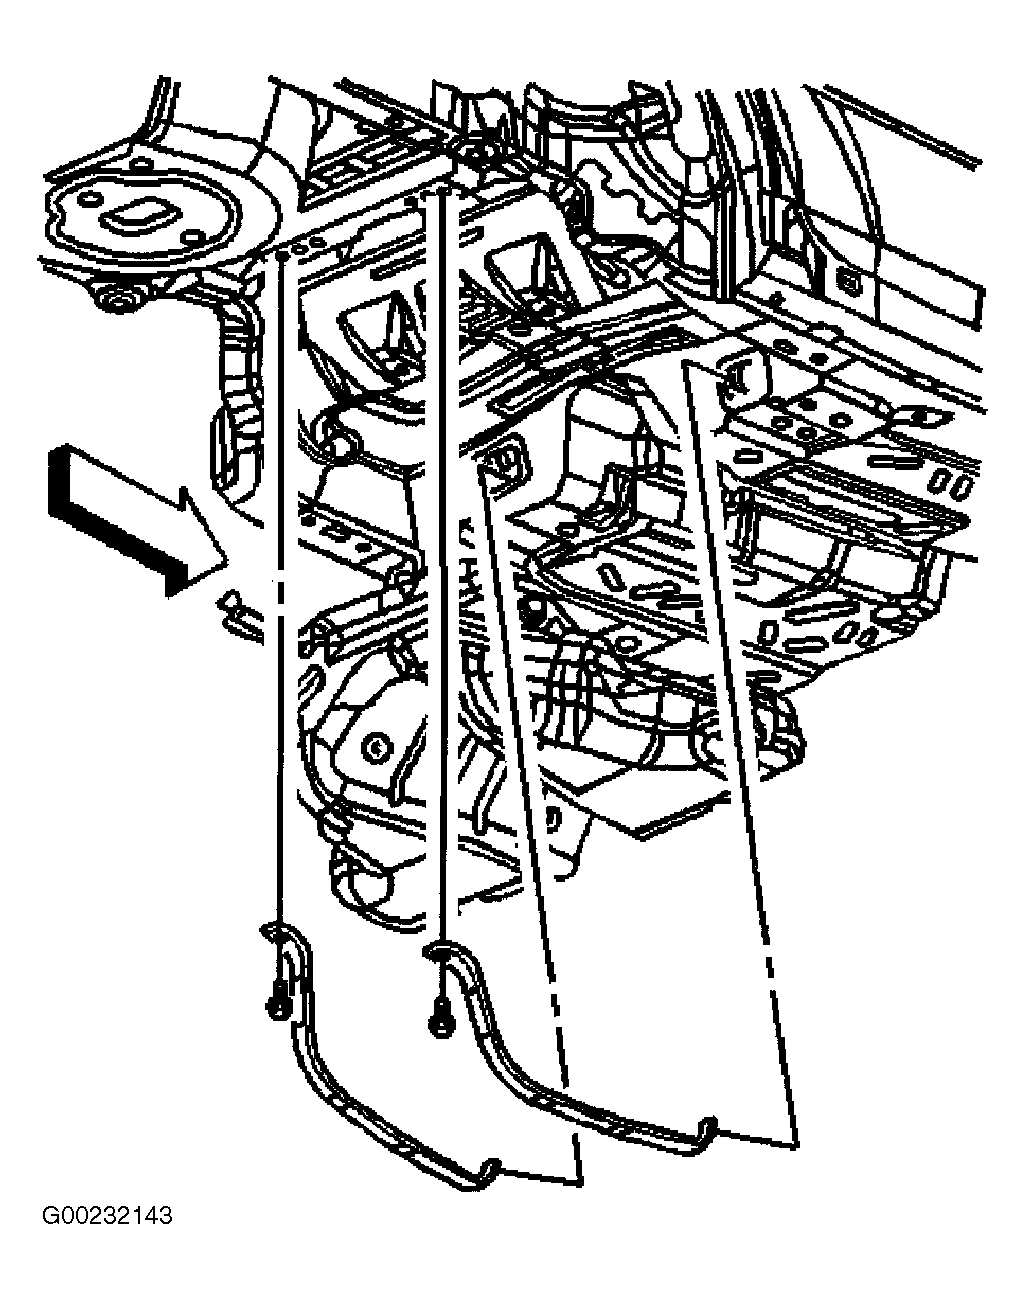
. Position fuel tank straps around rear frame and upward into position, aligning holes in straps with threaded holes in chassis.
- Install fuel tank strap bolts. Tighten fuel tank strap bolts to specification. See TORQUE SPECIFICATIONS
. Connect filler hose to fuel tank. Tighten fuel filler tube hose clamp to specification.
- Connect filler vent tube to EVAP hose. See FUEL LINE DISCONNECT FITTINGS
.
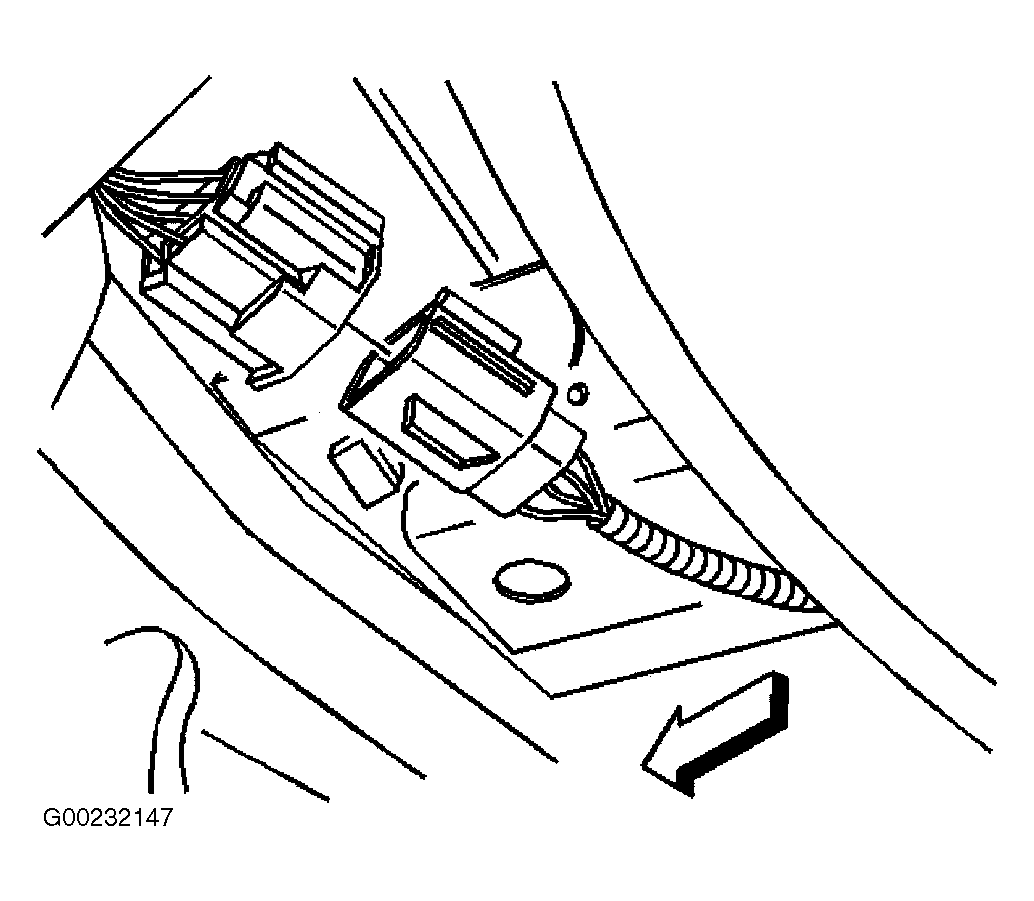
- Connect EVAP hoses to EVAP canister. Insert retainer into chassis and press inward on tab to engage. Connect electrical connector to EVAP canister. Connect fuel tank electrical connector.
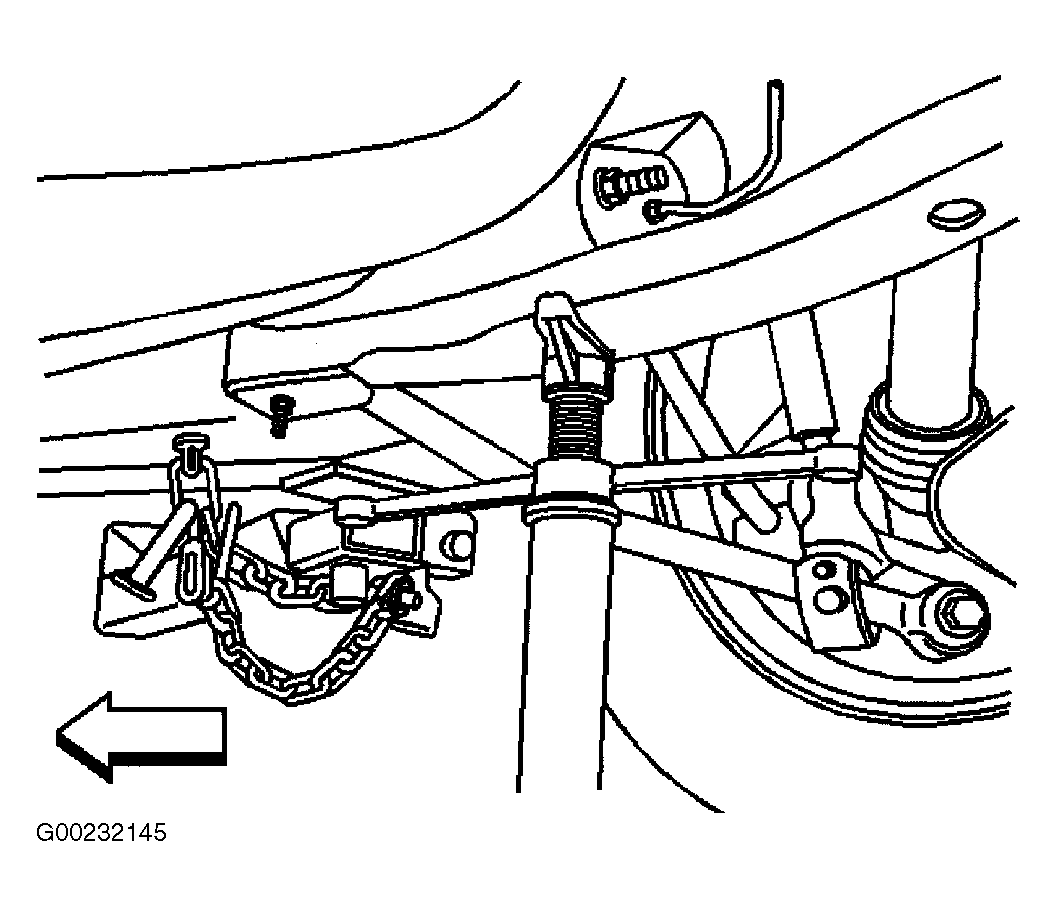
- Connect fuel feed hose, fuel return hose and fuel EVAP hose to the chassis bundle. Raise rear frame using screw jack. Install 2 front bolts to rear frame. Tighten rear frame bolts to specification. Remove screw jack.
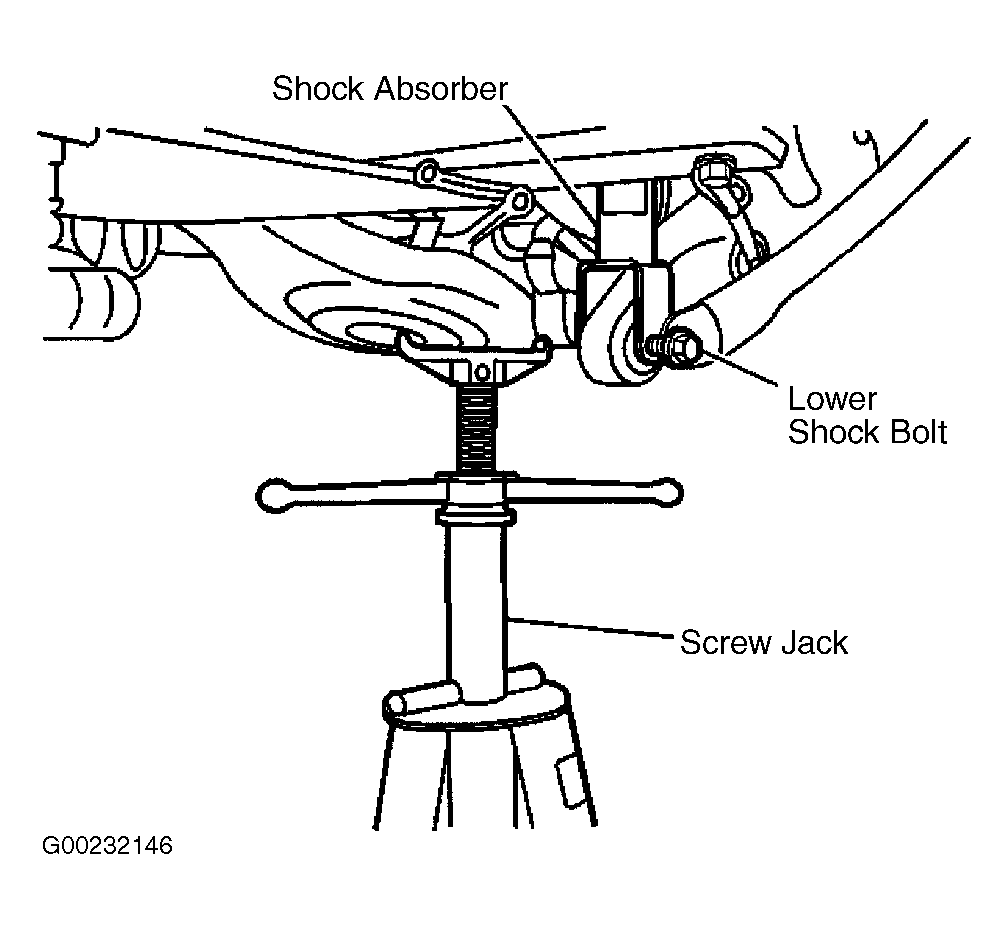
- Position screw jack under lower control arm in order to raise lower control arms. Install lower shock bolts. Tighten lower shock bolts to specification. Remove screw jack.
- Install drive shaft.
- Install exhaust system. See EXHAUST SYSTEM
under MISCELLANEOUS. Refill fuel tank. Inspect for fuel leaks. See FUEL TANK LEAK TEST
under FUEL SYSTEMS in SYSTEM & COMPONENT TESTING - 3.2L CTS article.
 Courtesy of GENERAL MOTORS CORP.
 Courtesy of GENERAL MOTORS CORP.
 Courtesy of GENERAL MOTORS CORP.
 Courtesy of GENERAL MOTORS CORP.
 Courtesy of GENERAL MOTORS CORP.
 Courtesy of GENERAL MOTORS CORP.