Installation Procedure
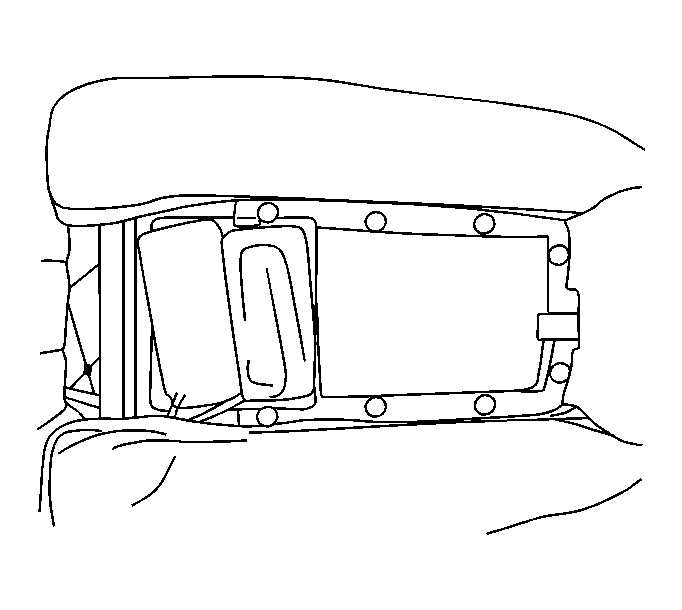 Courtesy of GENERAL MOTORS CORP.
- Position the lumbar support bladders to the seat back inserting the tabs into the seat back.
- Route the hoses through the pivot area and tie strap them to the seat frame under the seat back adjuster.
- Connect the seat switch to the harness.
- Connect power to the seat. You may need to position the seat in the vehicle.
- Perform the procedure in the next step based upon the following information:
- Operate the upper lumbar control and connect the hose that pressurized to the bladder hose labeled #3.
- Operate the lower lumbar control and connect the hose that pressurized to the bladder hose labeled #4.
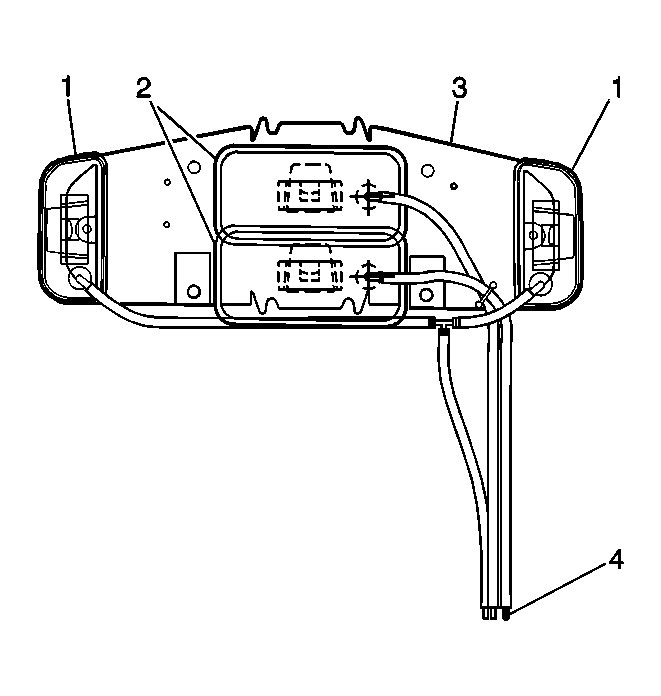 Courtesy of GENERAL MOTORS CORP.
- Using Loctite™ 406, or equivalent, glue the module hoses to the fittings on the bladder hoses (4).
- Position the hose just over the edge of the barb on the attaching fitting.
- Apply the adhesive completely around the fitting.
- Quickly push the hose the rest of the way onto the fitting.
- Install the control module to the seat support wires with the J-strips.
- Disconnect the seat electrical connector and remove the seat from the vehicle.
- Install the seat cushion cover. Refer to Driver Seat Cushion Pad Replacement or to Passenger Seat Cushion Pad Replacement .
Courtesy of GENERAL MOTORS CORP.
- Attach the cover and the bladder assembly with the 2 fir tree fasteners.
- Tuck the cover over the corners of the hinges.
- Install the seat back insert.
- Install the seat. Refer to Seat Replacement .