Removal Procedure
 Courtesy of GENERAL MOTORS CORP.
- Disconnect the negative battery cable. Refer to Battery Negative Cable Disconnection and Connection .
- Remove the radiator air baffle. Refer to Radiator Air Baffle Assemblies and Deflectors
.
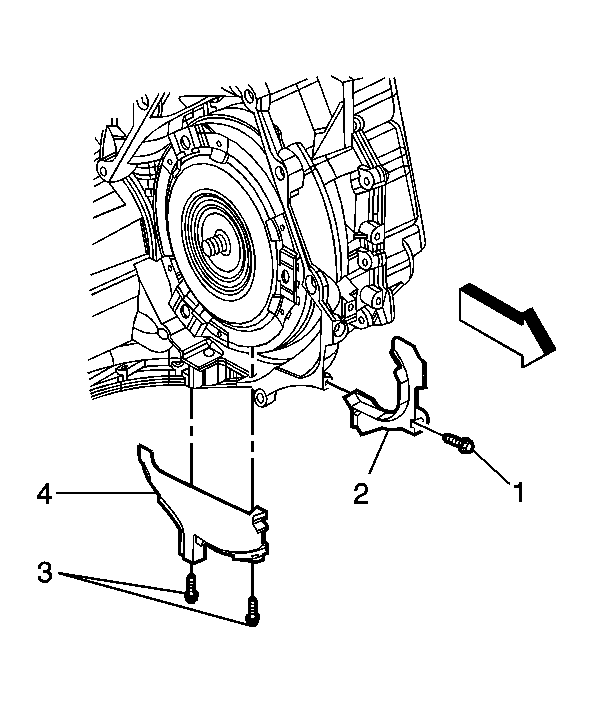
- Remove the engine to transmission brace at the rear left side of the engine.
- Remove the transaxle converter cover bolt (1).
- Remove the transaxle converter cover (2).
 Courtesy of GENERAL MOTORS CORP.
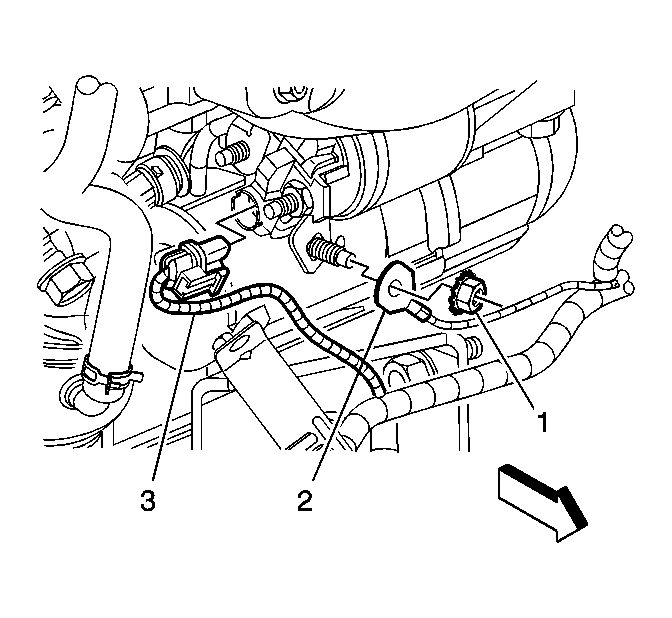
- Remove the engine harness ground nut (1).
- Remove the engine harness ground (2).
- Disconnect the engine harness electrical connector (3) from the starter.
 Courtesy of GENERAL MOTORS CORP.
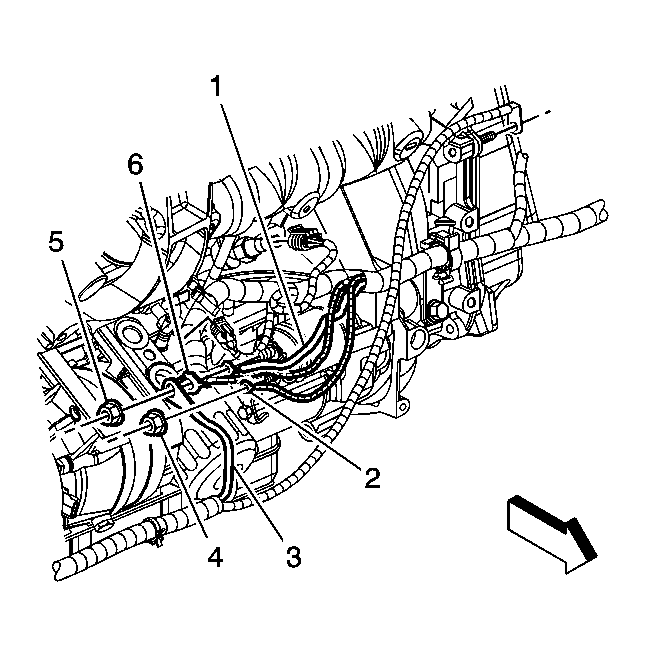
- Remove the starter motor "BAT" terminal nut (5).
- Remove the positive battery cable (3, 6) and the engine harness (1) from the stater motor "BAT" terminal.
- Remove the starter motor "S" terminal nut (4).
- Remove the engine harness (2) from the starter motor "S" terminal.
 Courtesy of GENERAL MOTORS CORP.
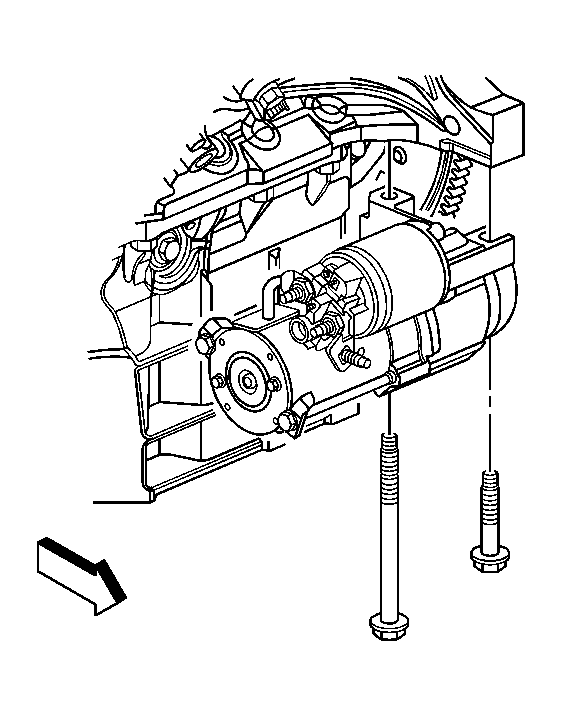
- Remove the starter motor bolts.
- Remove the starter motor.