Installation Procedure
- Remove the engine cover. Refer to Engine Cover Replacement .
- Remove the two studs from the left valve cover ignition coil bracket.
- Install J 4179-2
engine bracket to the left cylinder head.
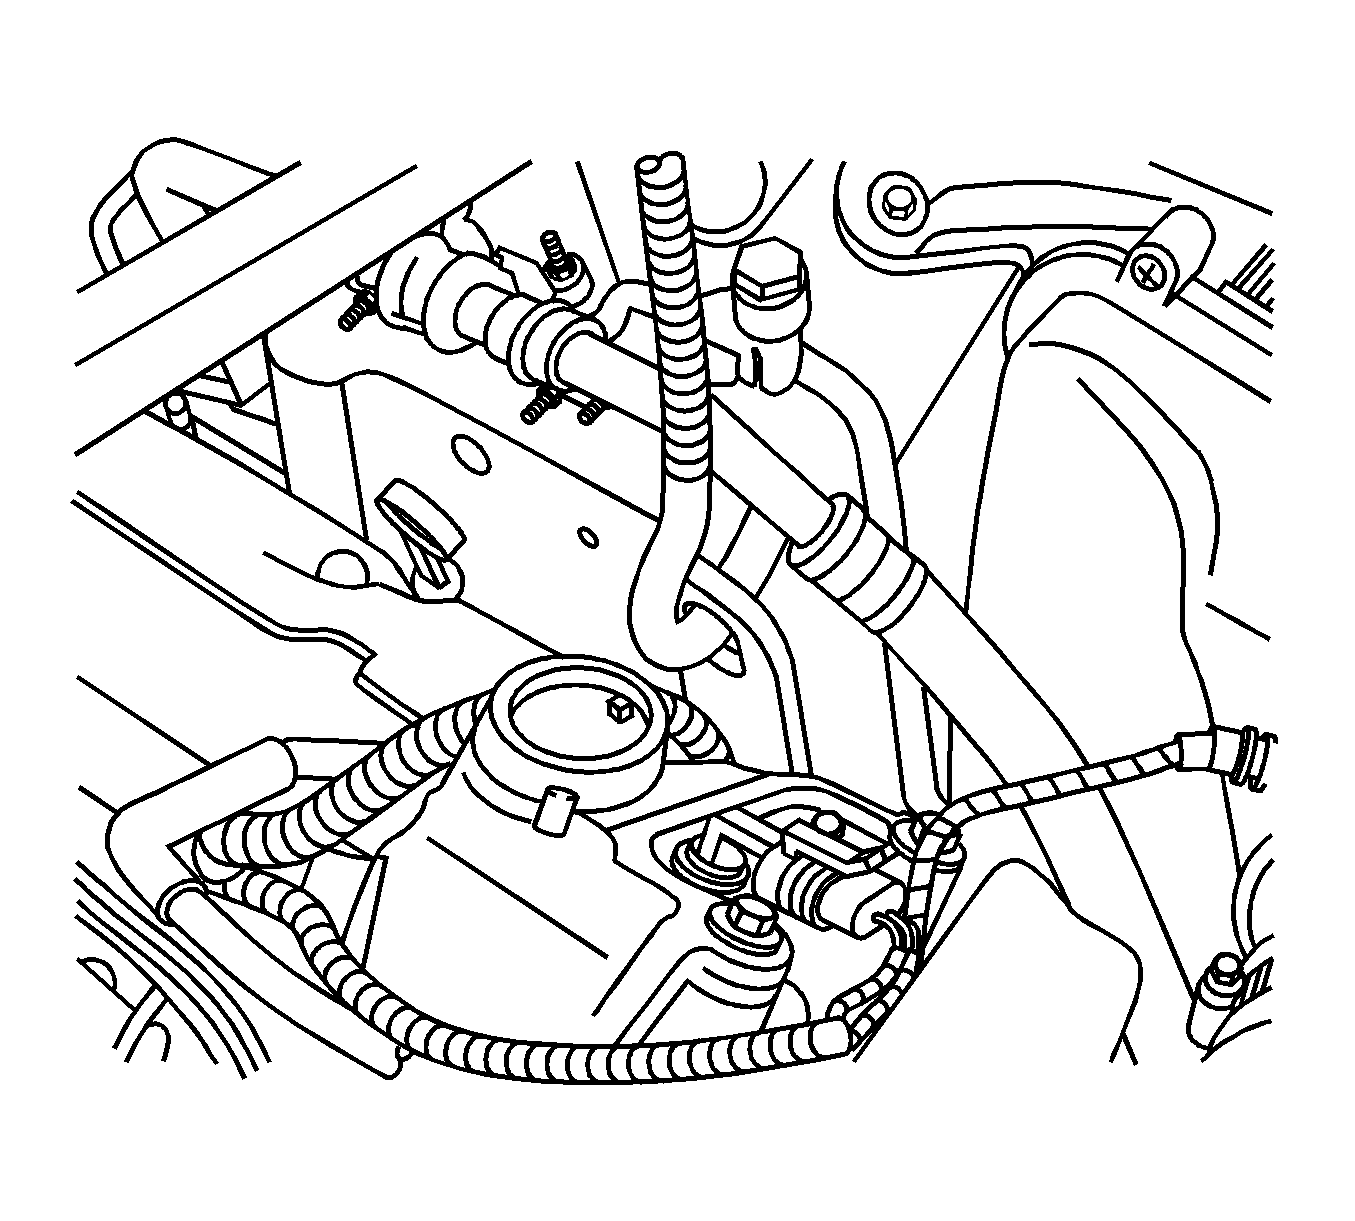
- Remove the #4 ignition coil from the right valve cover.
- Remove the ground wire bolt from the right cylinder head.
- Install J 36857-1
Lifting Hook at the ground wire location.
- Support the hood and remove the hood support strut. Refer to Hood Strut Replacement
 Courtesy of GENERAL MOTORS COMPANY
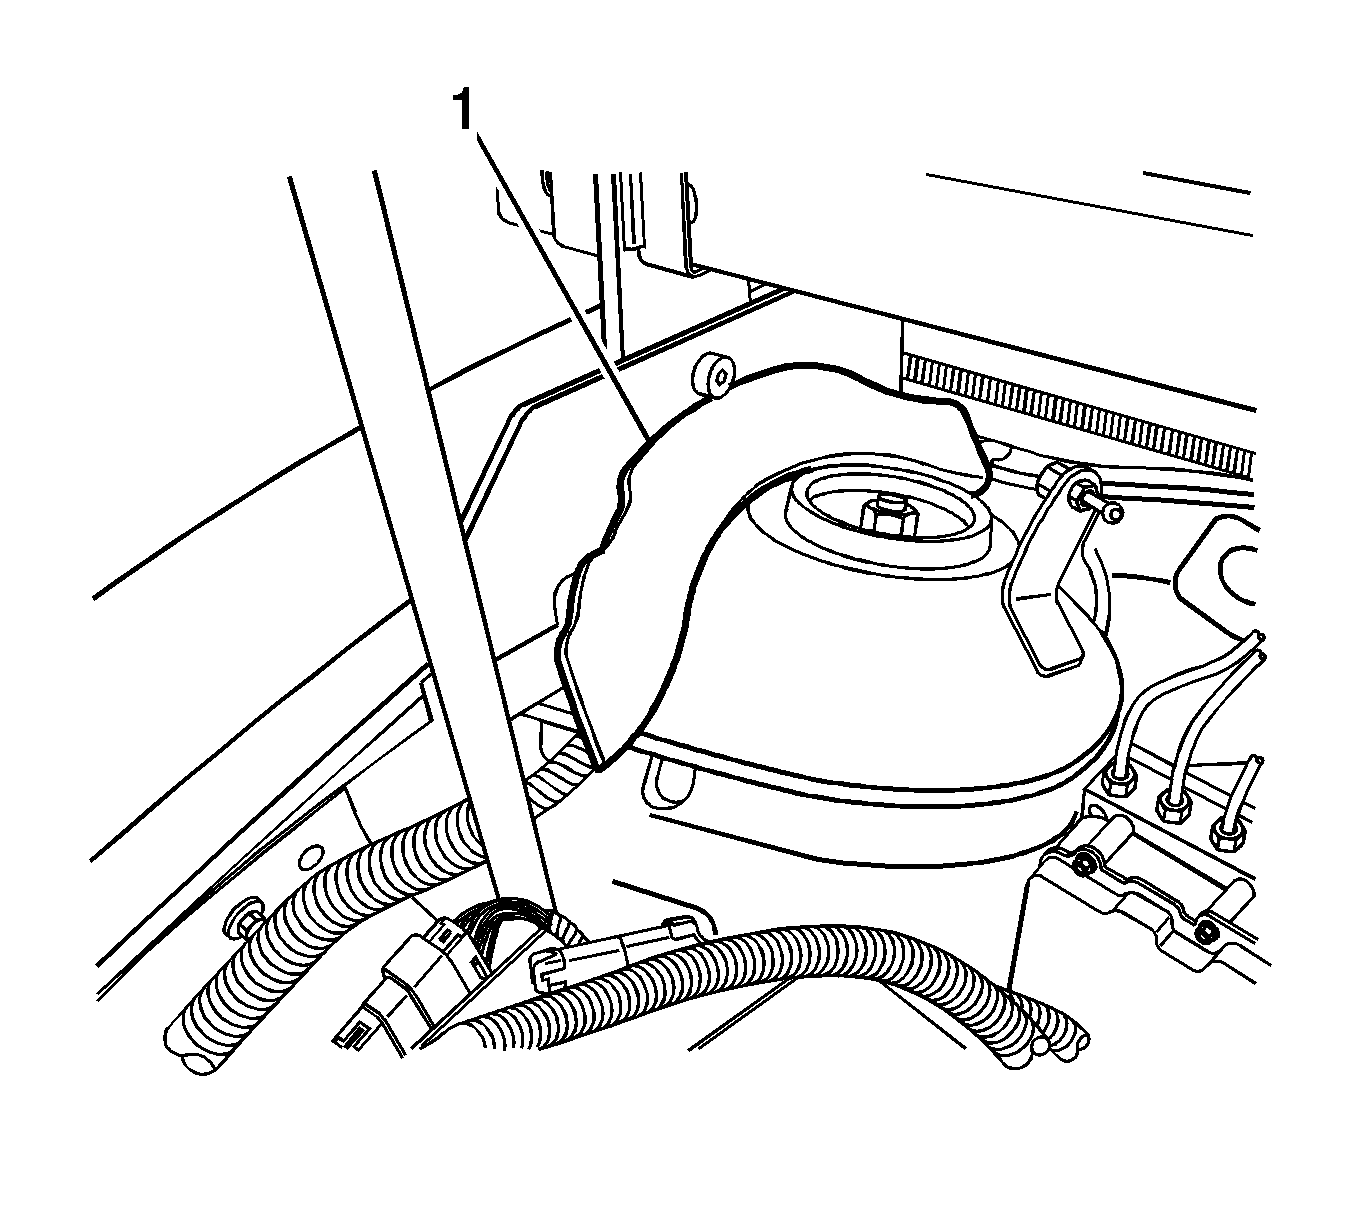
- Reposition the passenger side wire harness (1) to provide clearance for support fixture leg.
 Courtesy of GENERAL MOTORS COMPANY
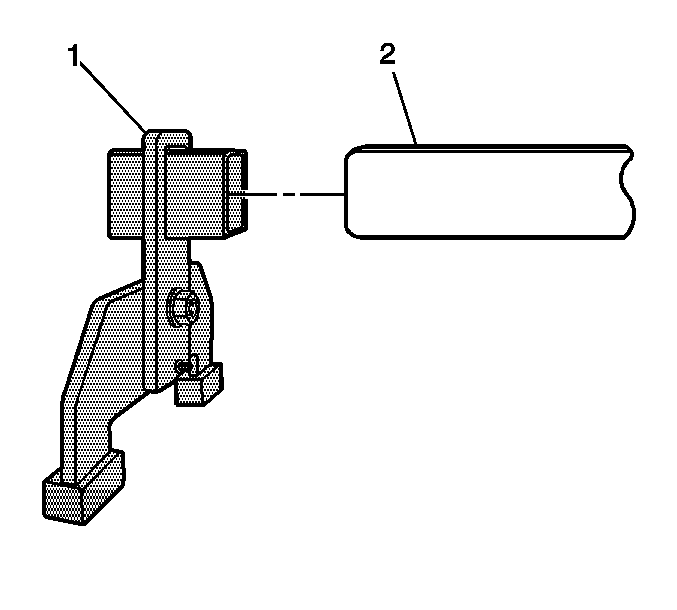
- Assemble a J 28467-501
support leg (1) to each end of the J 28467-518
main bar (2).
- Position the main bar with the support legs over each shock tower. Ensure the rear support legs are located over the reinforced section of the shock tower.
 Courtesy of GENERAL MOTORS COMPANY
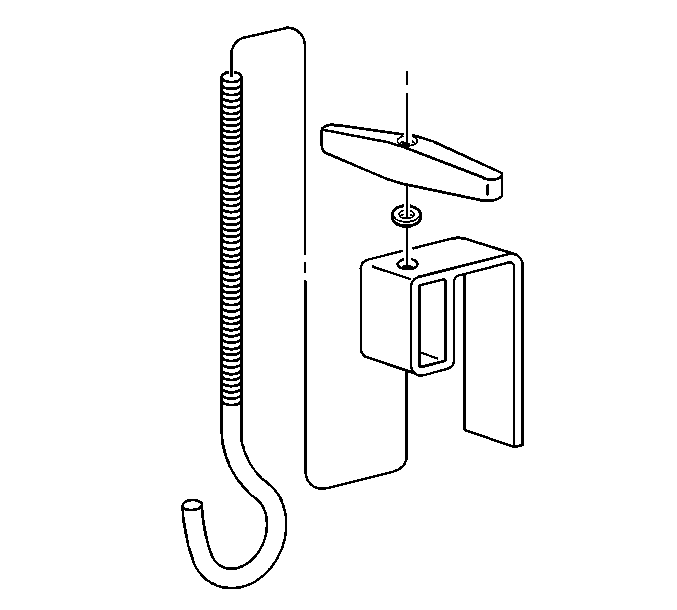
- Install the J 28467-7A
lift hook through the J 28467-6A
lift hook bracket.
- Install the 1/2 inch lift hook washer and the J 28467-34
handle onto the J 28467-7A
lift hook.
 Courtesy of GENERAL MOTORS COMPANY
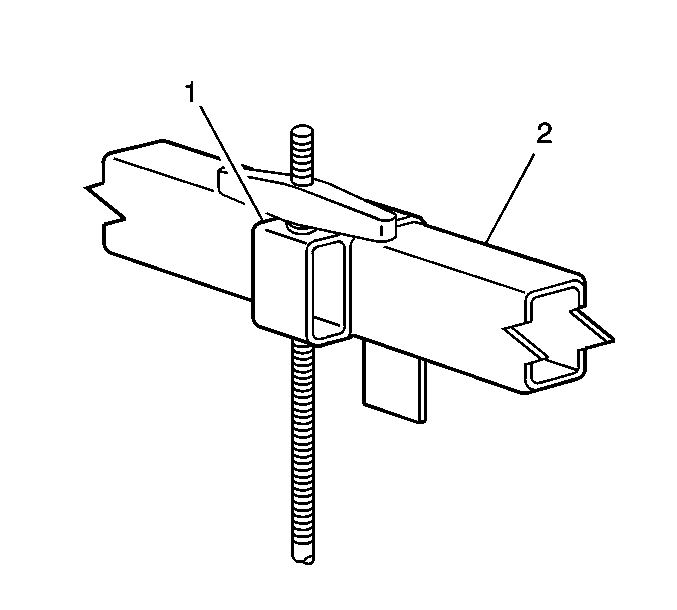
- Install the J 28467-6A
assembled lift hook bracket (1) over the J 28467-16
main bar (2).
- Adjust the J 28467-6A
assembled lift hook bracket (1) in order to align the hook with the J 41798
engine bracket.
- Repeat steps 8-11 for the right lift hook.
 Courtesy of GENERAL MOTORS COMPANY
- Install each J 28467-7A
lift hook through each engine bracket. Ensure that the hooks do not damage the surrounding components.
- Hand-tighten the lift hook wing nuts securely to remove all slack from the engine support fixture assembly.
- The engine is now supported in the vehicle to perform repairs that require front frame removal.