Charging System (Service Information): Generator: Removal: 2.4L
 Courtesy of CHRYSLER GROUP, LLC
- Disconnect and isolate negative battery cable at battery.
- Remove the right front wheel.
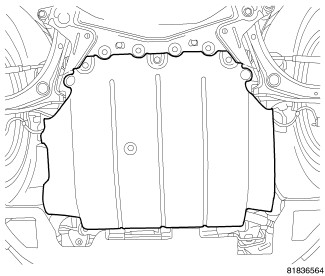
- Remove the underbody air dam.
 Courtesy of CHRYSLER GROUP, LLC
- Remove the accessory drive splash shield.
- Remove the serpentine belt. Refer to BELT, SERPENTINE, REMOVAL
.
 Courtesy of CHRYSLER GROUP, LLC
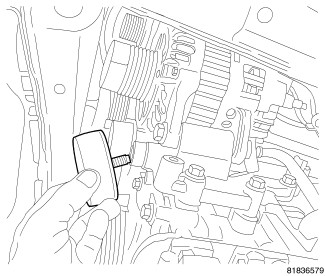
- Remove the accessory drive idler pulley.
 Courtesy of CHRYSLER GROUP, LLC
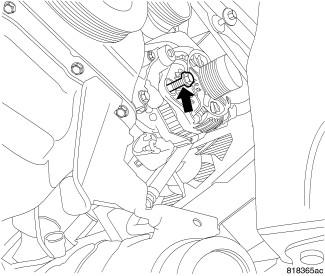
- Loosen the lower mounting bolt.
 Courtesy of CHRYSLER GROUP, LLC
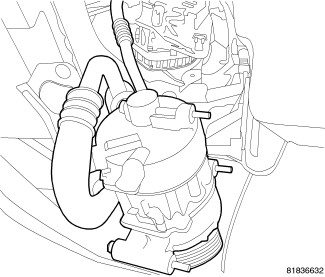
- Loosen the A/C compressor and relocate, pull down and to outboard side of vehicle to make room to remove generator.
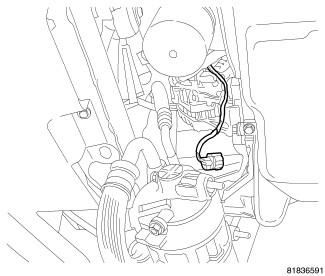 Courtesy of CHRYSLER GROUP, LLC
- Unplug field circuit from generator.
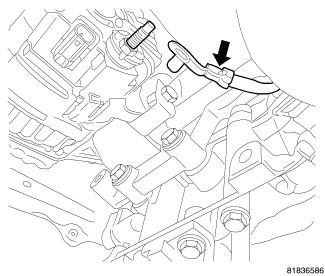 Courtesy of CHRYSLER GROUP, LLC
- Remove the B+ terminal nut and wire.
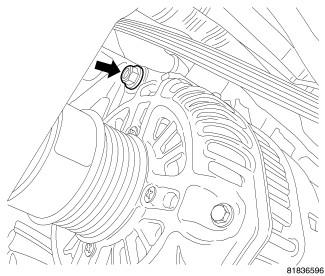 Courtesy of CHRYSLER GROUP, LLC
- Remove the upper mounting bolt.
- Remove the generator lower mounting bolt.
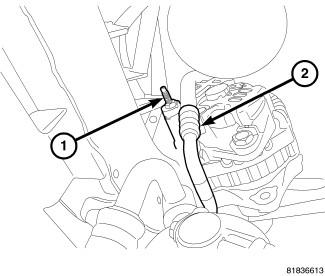 Courtesy of CHRYSLER GROUP, LLC
- Relocate the battery terminal (1) to the other side of the A/C line (2) for removal of the generator.
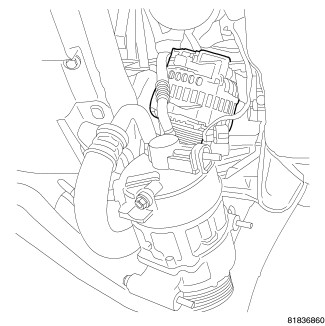 Courtesy of CHRYSLER GROUP, LLC
- Rotate generator pulley down.
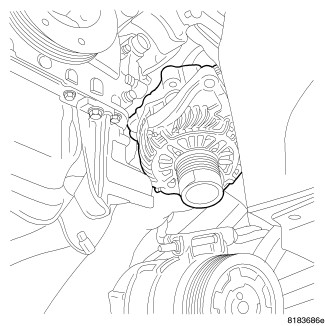 Courtesy of CHRYSLER GROUP, LLC
- Slide generator down and out of vehicle.