Charging System (Service Information): Generator: Installation: 3.6L
 Courtesy of CHRYSLER GROUP, LLC
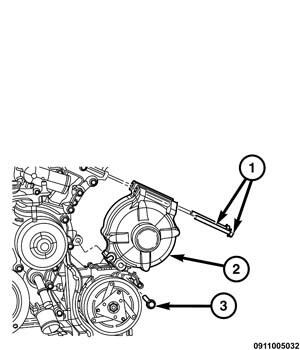
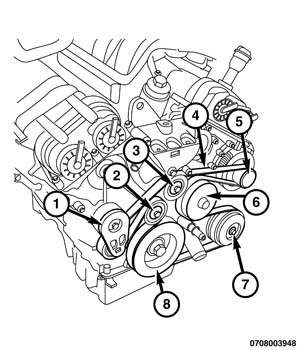
- Carefully position the generator (1) up to the engine block.
 Courtesy of CHRYSLER GROUP, LLC
- Loosely install the top two generator mounting retainers (2).
- Install the lower generator mounting bolt (3).
 Courtesy of CHRYSLER GROUP, LLC
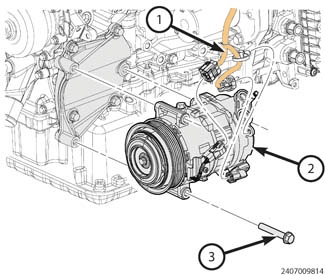
- Position the A/C compressor (2) to the engine. Tighten the bolts to the proper SPECIFICATIONS .
 Courtesy of CHRYSLER GROUP, LLC
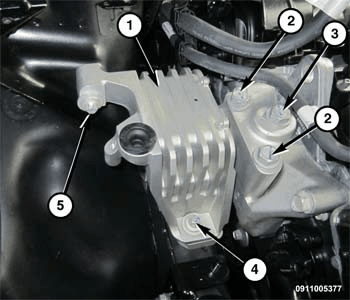
- Install the upper engine mount bolts (2, 3). Tighten mount to mount bracket bolts (2, 3) to the proper SPECIFICATIONS .
 Courtesy of CHRYSLER GROUP, LLC
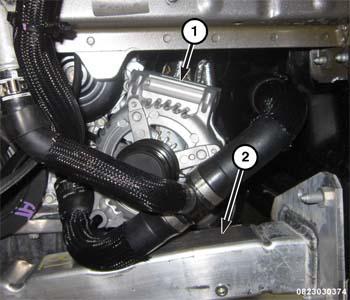
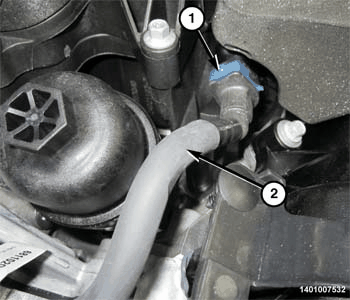
- Install the fuel line (2) at the fuel rail.
 Courtesy of CHRYSLER GROUP, LLC
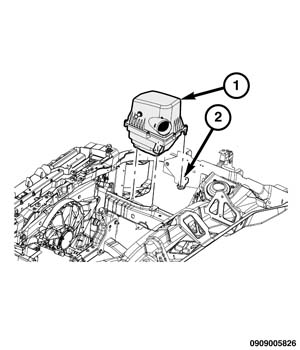
- Install the air filter housing body (1). Refer to BODY, AIR CLEANER, INSTALLATION - 2.4L
or BODY, AIR CLEANER, INSTALLATION - 3.6L
.
- Tighten the generator mounting retainers to the proper SPECIFICATIONS .
 Courtesy of CHRYSLER GROUP, LLC
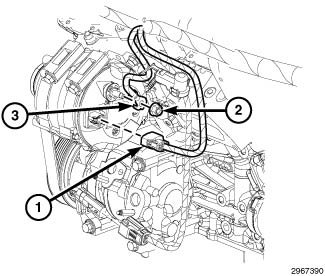
- Install the generator B+ cable (3) on the generator stud.
- Install the B+ cable nut (2), and tighten to the proper SPECIFICATIONS .
- Connect the field generator harness Connector (1).
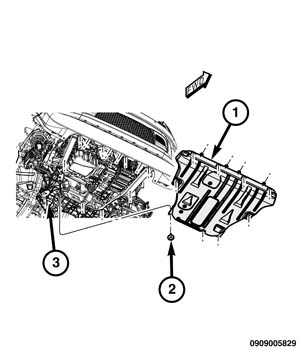
- Install the belly pan (1).
 Courtesy of CHRYSLER GROUP, LLC
- Install the accessory drive belt. Refer to BELT, SERPENTINE, INSTALLATION
.
 Courtesy of CHRYSLER GROUP, LLC
- Install the tire and wheel assembly.
- Connect the negative battery cable.