Lower Control Arm
 Courtesy of CHRYSLER LLC
- Raise and support the vehicle.
- Remove the wheel and tire assembly.
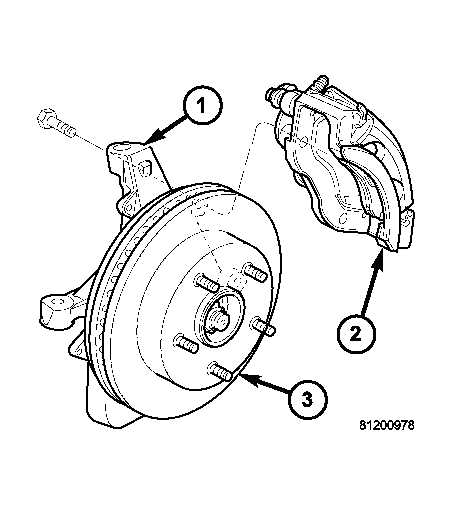
- Remove the disc brake caliper assembly (2). Refer to REMOVAL
.
 Courtesy of CHRYSLER LLC
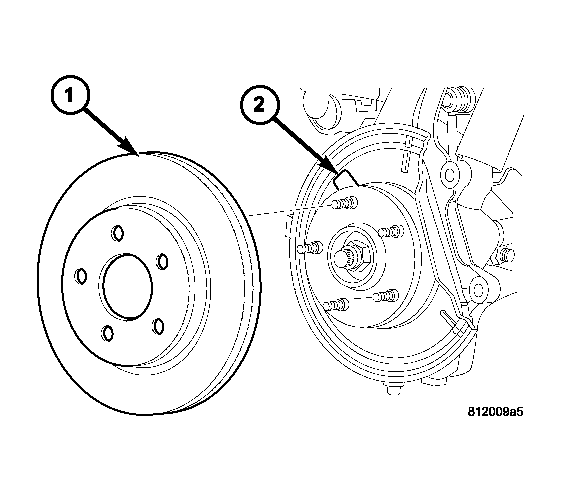
- Remove the disc brake rotor (1). Refer to REMOVAL
.
- Disconnect the wheel speed sensor at the wheel well.
 Courtesy of CHRYSLER LLC
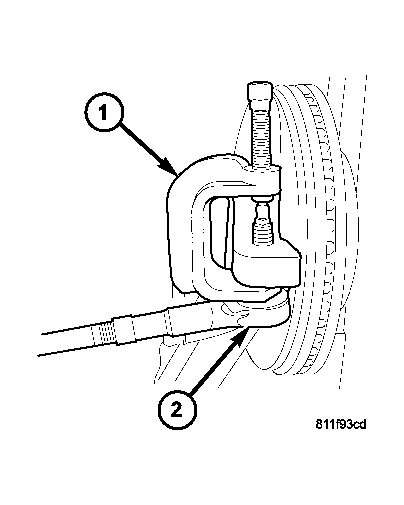
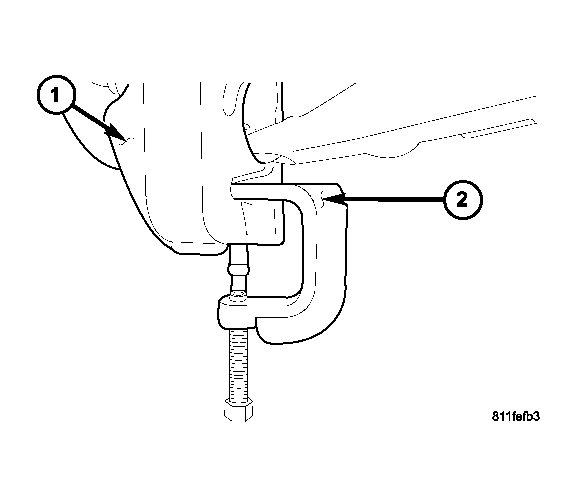
- Disconnect the tie rod (2) from the knuckle using special tool 8677 (1). Refer to REMOVAL
.
 Courtesy of CHRYSLER LLC
- Remove the front half shaft nut 4X4 only
.
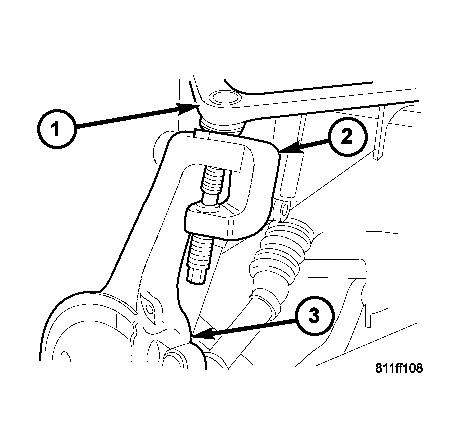
- Remove the upper ball joint nut. Separate the upper ball joint (1) from the steering knuckle (3) with Remover 8677 (2).
 Courtesy of CHRYSLER LLC
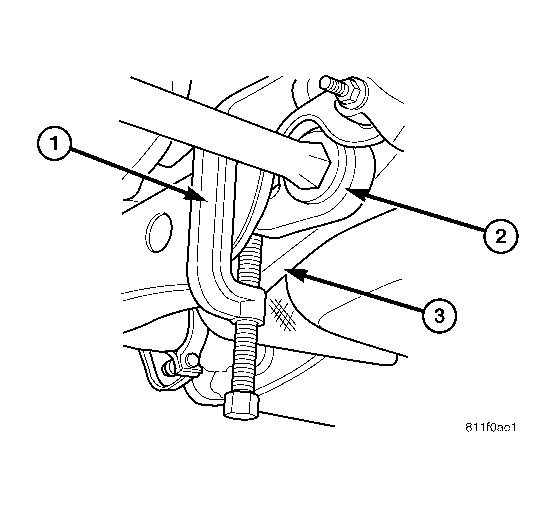
- Remove the lower ball joint nut. Separate the lower ball joint from the steering knuckle (1) with Remover 8677 (2).
 Courtesy of CHRYSLER LLC
- Remove the steering knuckle (1).
 Courtesy of CHRYSLER LLC
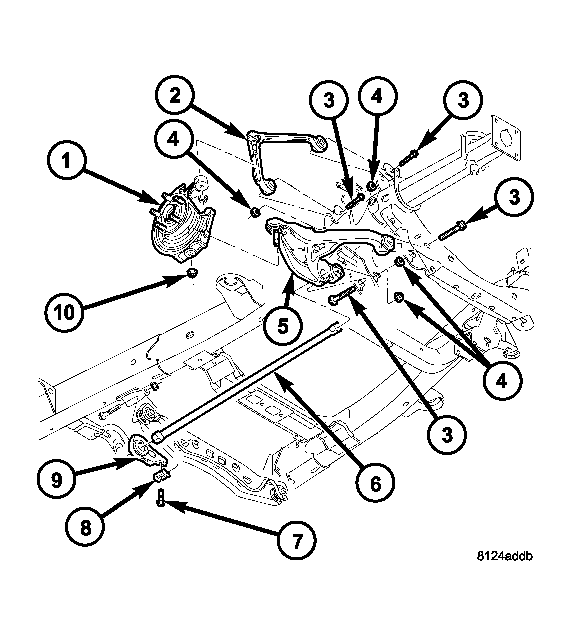
- Unload the torsion bar using special tool 8686 (1).
Courtesy of CHRYSLER LLC
- Remove the torsion bar (6) from the vehicle. See REMOVAL .
- Remove the stabilizer bar link. See REMOVAL .
- Remove the shock absorber lower bolt.
- Remove the front and rear pivot bolts (3&4).
- Remove the lower control arm (5) from the vehicle.