Removal And Installation: Radiator: Removal
- Raise the vehicle. For additional information, refer to JACKING & HOISTING
.
- Drain the radiator. For additional information, refer to COOLING SYSTEM DRAINING, FILLING AND BLEEDING .
- Remove the bolts and the RH splash shield.
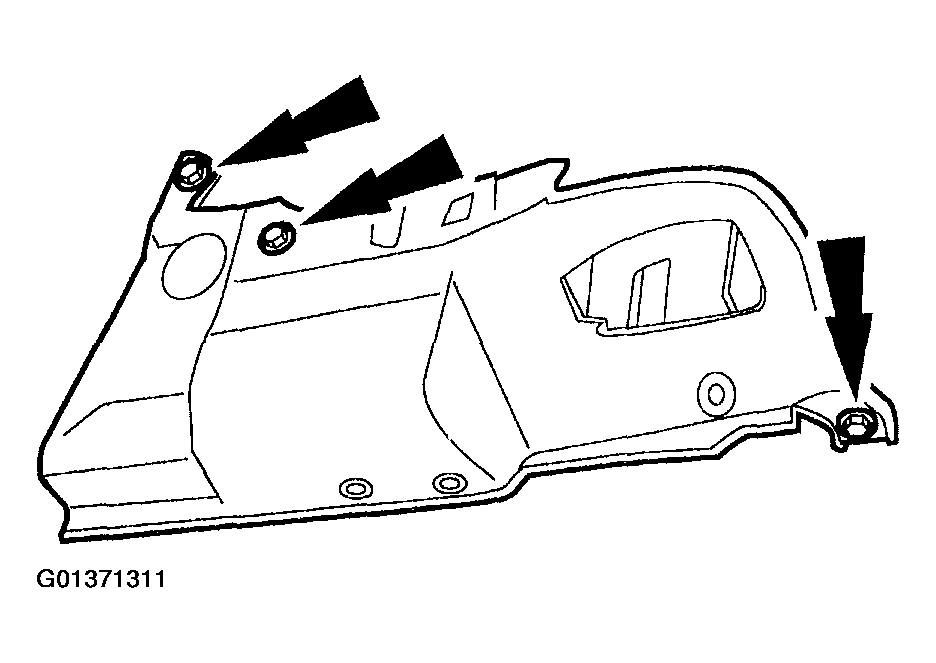 Courtesy of FORD MOTOR CO.
- Disconnect the lower radiator hose and, if equipped, the lower oil cooler outlet tube.
- Lower the vehicle.
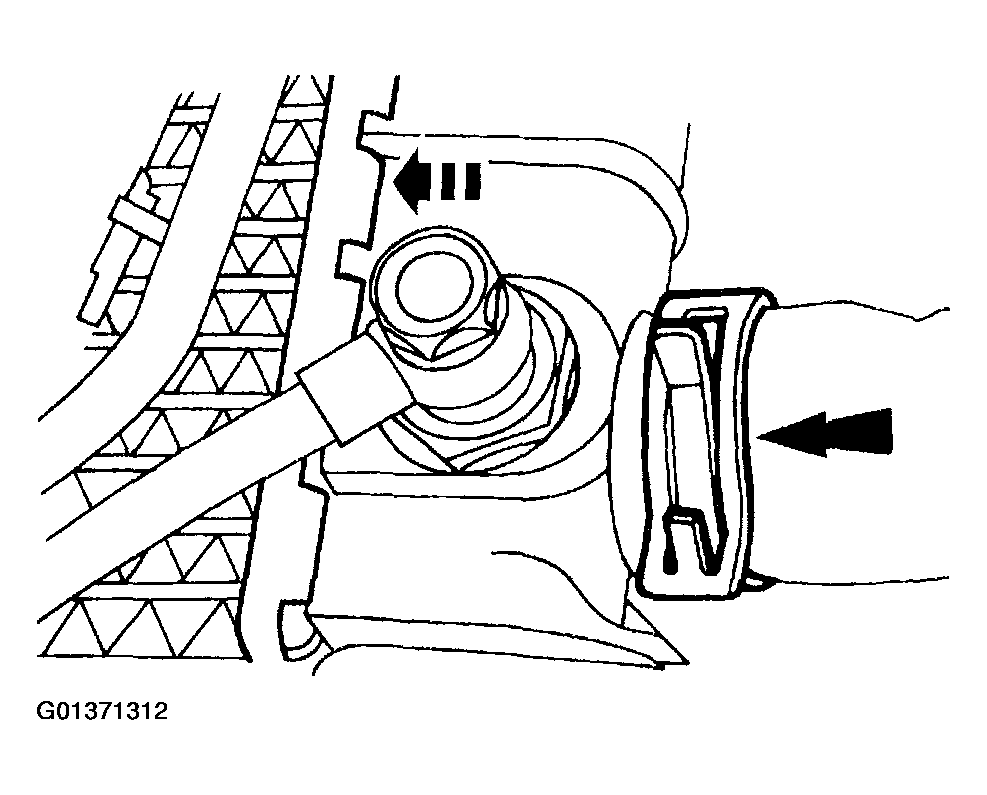 Courtesy of FORD MOTOR CO.
- Remove the upper radiator hose (8260) from the radiator (8005) and, if equipped, the upper oil cooler inlet tube.
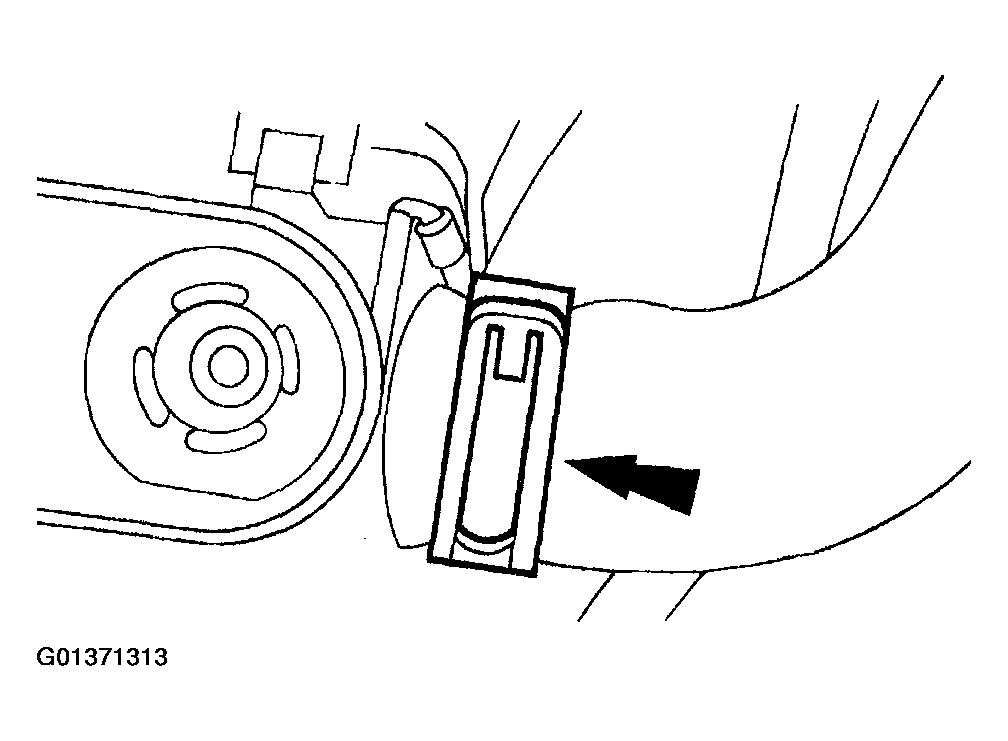 Courtesy of FORD MOTOR CO.
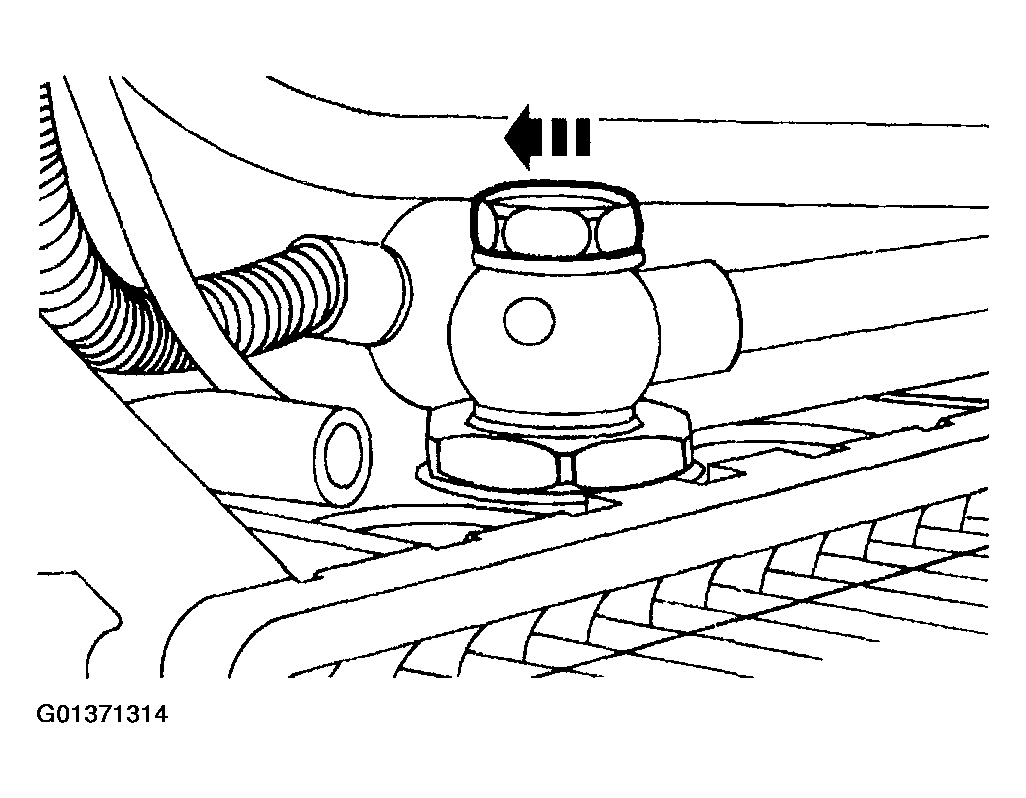 Courtesy of FORD MOTOR CO.
- Disconnect the connector at the fan motor.
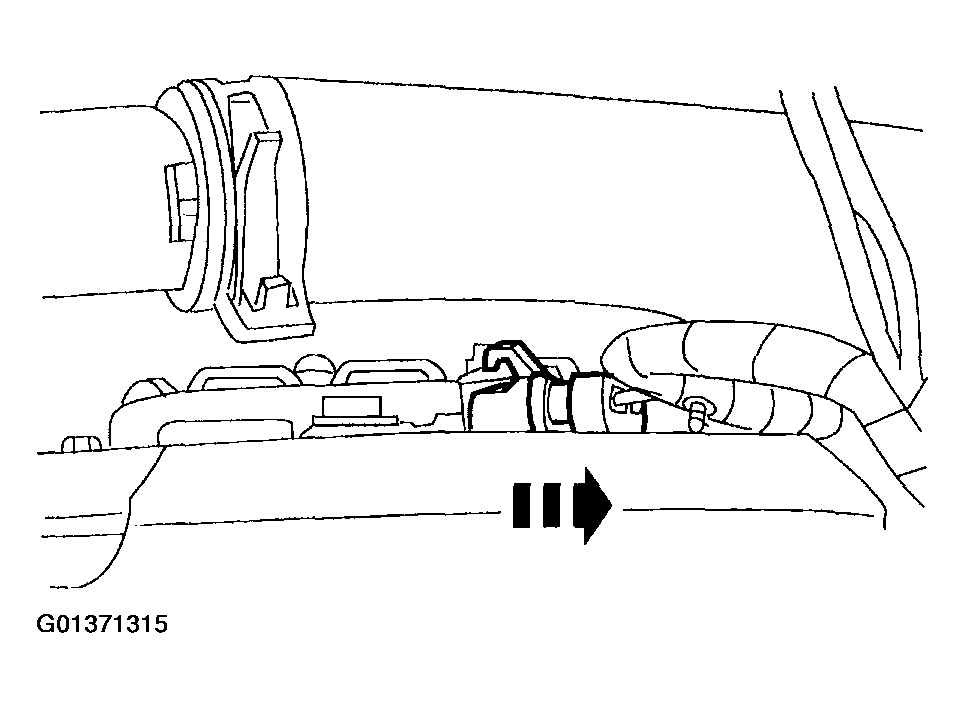 Courtesy of FORD MOTOR CO.
- Remove the radiator cap (8100) and disconnect the radiator overflow hose (8075).
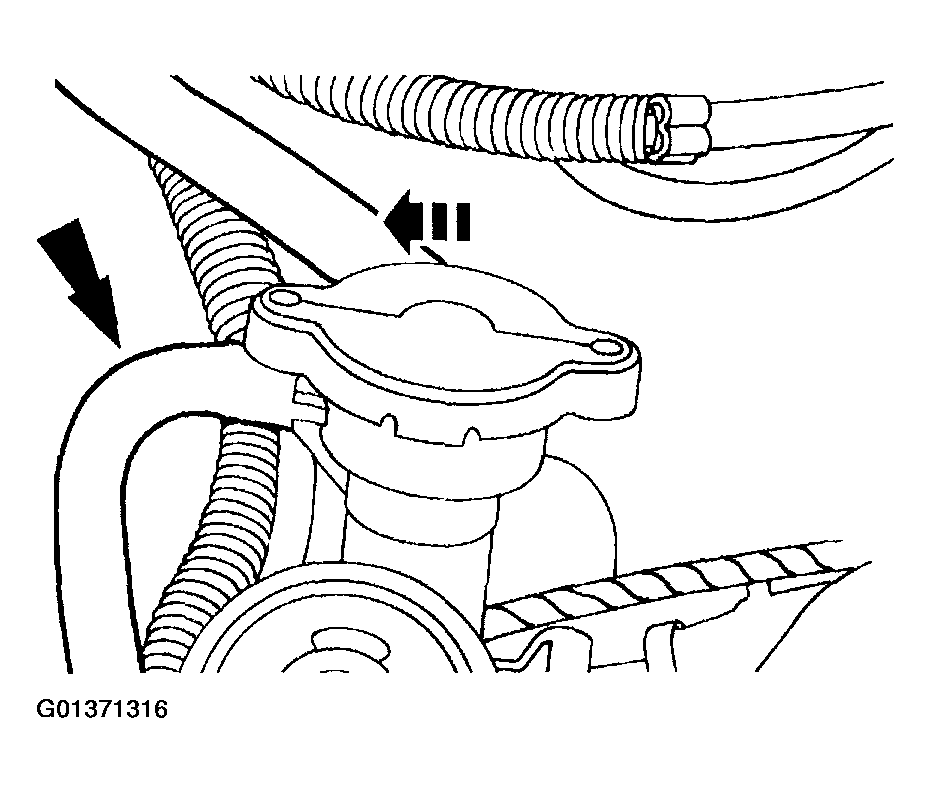 Courtesy of FORD MOTOR CO.
- Remove the bolts and nuts for A/C condenser core (19712) from the brackets at the top of the radiator (8005).
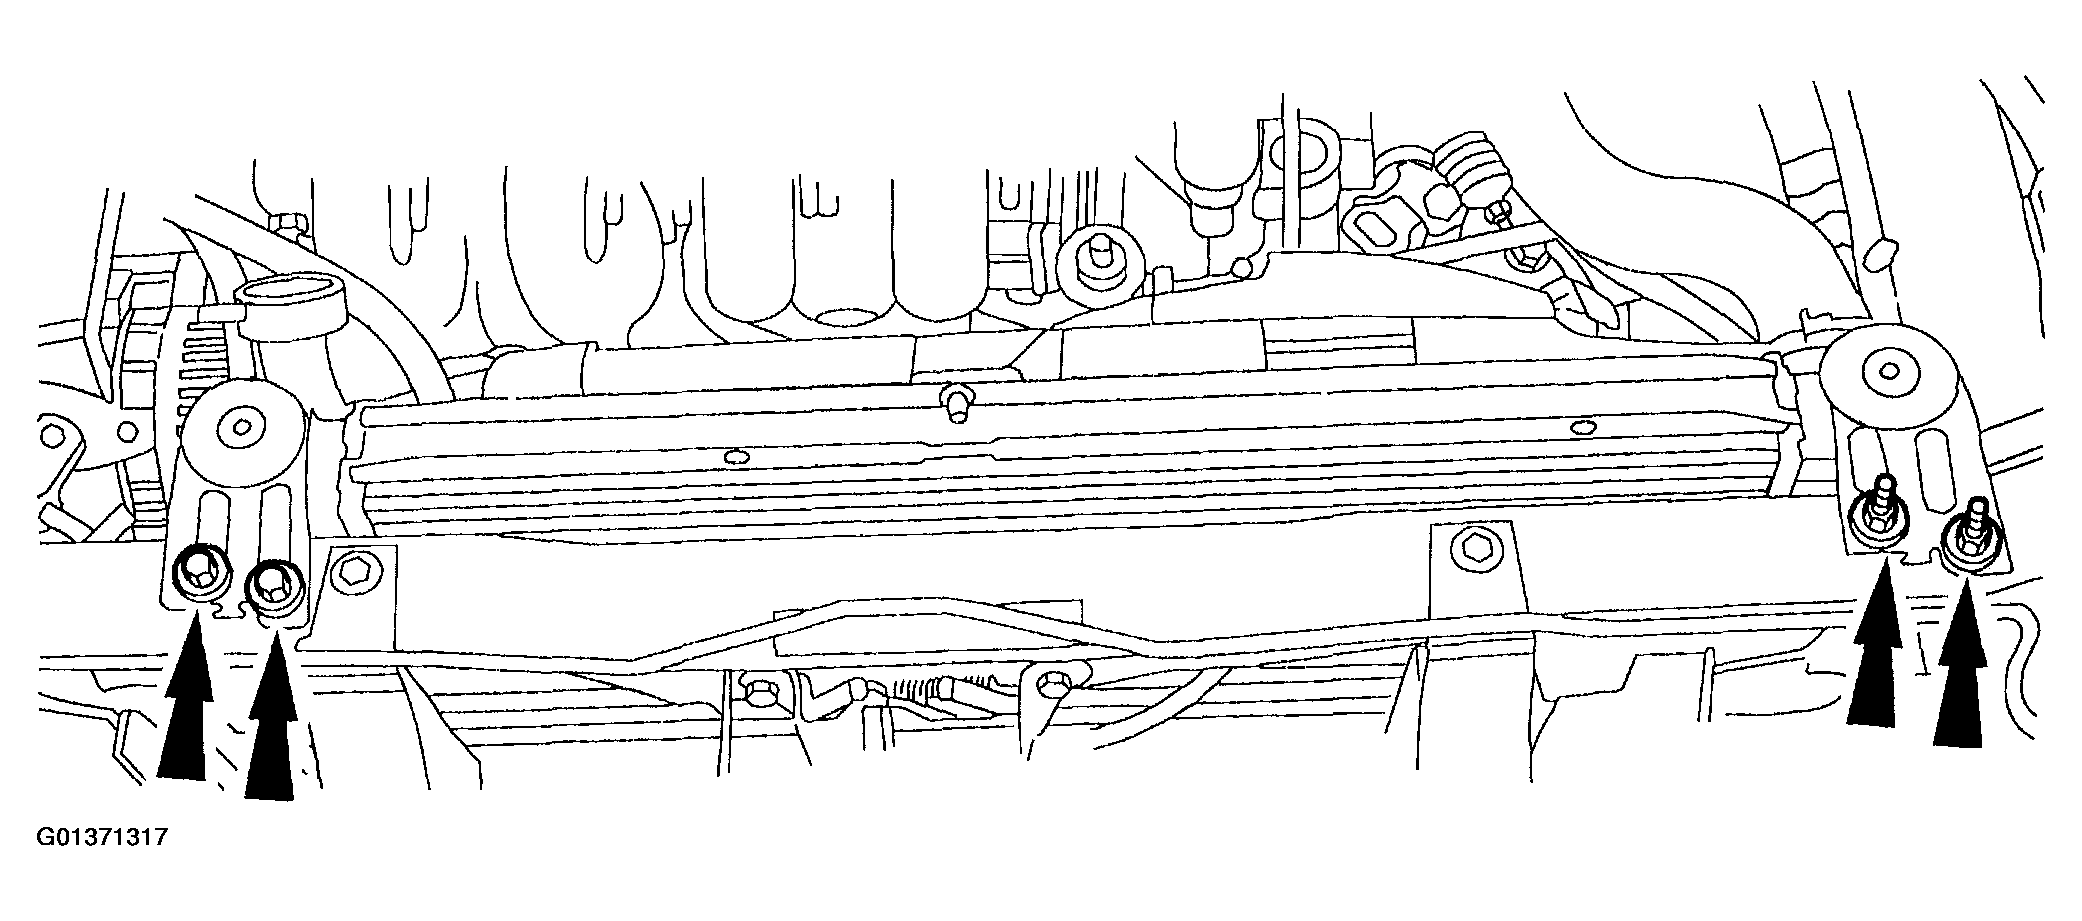 Courtesy of FORD MOTOR CO.
- Remove the radiator and shroud assembly from the vehicle.
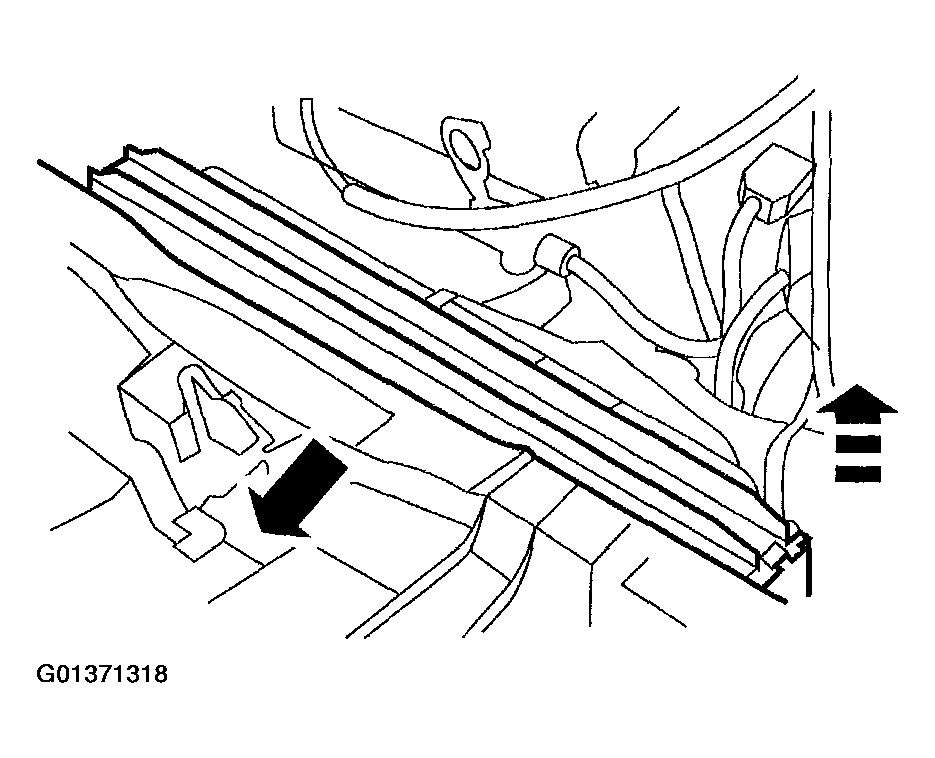 Courtesy of FORD MOTOR CO.
- Remove the bolts and remove the fan motor, blade and shroud assembly.
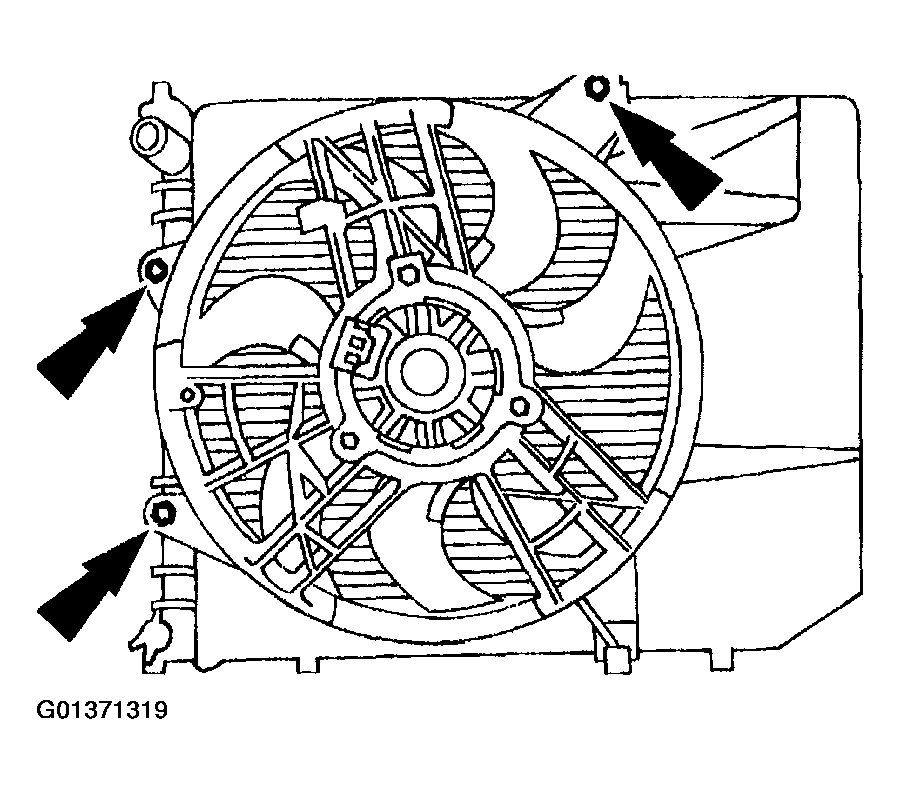 Courtesy of FORD MOTOR CO.