Transfer Assembly Removal
- Raise the vehicle, and make sure it is supported securely.
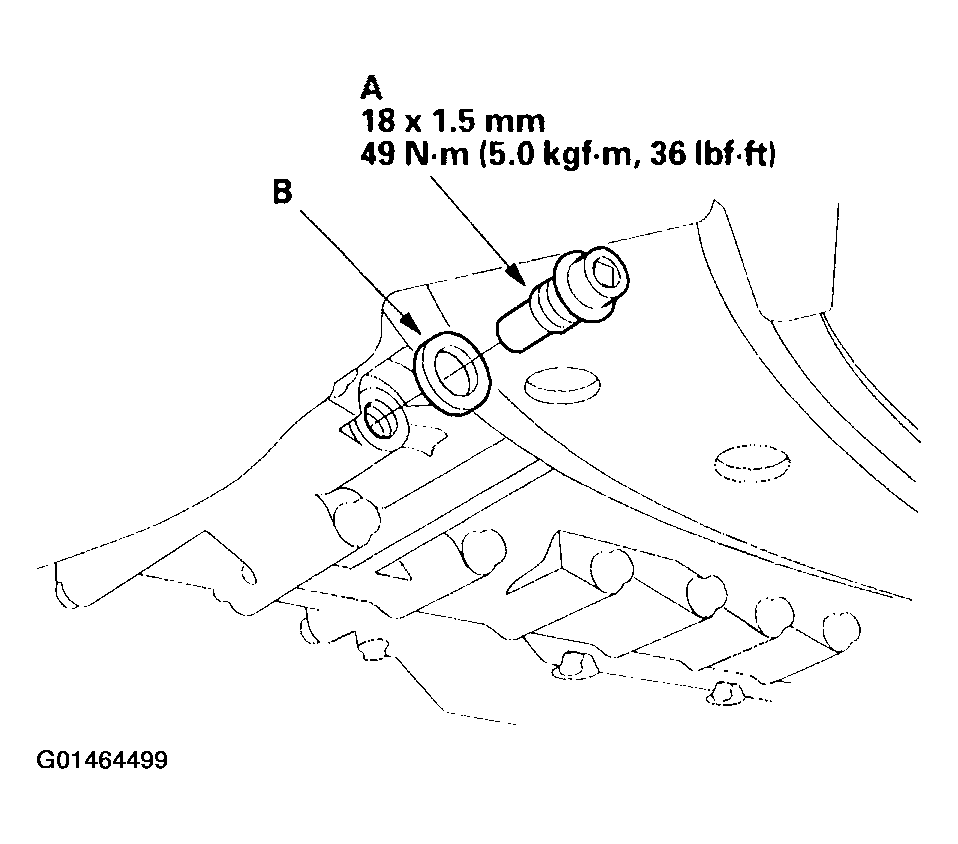
- Remove the drain plug (A), and drain the automatic transmission fluid (ATF). Reinstall the drain plug with a new sealing washer (B).
 Courtesy of AMERICAN HONDA MOTOR CO., INC.
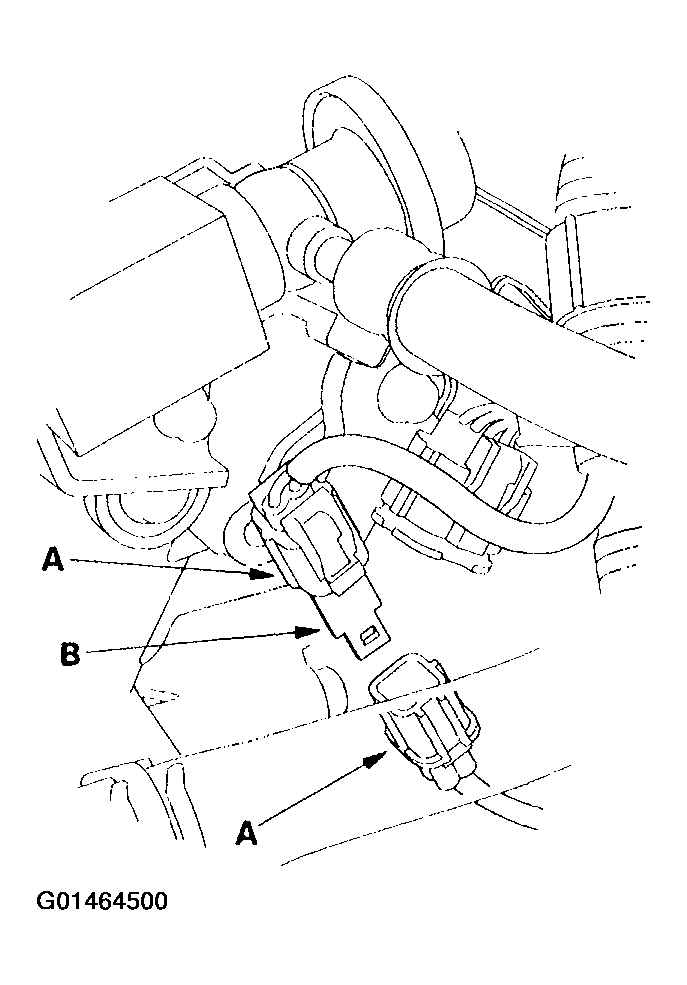
- Remove the primary heated oxygen sensor (Primary HO2S) connector (A) from its connector bracket (B), then disconnect the connector.
 Courtesy of AMERICAN HONDA MOTOR CO., INC.
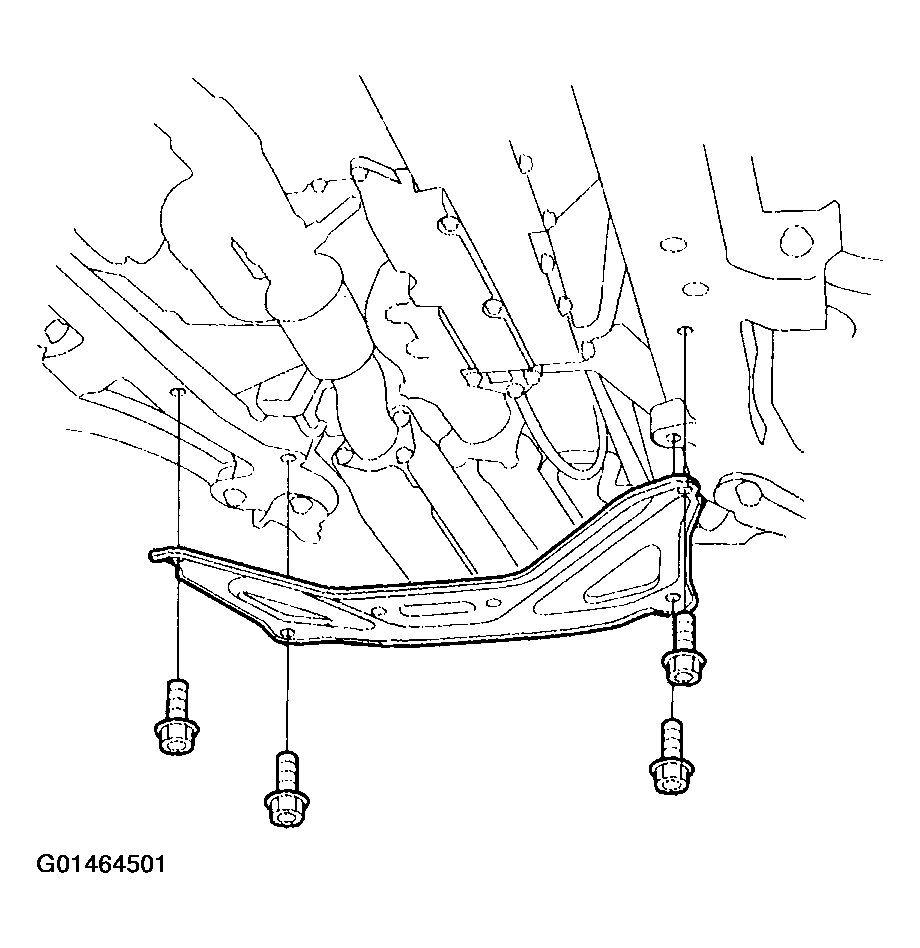
- Remove the front subframe stiffener.
 Courtesy of AMERICAN HONDA MOTOR CO., INC.
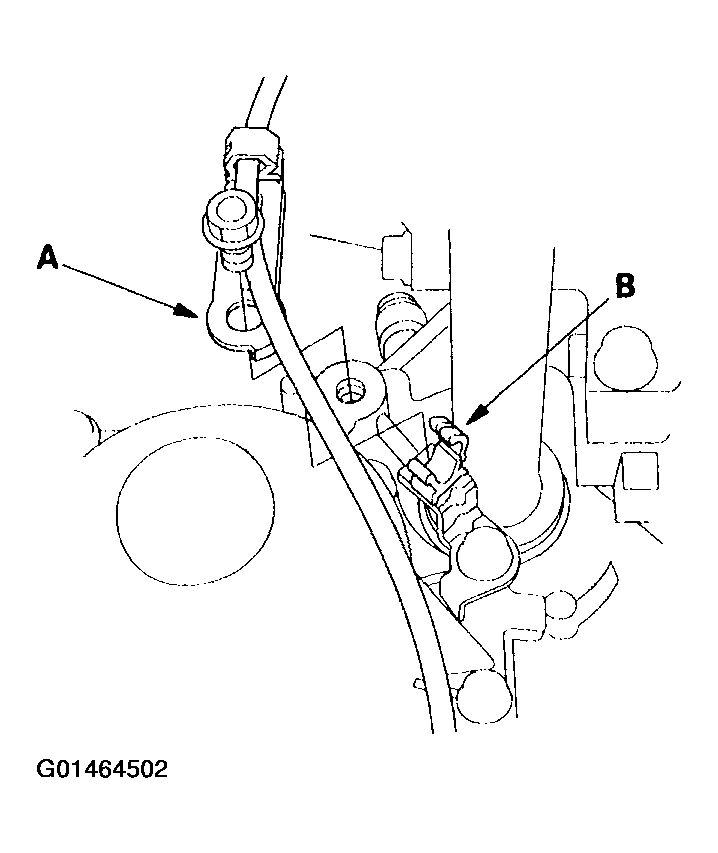
- Remove the Primary HO2S harness clamp bracket (A) from the transmission.
 Courtesy of AMERICAN HONDA MOTOR CO., INC.
- Remove the harness from the harness clamp (B).
- Remove the exhaust pipe (A).
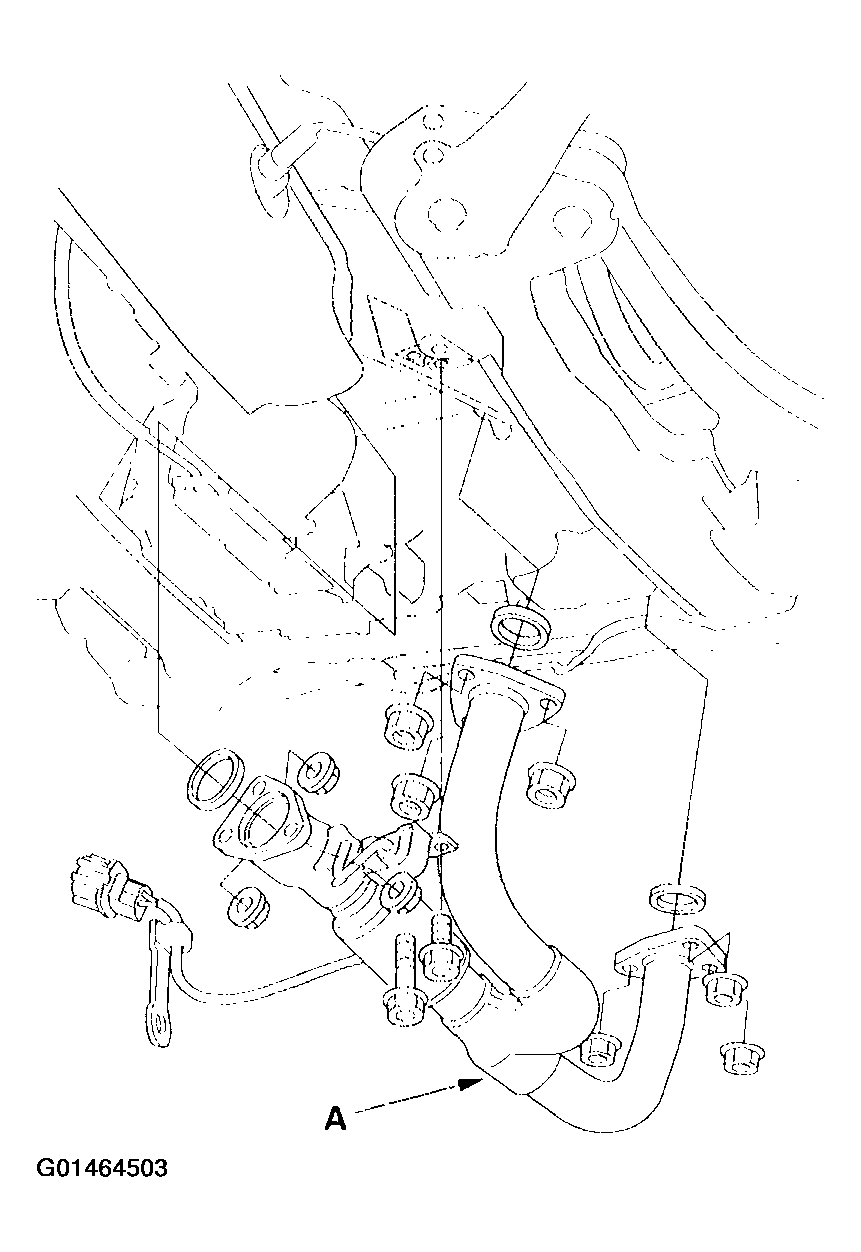 Courtesy of AMERICAN HONDA MOTOR CO., INC.
- Make a reference mark (A) across the propeller shaft (B) and the transfer companion flange (C).
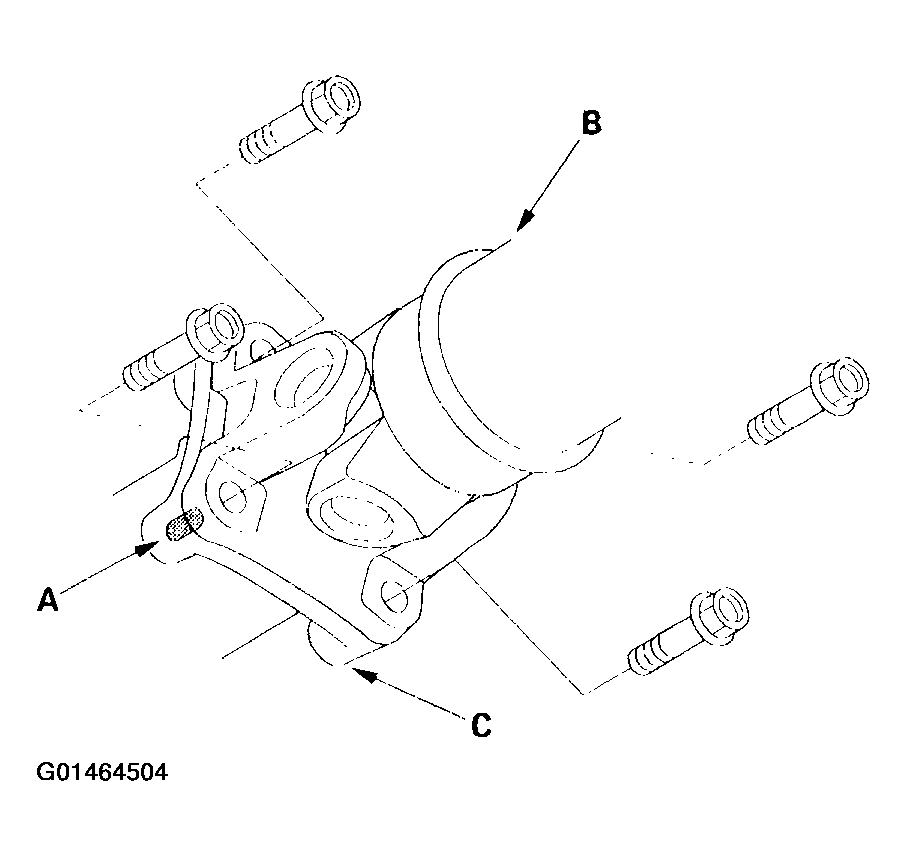 Courtesy of AMERICAN HONDA MOTOR CO., INC.
- Separate the propeller shaft from the transfer.
- Remove the transfer assembly from the transmission.
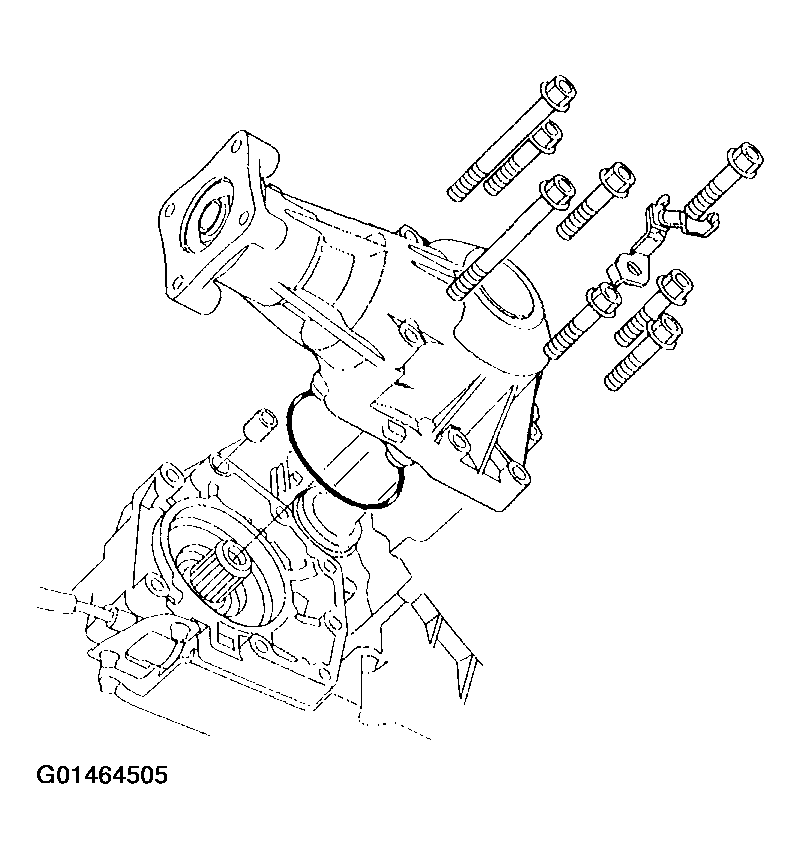 Courtesy of AMERICAN HONDA MOTOR CO., INC.