Alternator Reassembly
- 18. If you removed the pulley, put the rotor in the drive-end housing, then tighten its locknut to 111 N.m (11.3 kgf.m, 81.7 lbf.ft).
- 19. Remove any grease or oil from the slip rings.
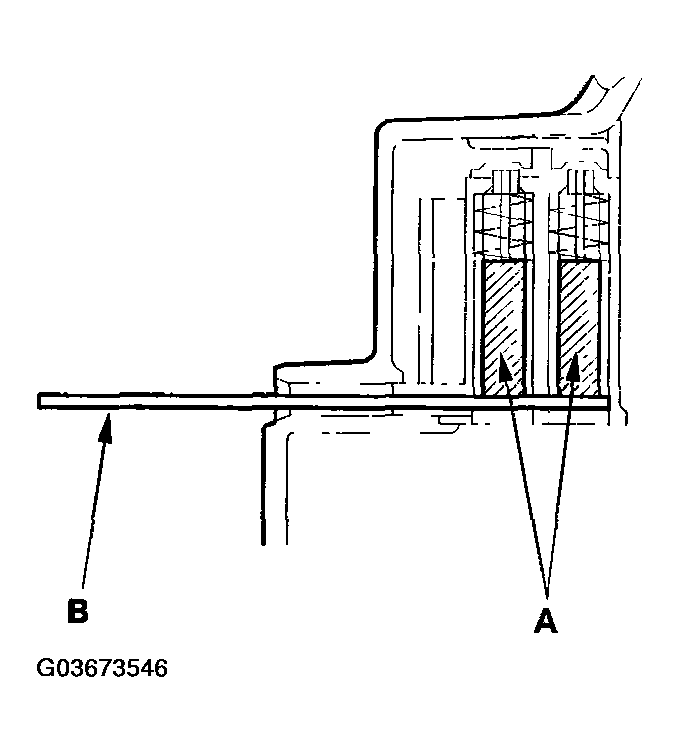
- 20. Push in the brushes (A), then insert a pin or drill bit (B) (about 1.8 mm (0.77 in.) diameter) to hold them there.
 Courtesy of AMERICAN HONDA MOTOR CO., INC.
- 21. Heat the rear bearing seat with a 1,000 W hair drier for about 5 minutes (129-140 °F, 50-60 °C).
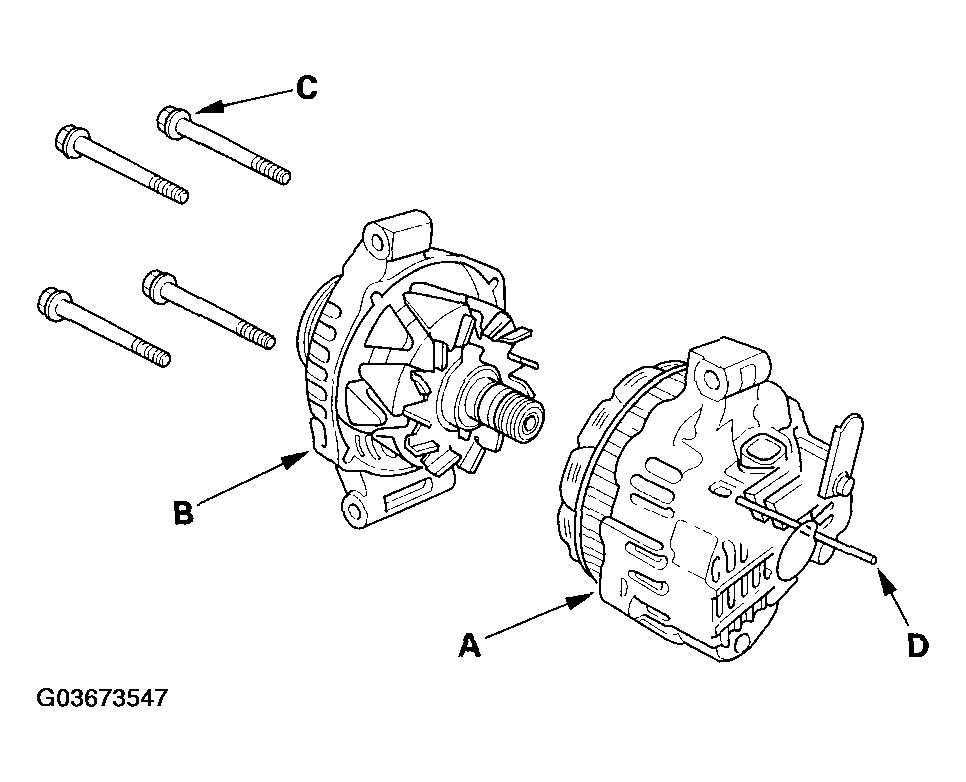
- 22. Put the rear housing assembly (A) and drive-end housing/rotor assembly (B) together, tighten the four through bolts (C), and pull out the pin (D).
 Courtesy of AMERICAN HONDA MOTOR CO., INC.
- 23. After assembling the alternator, turn the pulley by hand to make sure the rotor rotates smoothly and without noise.
- 24. Install the alternator and drive belt (see ALTERNATOR REMOVAL AND INSTALLATION
).