Transmission Range Switch Replacement
- Remove the air cleaner housing.
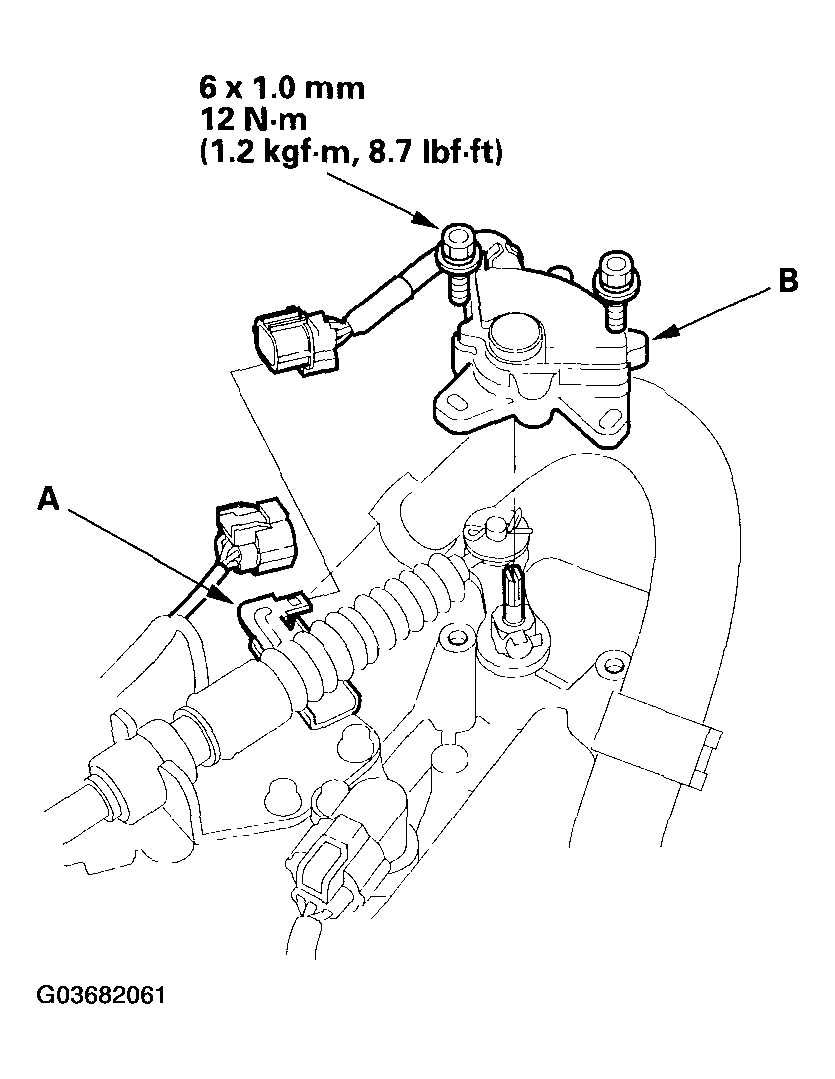
- Remove the transmission range switch connector from the connector bracket (A), then disconnect it.
 Courtesy of AMERICAN HONDA MOTOR CO., INC.
- Remove the transmission range switch (B).
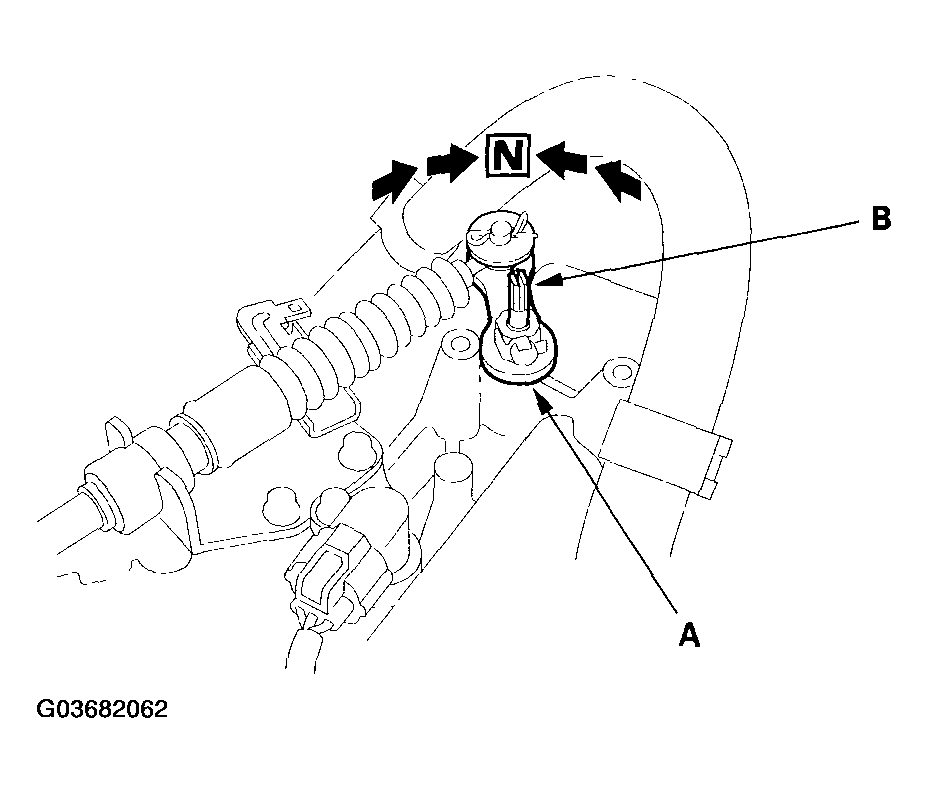
- Shift the transmission into the N position by turning the control lever (A). Do not squeeze the end (B) of the control shaft tips together when shifting. If the tips are squeezed together it will cause a faulty signal or position due to the play between the control shaft and the switch.
 Courtesy of AMERICAN HONDA MOTOR CO., INC.
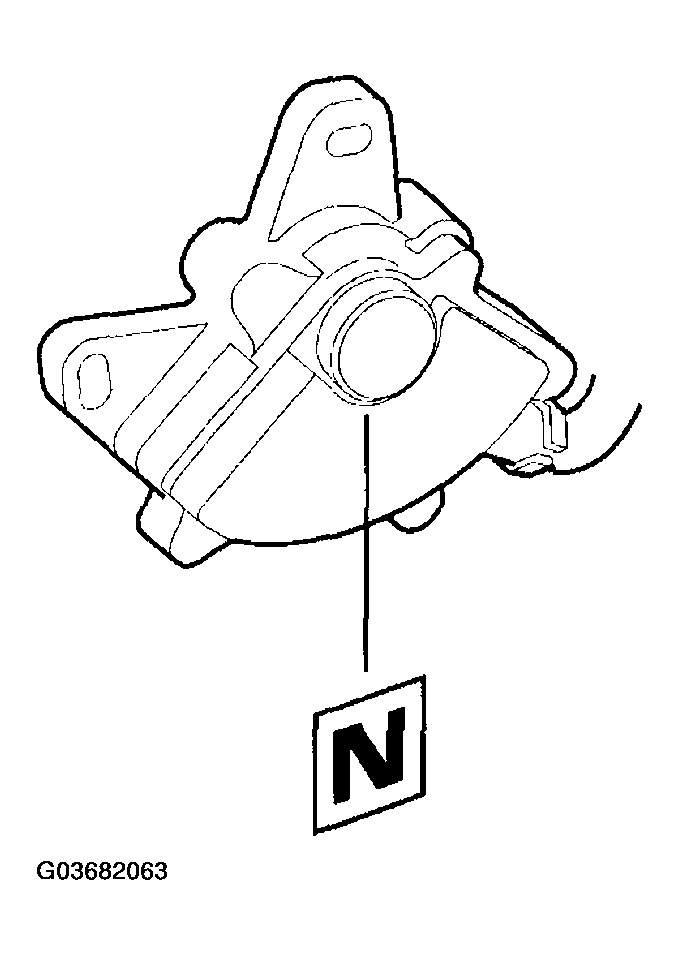
- Set the transmission range switch to the N position. The switch clicks in the N position.
 Courtesy of AMERICAN HONDA MOTOR CO., INC.
- Install the transmission range switch gently over the control shaft, then tighten the bolts. Do not move the switch when tightening the bolts.
- Connect the connector securely, then install it on its bracket.
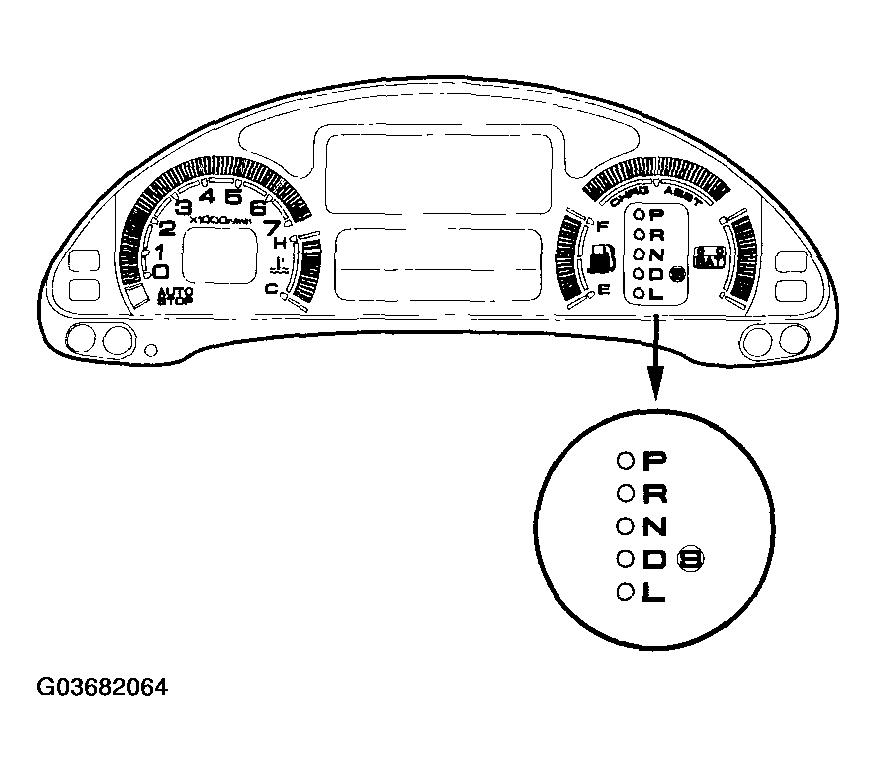
- Turn the ignition switch ON (II). Move the shift lever through all positions, and check the transmission range switch synchronization with the A/T gear position indicator.
 Courtesy of AMERICAN HONDA MOTOR CO., INC.
- Check that the engine can start in the P and N positions, and will not start in any other shift lever position.
- Check that the back-up lights come on when the shift lever is in the R position.
- Allow the wheels to rotate freely, then start the engine, and check the shift lever operation.