Rear Door Module Assembly
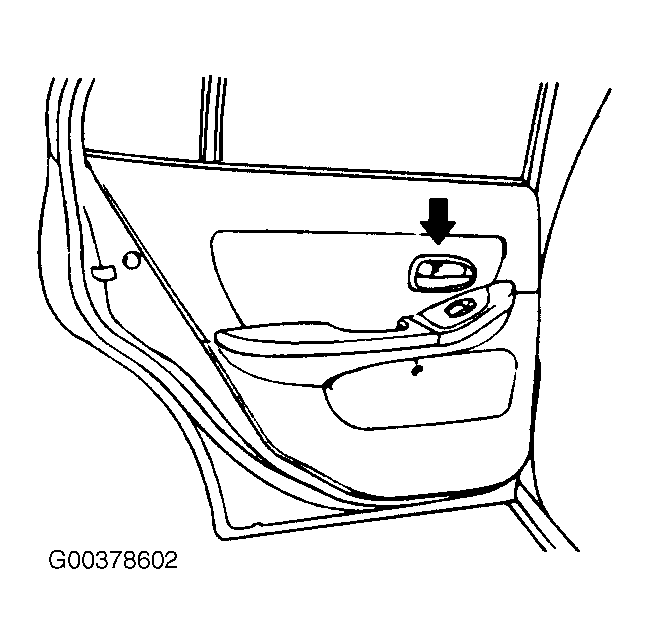
- Remove the screw holding the inside door handle trim.
 Courtesy of HYUNDAI MOTOR CO.
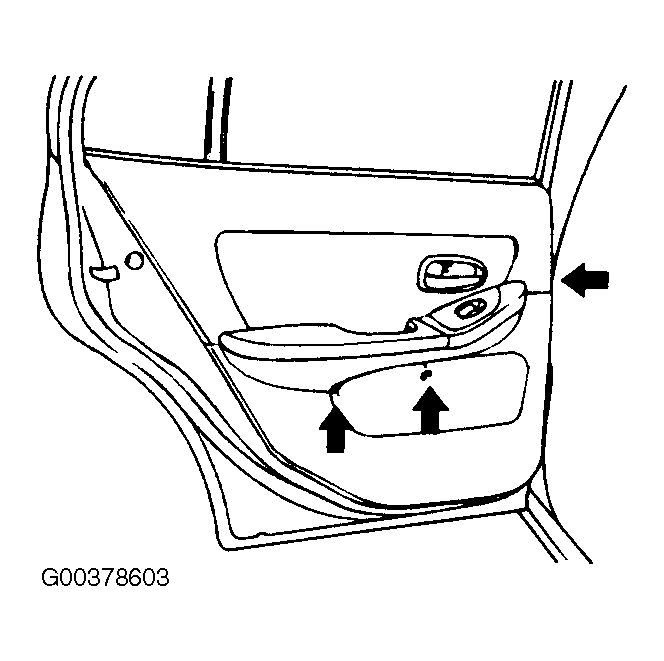
- Remove the screws holding the door trim panel.
 Courtesy of HYUNDAI MOTOR CO.
- Insert a trim panel remover between the trim fasteners and the door trim panel to pry off. Disconnect the wire connectors from the rear door.
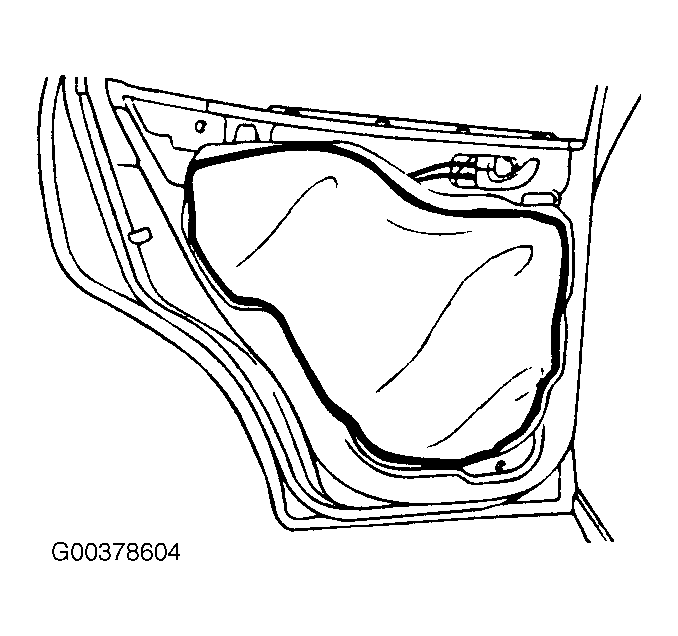
- Remove the door vapor barrier.
 Courtesy of HYUNDAI MOTOR CO.
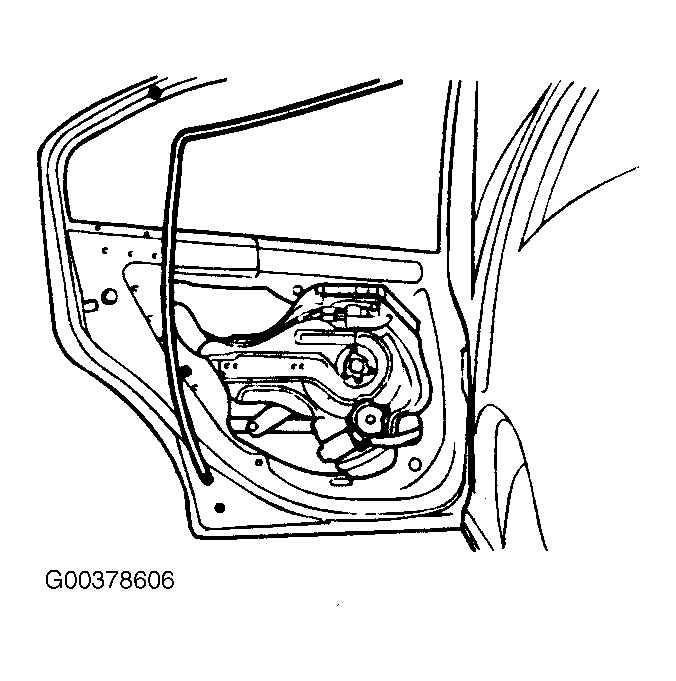
- Roll the rear door glass down and then remove the bolts holding the rear door glass.
 Courtesy of HYUNDAI MOTOR CO.
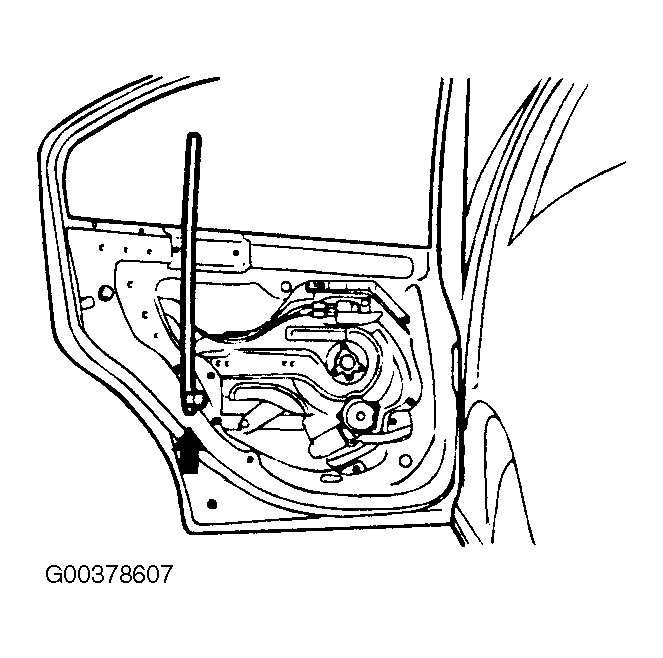
- Remove the rear door glass run.
 Courtesy of HYUNDAI MOTOR CO.
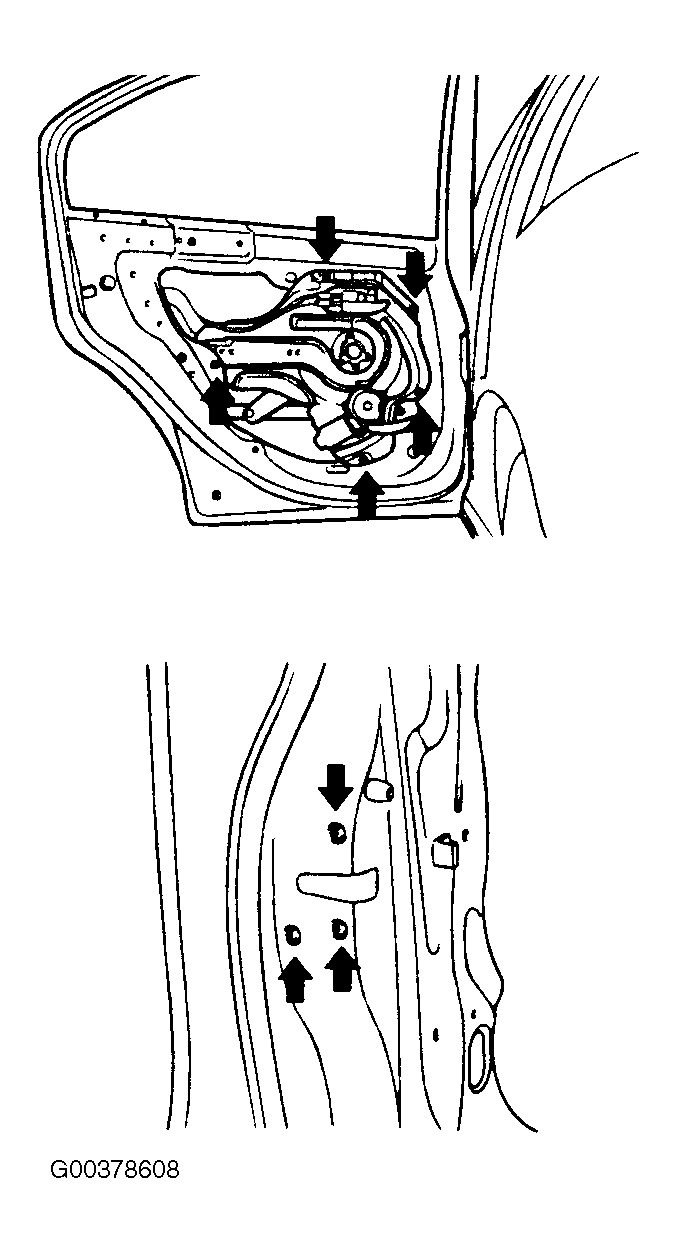
- Remove the division channel from the rear door and then remove the rear door glass.
 Courtesy of HYUNDAI MOTOR CO.
- Remove the fixed glass from the rear door.
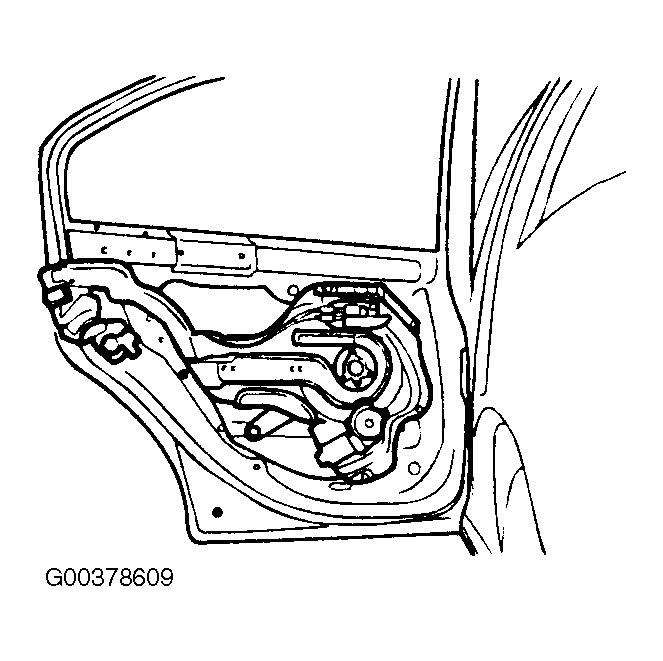
- Disconnect the rod from the outside handle. Remove the bolts holding the latch and the door lock actuator.
 Courtesy of HYUNDAI MOTOR CO.
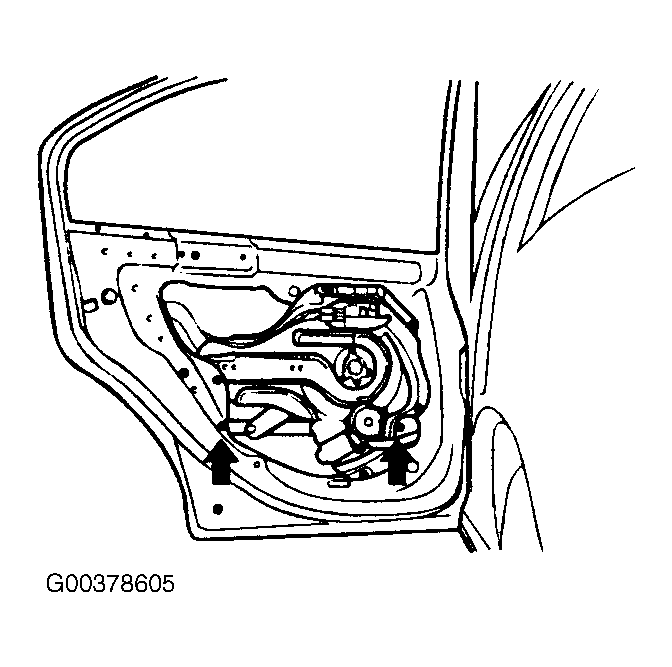
- Remove the rear door module.
 Courtesy of HYUNDAI MOTOR CO.
- Installation is the reverse of removal. When installing the door vapor barrier, butyl tape should not be placed to block the door trim fastener holes.