Automatic Transaxle Shift Control: Removal
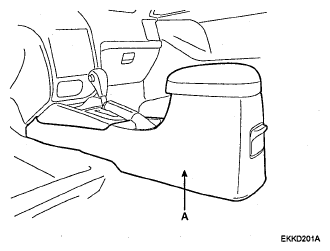
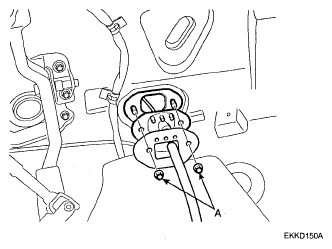
- Remove the console (A) mounting screws (6EA).
 Courtesy of HYUNDAI MOTOR CO.
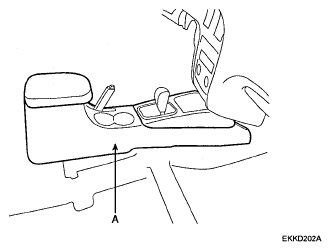
- Remove the console (A).
 Courtesy of HYUNDAI MOTOR CO.
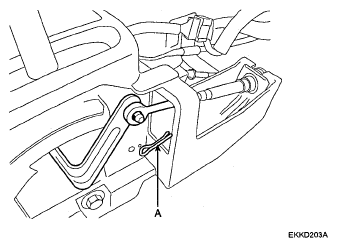
- Remove the control cable pin (A).
 Courtesy of HYUNDAI MOTOR CO.
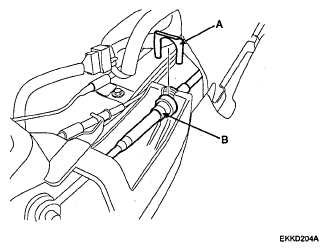
- Remove the clip (A) of the control cable (B) by pressing it with the driver.
 Courtesy of HYUNDAI MOTOR CO.
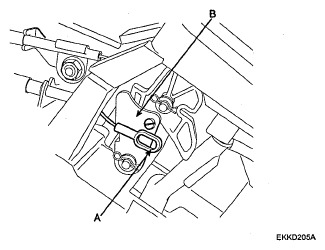
- Separate the shift lock cable (A) from the P-lock cam (B).
 Courtesy of HYUNDAI MOTOR CO.
- Remove the shift lock cable (A) mounting nut (B).
 Courtesy of HYUNDAI MOTOR CO.
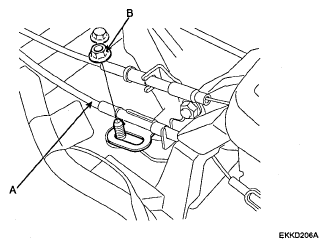
- Remove the inter lock cable (A) from the key-lock cam (B).
 Courtesy of HYUNDAI MOTOR CO.
- Remove the inter lock cable mounting bolt (A).
 Courtesy of HYUNDAI MOTOR CO.
- Remove the mounting bolts (A) of the cable of the lower dashboard side to remove the cable.
 Courtesy of HYUNDAI MOTOR CO.
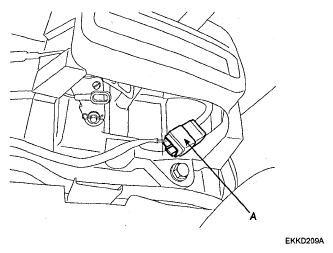
- Remove the indicator connector (A).
 Courtesy of HYUNDAI MOTOR CO.
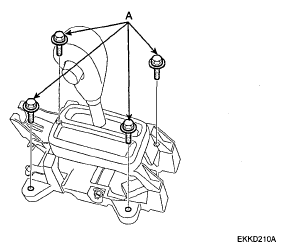
- Remove the shift lever mounting bracket (Bolts: 4EA (A)).
 Courtesy of HYUNDAI MOTOR CO.