Disassembly 2014
- Disconnect the M-terminal (A) on the magnet switch assembly.
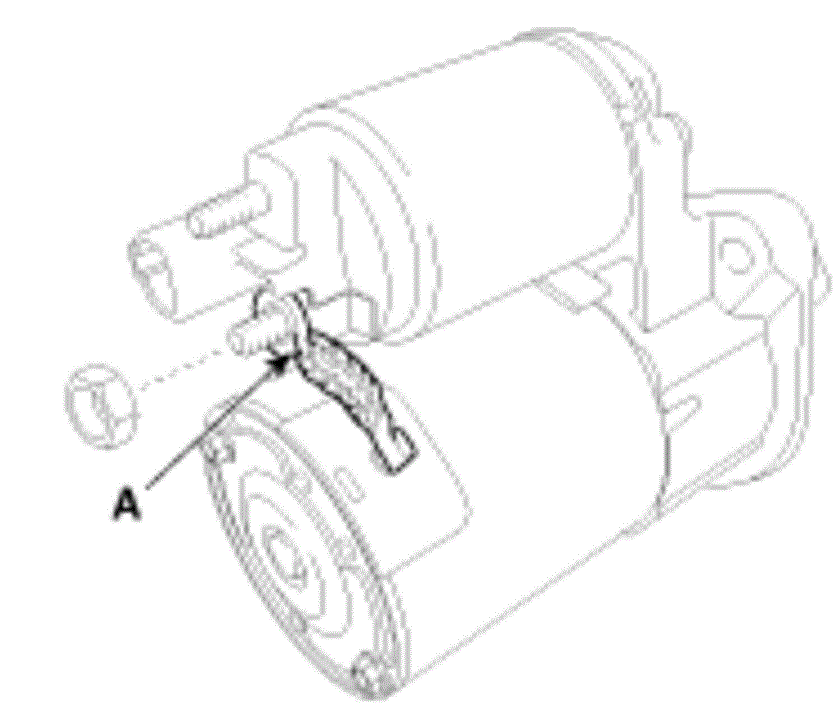 Courtesy of HYUNDAI MOTOR AMERICA
- After loosening the screws (A), detach the magnet switch assembly (B).
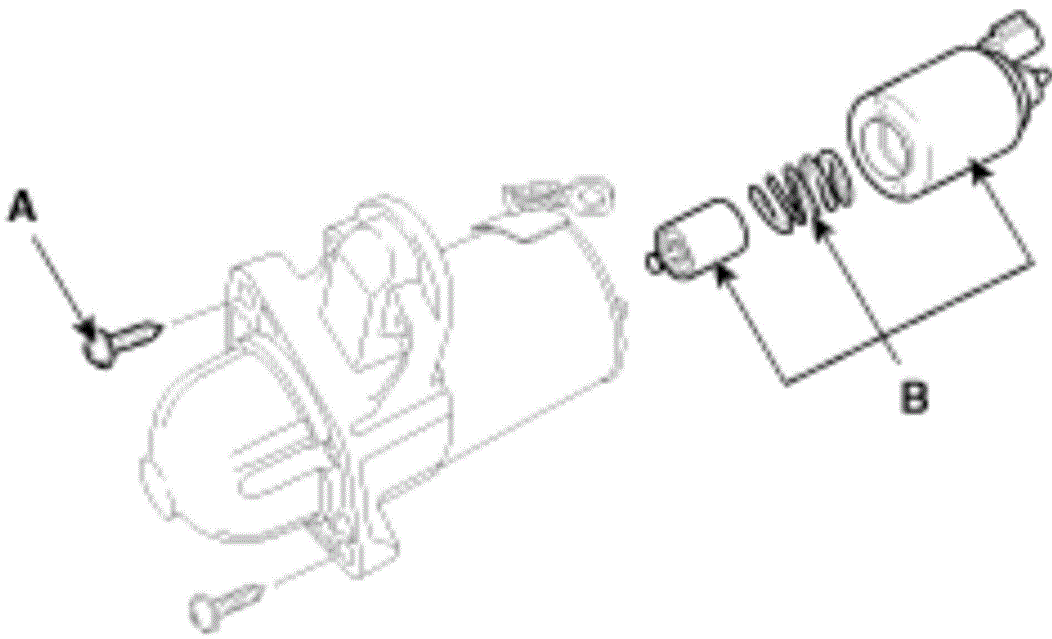 Courtesy of HYUNDAI MOTOR AMERICA
- Loosen the through bolts (A).
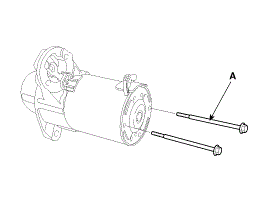 Courtesy of HYUNDAI MOTOR AMERICA
- Remove the brush holder assembly (A), armature assembly (B) and yoke assembly (C).
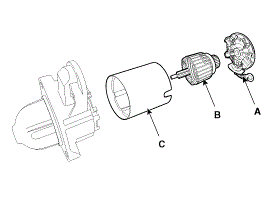 Courtesy of HYUNDAI MOTOR AMERICA
- Remove the gasket sheet (A) and lever stop (B).
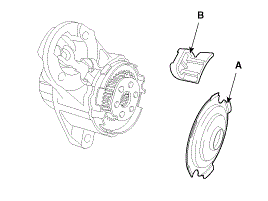 Courtesy of HYUNDAI MOTOR AMERICA
- Remove reducer assembly (A) and lever (B).
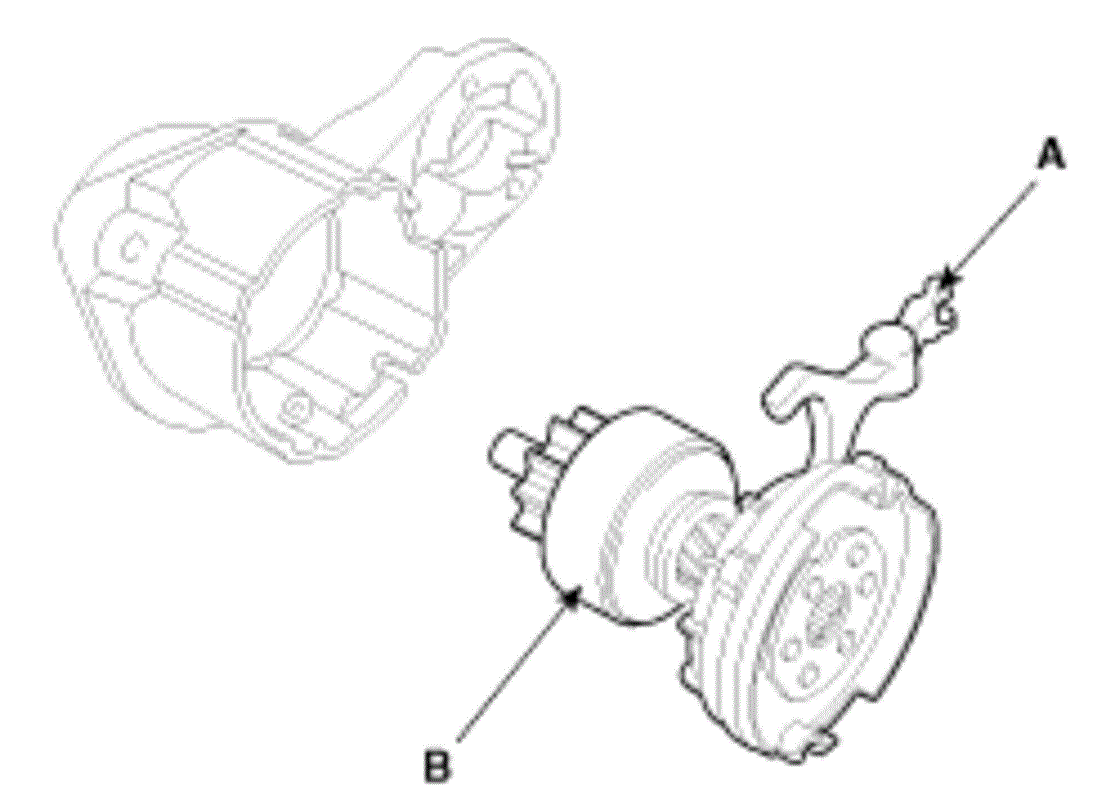 Courtesy of HYUNDAI MOTOR AMERICA
- Press the stopper (A) using a socket (B).
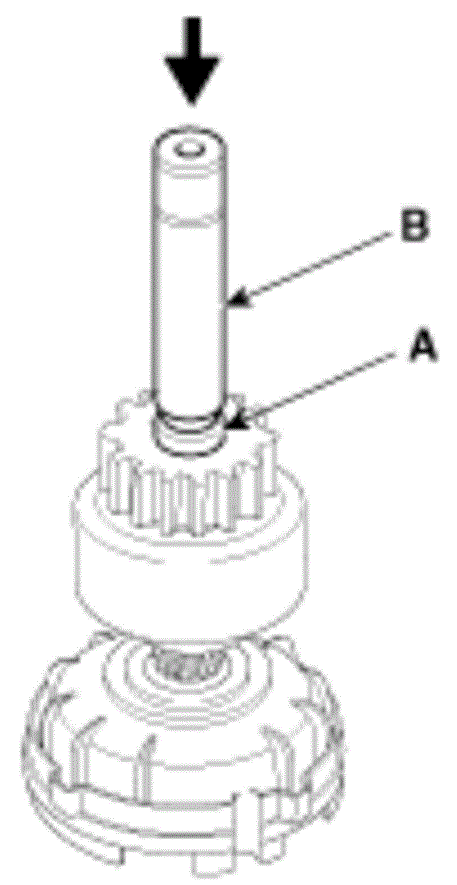 Courtesy of HYUNDAI MOTOR AMERICA
- Remove the stop ring (A) using stop ring pliers (B).
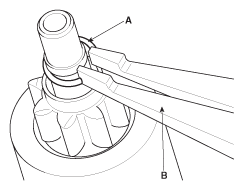 Courtesy of HYUNDAI MOTOR AMERICA
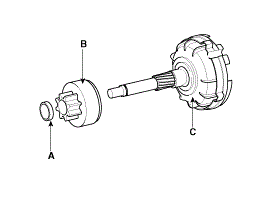
- Disconnect the stopper (A), overrunning clutch (B) and internal gear (C).
 Courtesy of HYUNDAI MOTOR AMERICA
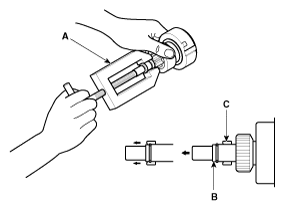
NOTE:
Using a suitable pulling tool (A), pull the overrunning clutch stopper (C) over the stop ring (B)
 Courtesy of HYUNDAI MOTOR AMERICA