Lower Control Arm: Removal
- Raise the vehicle and support the frame with suitable safety stands.
- Remove wheel and tire assembly. Refer to WHEEL & TIRE SYSTEM
.
- Remove the tie-rod end from the knuckle. Refer to POWER STEERING UNIT
.
- Remove the retaining ring from the front axle driving shaft to release the shaft from hub (Except 2WD model). Refer to DISC & DRUM
.
- Support lower control arm with a jack.
- Remove front nut.
- Remove rear nut.
- Remove torsion bar, Refer to TORSION BAR
.
- Remove torsion bar arm bracket.
- Disconnect the stabilizer link at the lower control arm.
- Remove the shock absorber lower end from the lower control arm.
- Remove the lower ball joint from the lower control arm.
- Remove front bolt.
- Remove rear bolt.
- Remove lower control arm.
- Remove torsion bar arm bolt.
- Remove lower ball joint bolt.
- Remove front bushing by using remover J-36833.
 Courtesy of ISUZU MOTOR CO.
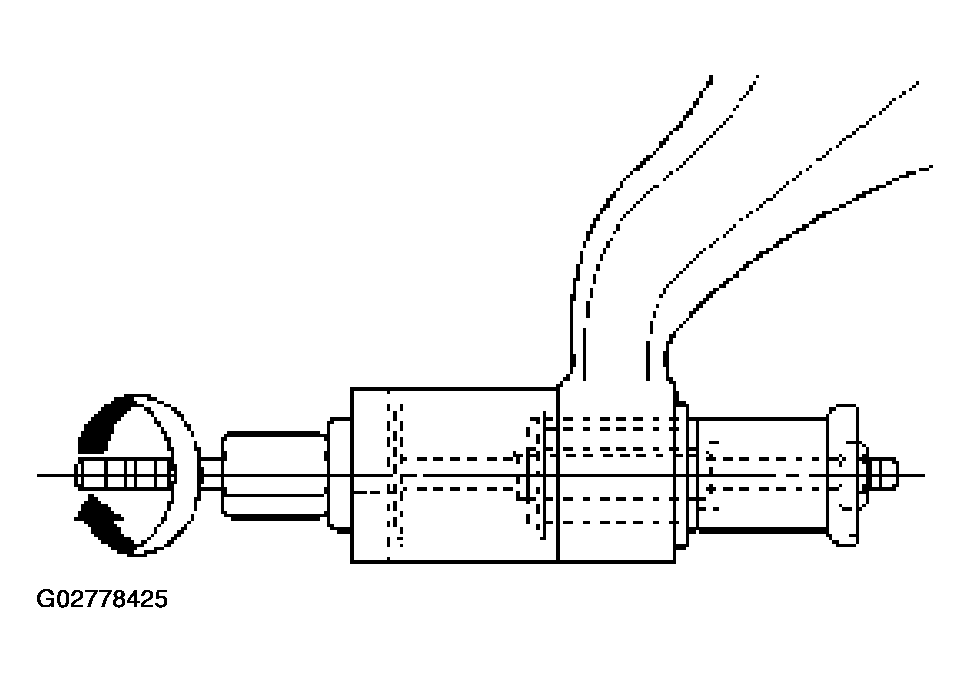 Courtesy of ISUZU MOTOR CO.
- Remove rear bushing by using remover J-36834.
 Courtesy of ISUZU MOTOR CO.
 Courtesy of ISUZU MOTOR CO.