Repair Procedures: Disassembly
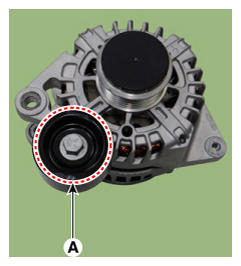
- Remove the pully (A) after loosening the mounting bolt.
 Courtesy of KIA MOTORS AMERICA, INC.
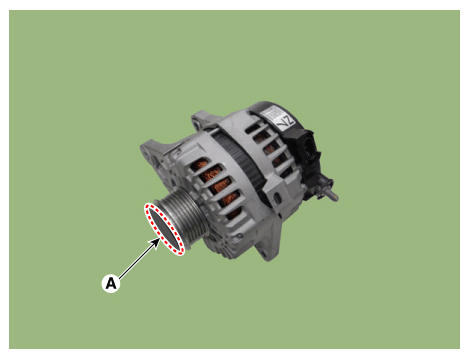
- Remove the OAP cap (A).
 Courtesy of KIA MOTORS AMERICA, INC.
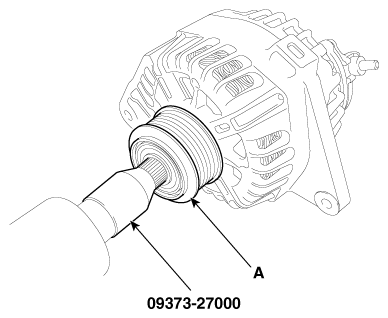
- Using the SST (09373-27000), remove the OAP pulley (A).
 Courtesy of KIA MOTORS AMERICA, INC.
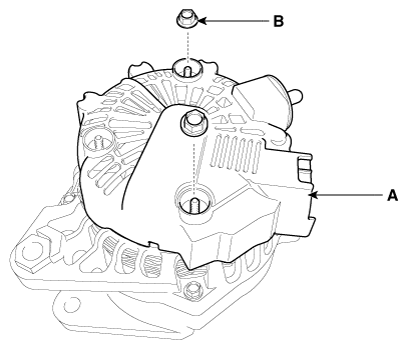
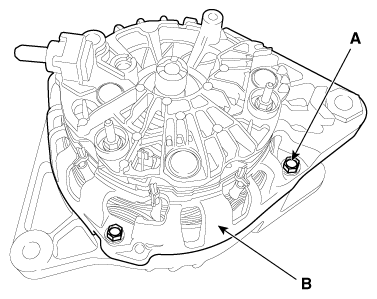
- Remove the rear cover (A) after removing nuts (B).
 Courtesy of KIA MOTORS AMERICA, INC.
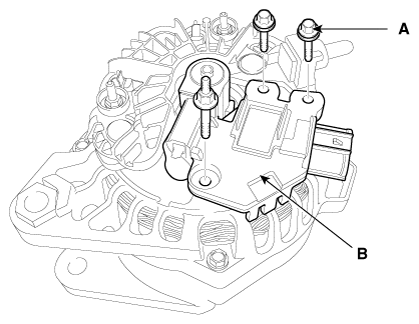
- Remove the mounting bolts (A) and the regulator assembly (B).
 Courtesy of KIA MOTORS AMERICA, INC.
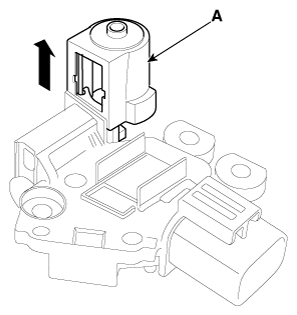
- Remove the slip ring guide (A) after pulling it.
 Courtesy of KIA MOTORS AMERICA, INC.
- Unsolder the 3 Stator Leads (A).
 Courtesy of KIA MOTORS AMERICA, INC.
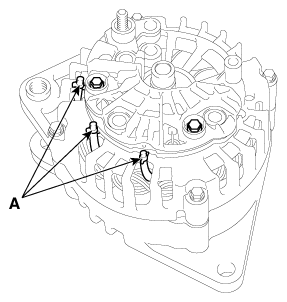
- Remove the 4 through bolts (A).
 Courtesy of KIA MOTORS AMERICA, INC.
- Disconnect the rotor (A) and housing (B).
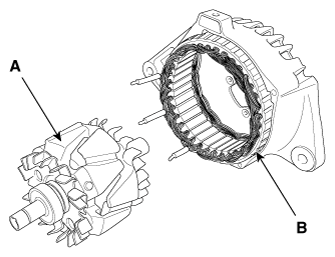 Courtesy of KIA MOTORS AMERICA, INC.