Direct Clutch Assembly: Disassembly
- Remove and discard the 2 scarf cut seals and the roller bearing.
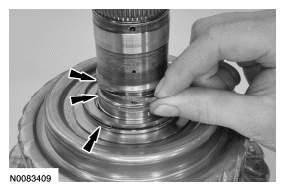 Courtesy of FORD MOTOR CO.
- Remove the T5 thrust bearing.
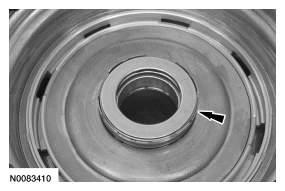 Courtesy of FORD MOTOR CO.
- Remove the direct clutch snap ring.
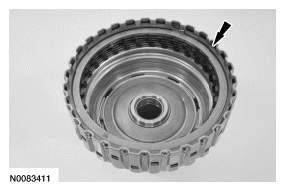 Courtesy of FORD MOTOR CO.
- Remove the direct clutch steel and friction plates.
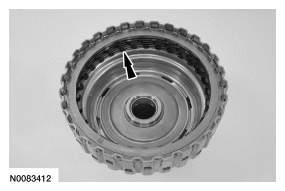 Courtesy of FORD MOTOR CO.
- Install the Clutch Spring Compressors onto the direct clutch assembly.
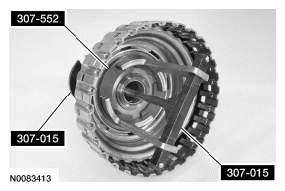 Courtesy of FORD MOTOR CO.
- Using the Clutch Spring Compressors, compress the direct clutch return spring and remove the direct clutch return spring retainer.
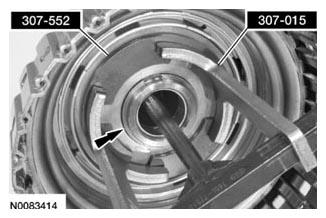 Courtesy of FORD MOTOR CO.
- Remove the balance piston.
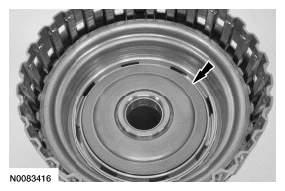 Courtesy of FORD MOTOR CO.
- Remove the direct clutch return spring.
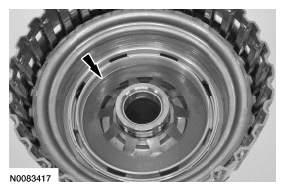 Courtesy of FORD MOTOR CO.
- Remove the direct clutch piston.
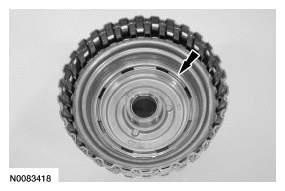 Courtesy of FORD MOTOR CO.
- Remove and discard the outer O-ring seal from the balance piston.
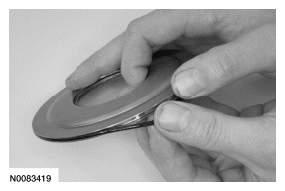 Courtesy of FORD MOTOR CO.
- Remove and discard the outer and inner O-ring seals from the apply piston.
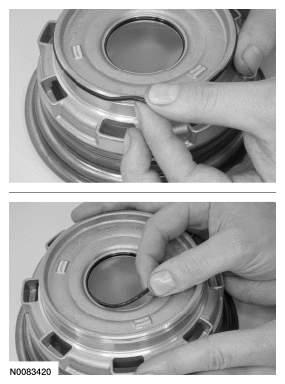 Courtesy of FORD MOTOR CO.
- Inspect the components of the direct clutch for damage. If damage is indicated, install new components as necessary.