Headliner Removal/Installation
- Disconnect the negative battery cable.
- Turn the seaming welt and weatherstrip over.
- Remove the A-pillar trims. See A-PILLAR TRIM REMOVAL/INSTALLATION
.
- Remove the B-pillar upper trims. See B-PILLAR UPPER TRIM REMOVAL/INSTALLATION
.
- Remove the C-pillar trims. See C-PILLAR TRIM REMOVAL/INSTALLATION
.
- Remove the interior and map light if not equipped with a sliding sunroof. See INTERIOR AND MAP LIGHT REMOVAL/INSTALLATION
.
- Remove the map light and interior light if equipped with a sliding sunroof. See INTERIOR LIGHT REMOVAL/INSTALLATION
and MAP LIGHT REMOVAL/INSTALLATION
.
- Remove the screws then remove the sun visor and assist handle.
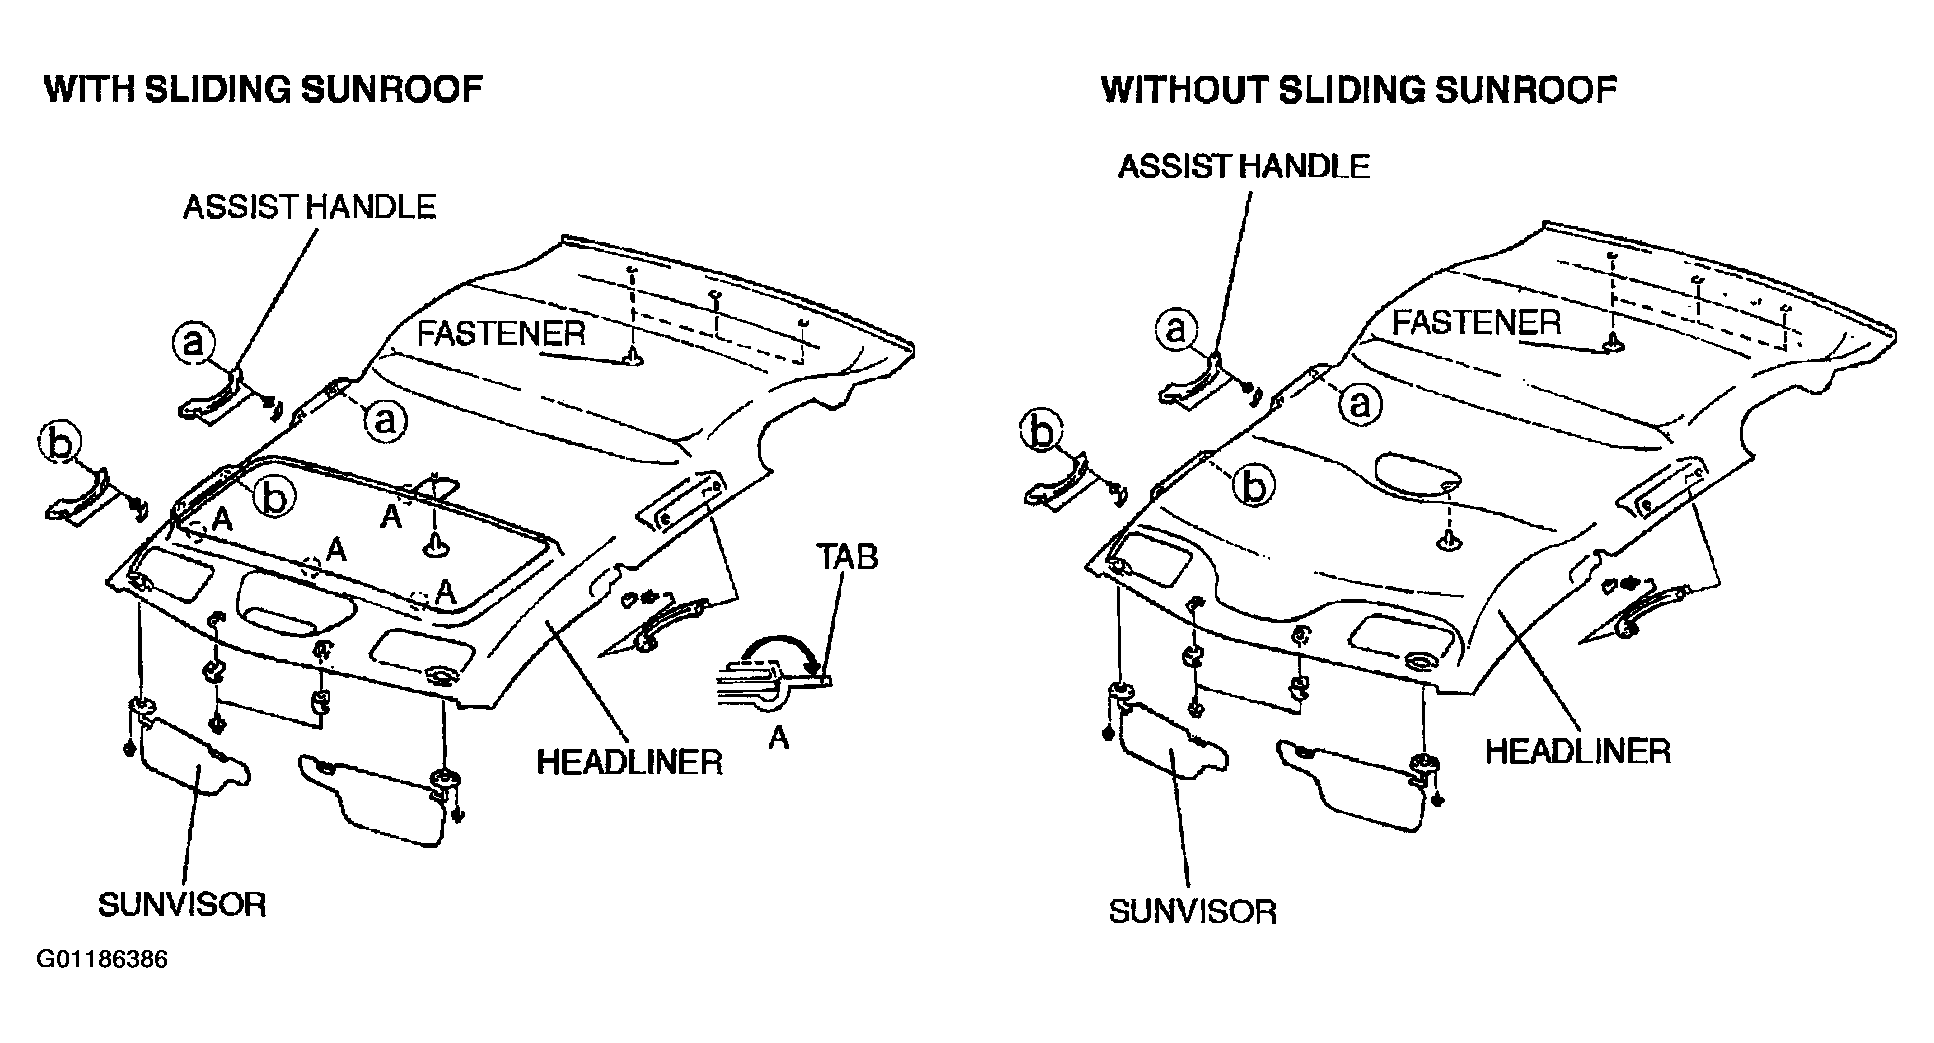 Courtesy of MAZDA MOTORS CORP.
- Fold tabs A up if equipped with a sliding sunroof.
- Remove the fasteners.
- Remove the headliner diagonally from the passenger-side front door frame.
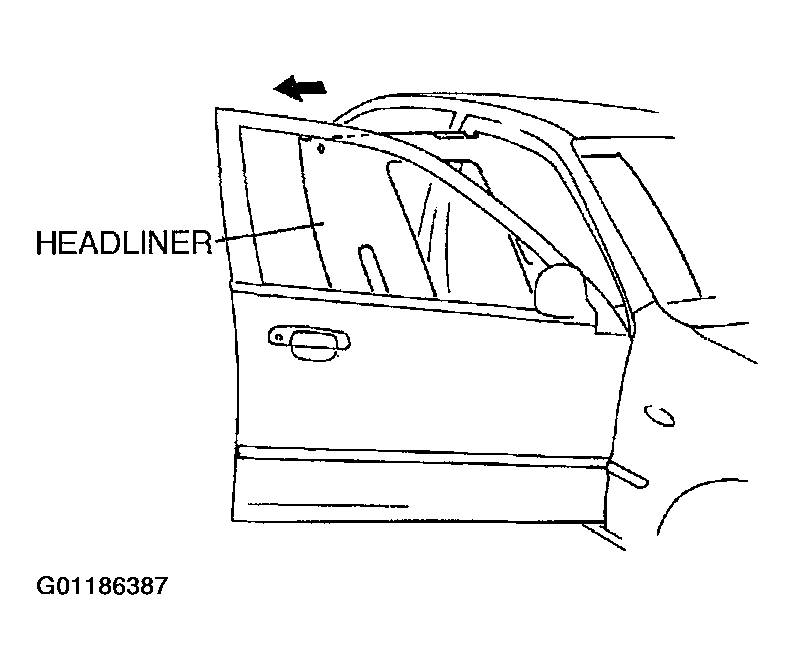 Courtesy of MAZDA MOTORS CORP.
CAUTION:
To protect the trim, seaming welt, etc. from scratches when removing the headliner from the vehicle, affix protective tape to the console, shift lever knob and door frame.
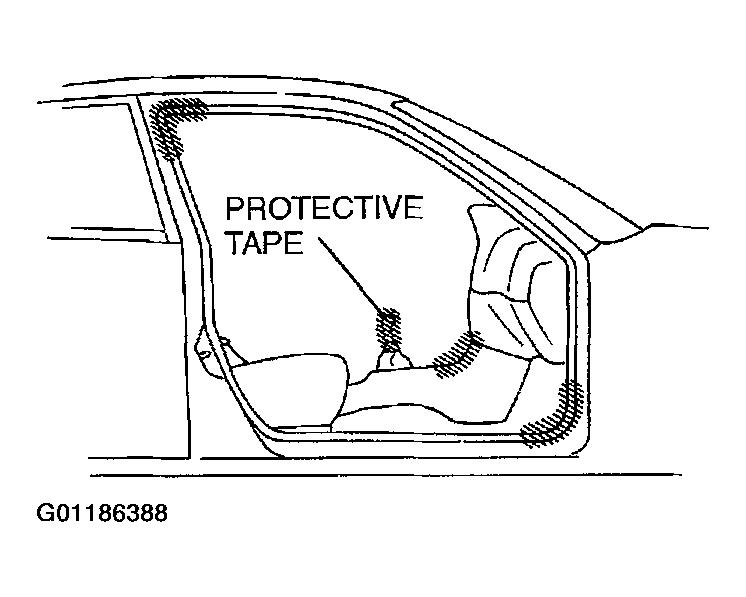 Courtesy of MAZDA MOTORS CORP.
- Install in the reverse order of removal.