Removal and Installation: Removal
- Release the fuel system fuel pressure. Refer to
FUEL PRESSURE RELEASE
(KA24DE),
FUEL PRESSURE RELEASE
(VG33E),
FUEL PRESSURE RELEASE
(VG33ER).
- Disconnect battery ground cable.
- Drain fuel from fuel tank.
- Disconnect electrical connectors.
- Remove filler protector.
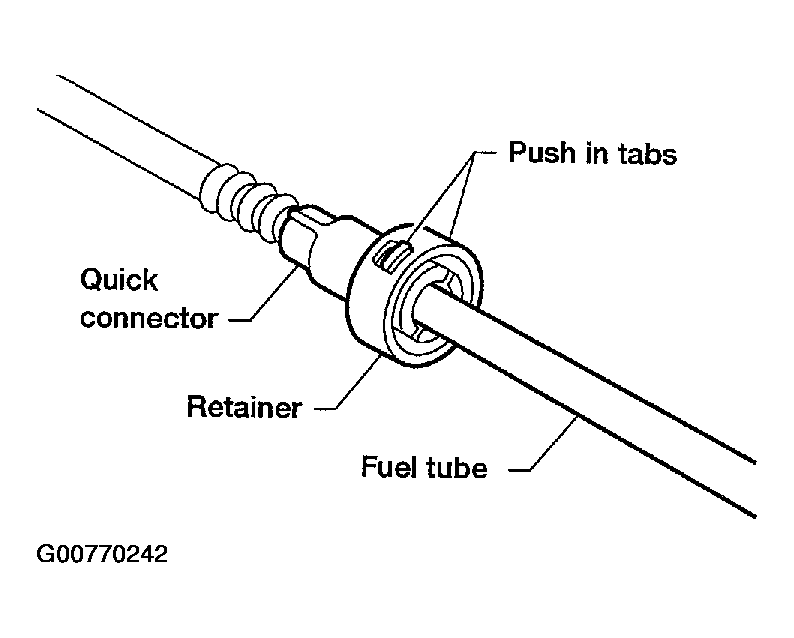
- Remove the quick connectors as follows:
- Put mating marks on the connectors for correct installation.
- Hold the sides of the connector, push in tabs, and pull out the tube inserted in the retainer.
 Courtesy of NISSAN MOTOR CO., U.S.A.
CAUTION:
- The tube can be removed when the push in tabs are completely depressed.
- Do not use any tools to remove the quick connector.
- Keep the connecting portion of the tubes and quick connectors clean.
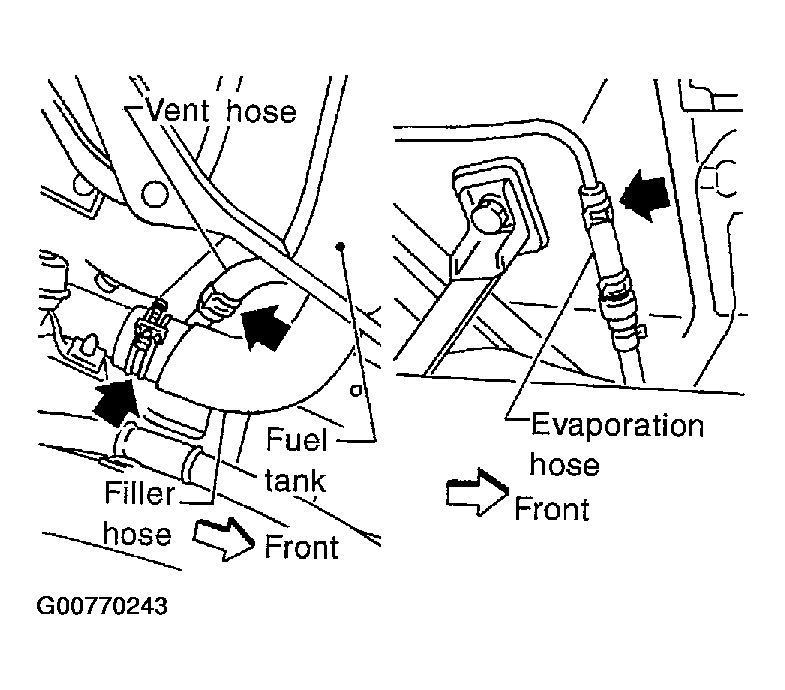
- Disconnect filler hose, vent and evaporation hose at fuel tank side.
 Courtesy of NISSAN MOTOR CO., U.S.A.
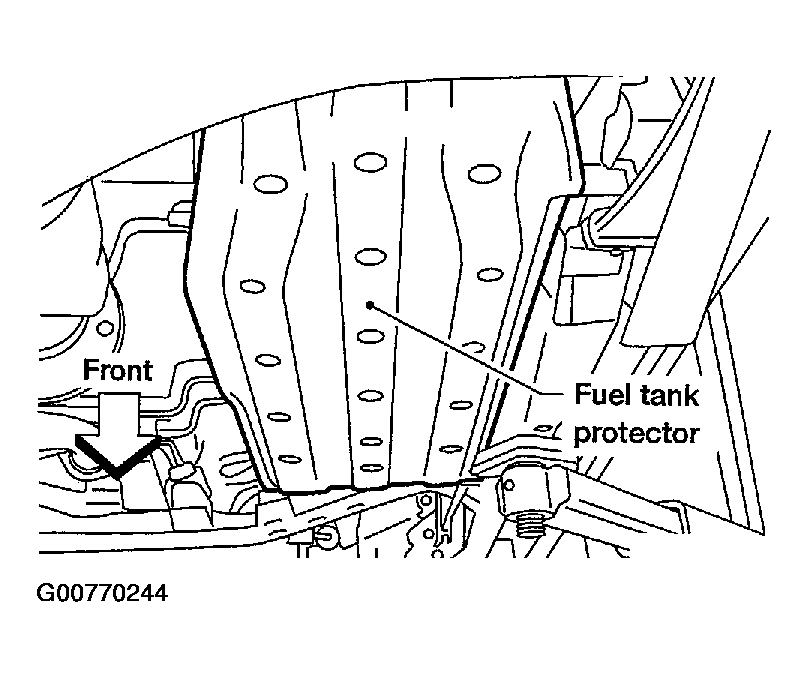
- Remove fuel tank protector.
 Courtesy of NISSAN MOTOR CO., U.S.A.
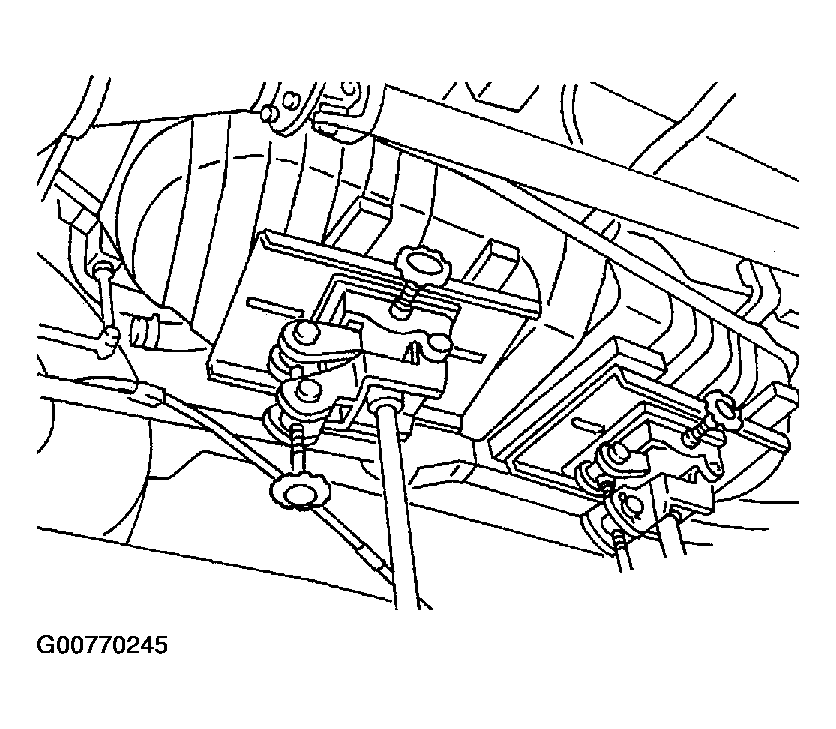
- Remove fuel tank mounting bolts while supporting fuel tank.
 Courtesy of NISSAN MOTOR CO., U.S.A.
- Remove fuel tank.