- Remove wheel and tire using power tool.
- Remove wheel sensor from steering knuckle. Refer to
REMOVAL AND INSTALLATION
.
CAUTION:
Do not pull on wheel sensor harness.
- Remove cotter pin, then loosen lock nut using power tool.
CAUTION:
Temporarily leave the hub lock nut installed to prevent damage to threads.
- Remove the brake torque member, caliper and pads as an assembly using power tool, then remove the disc rotor. Refer to
REMOVAL AND INSTALLATION OF BRAKE CALIPER ASSEMBLY
.
CAUTION:
- Do not twist or stretch brake hose.
- Do not drop the pads or shims.
NOTE:
- The brake hose does not need to be disconnected from the brake caliper.
- Suspend the brake torque member, caliper and pads as an assembly using wire.
- Do not depress the brake pedal, or the caliper piston will pop out.
- Separate the drive shaft from the wheel hub and bearing assembly by lightly tapping the end of the drive shaft using a hammer or suitable tool, and then remove lock nut.
NOTE:
Use a suitable puller if wheel hub and bearing assembly and drive shaft cannot be separated after performing the above procedure.
- Remove the drive shaft from the wheel hub and bearing assembly and support the drive shaft.
CAUTION:
- Do not apply an excessive angle to drive shaft joint when removing from the wheel hub and bearing assembly,
- Do not excessively extend slide joint.
- Do not allow drive shaft to hang down. Support the entire drive shaft.
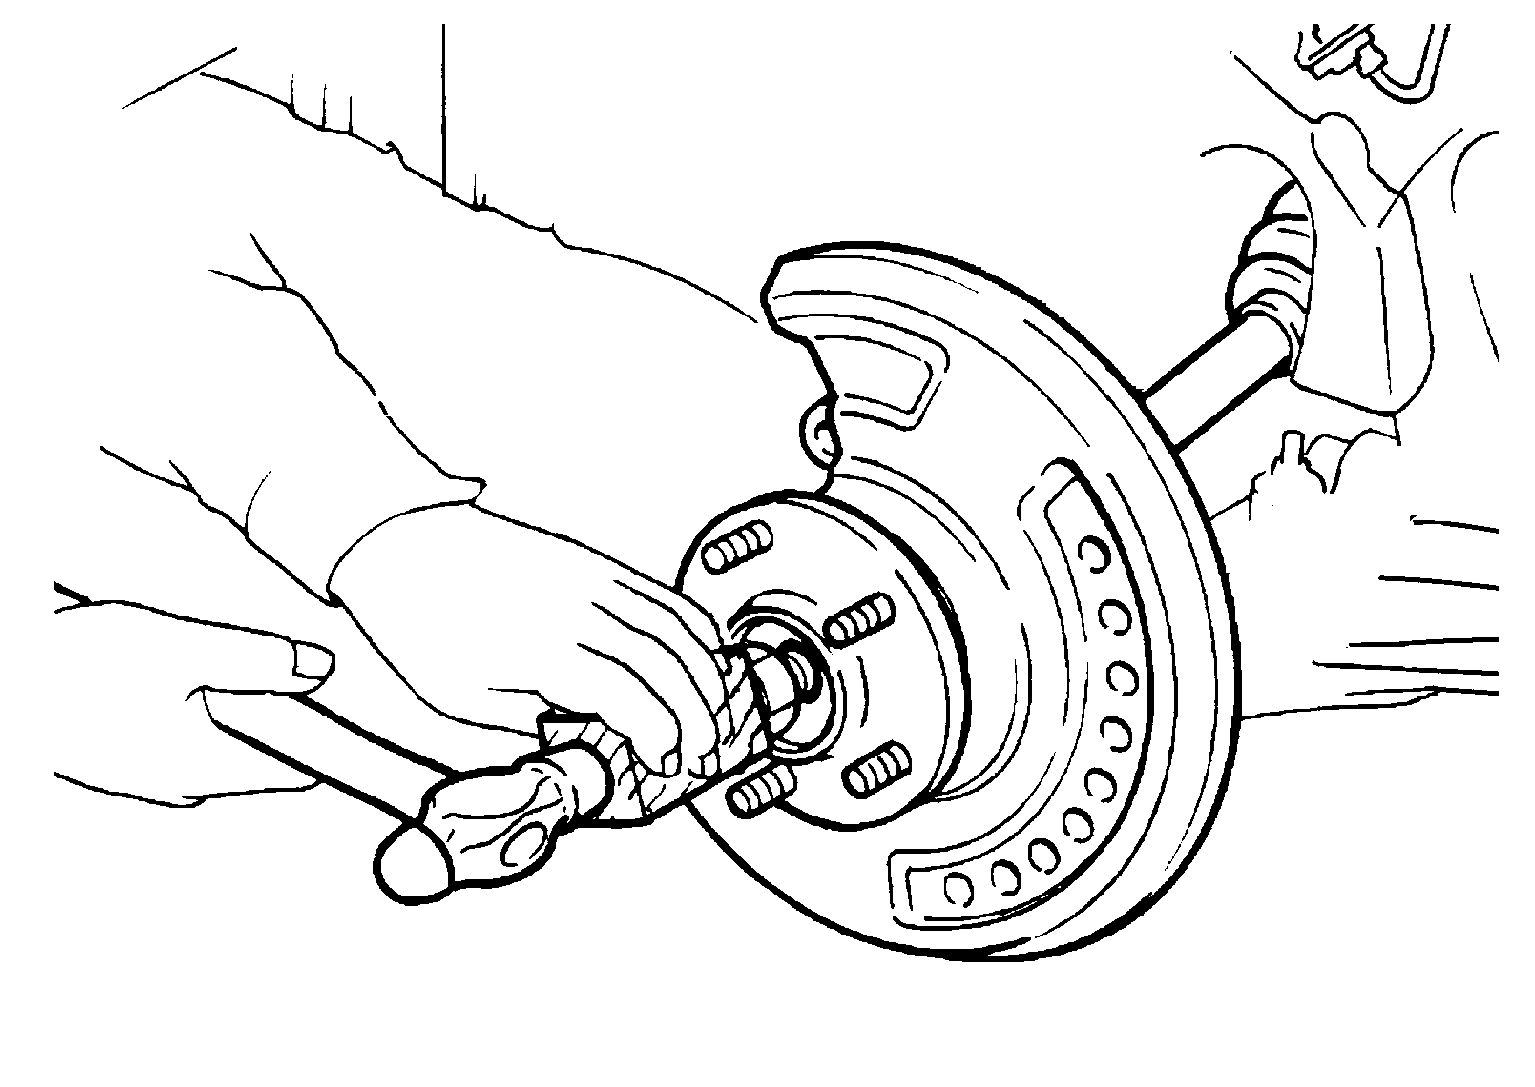 Courtesy of NISSAN NORTH AMERICA, INC.
- Remove wheel hub and bearing assembly bolts, and then remove splash guard and wheel hub and bearing assembly from steering knuckle.