Installation Procedure
- Feed the cable assembly through the passenger floor pan opening.
 Courtesy of GENERAL MOTORS CORP.
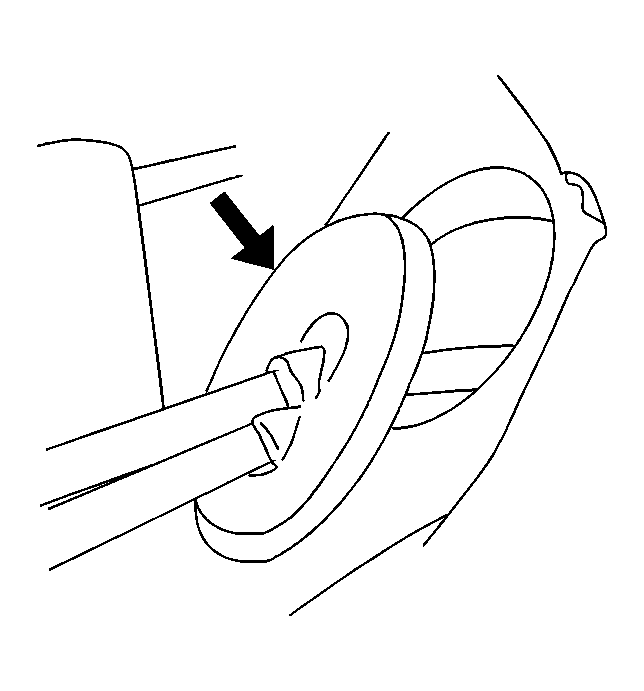
- Install the grommet flush with the floor opening.
 Courtesy of GENERAL MOTORS CORP.
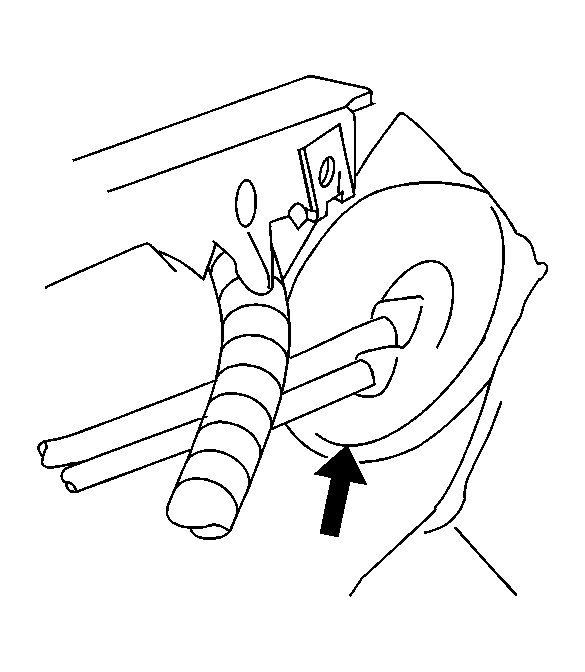
- Install the right rear floor right side elbow duct.
 Courtesy of GENERAL MOTORS CORP.
- Position and install the passenger side carpet. Refer to Carpet Replacement - Front
in Interior Trim.
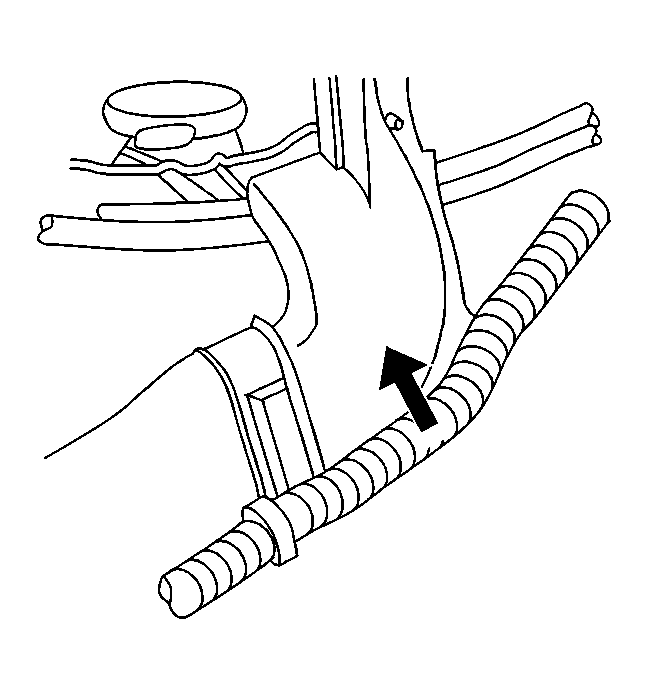
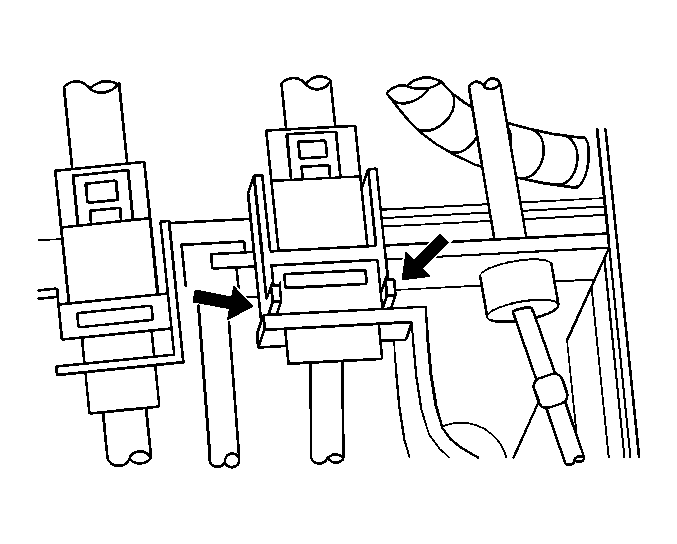
- Install the cables into the underhood bracket.
 Courtesy of GENERAL MOTORS CORP.
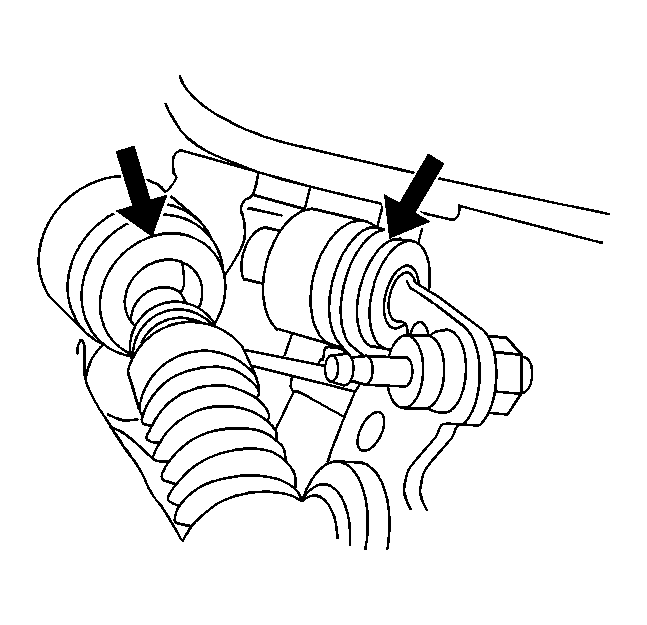
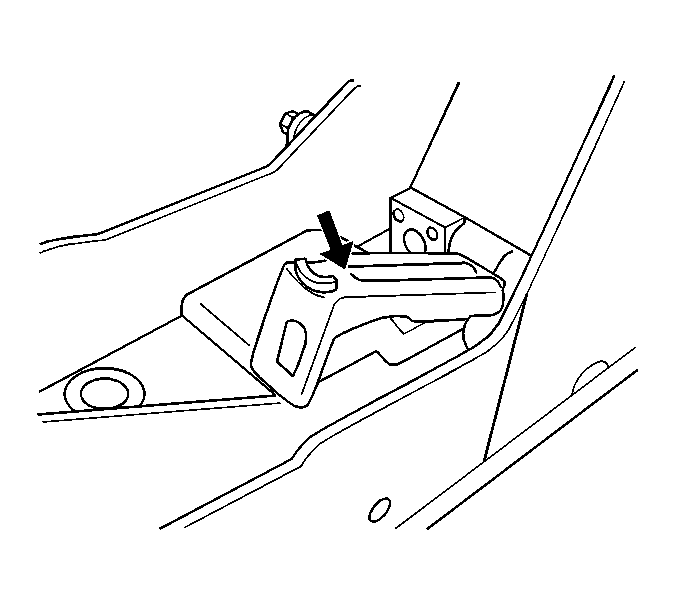
- Connect the shift cable to the shift actuator.
 Courtesy of GENERAL MOTORS CORP.
- Connect the cables to the shifter.
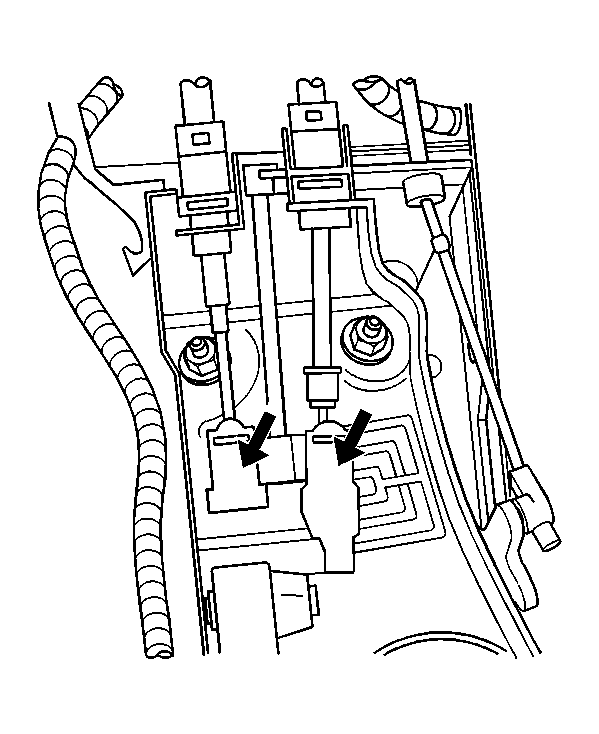 Courtesy of GENERAL MOTORS CORP.
- Press down on the locking tabs.
- Install the console. Refer to Console Replacement - Front Floor
in Instrument Panel, Gages, and Console.
 Courtesy of GENERAL MOTORS CORP.
- Install the air cleaner inlet duct.
- Connect the battery.