Removal Procedure
 Courtesy of GENERAL MOTORS CORP.
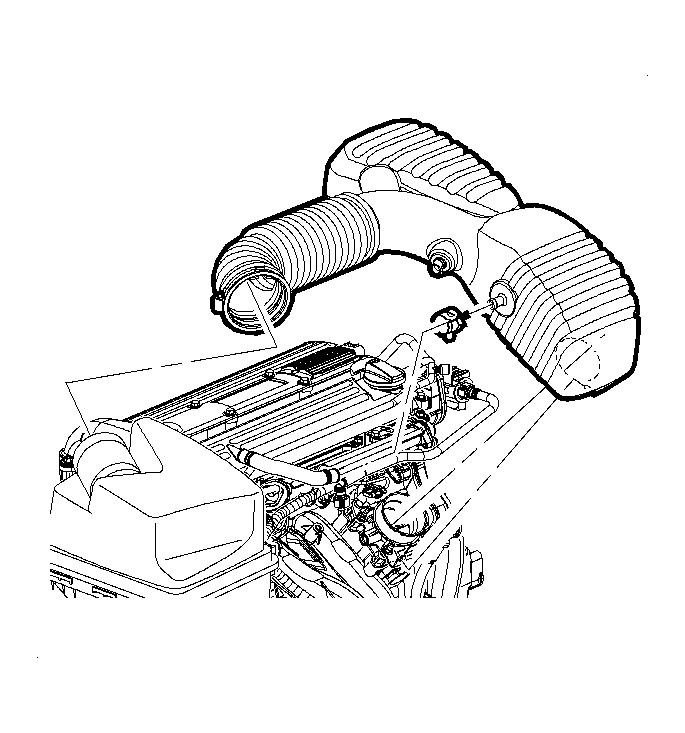
- Disconnect the intake air temperature (IAT) sensor connector.
- Loosen the clap at the air cleaner assembly.
- Remove the push-pin attachment from the outlet resonator/duct assembly to support the bracket.
- Loosen the clamp at the throttle body assembly.
- Disconnect the PCV fresh air vent hose at the cam cover.
- Remove the outlet resonator/duct assembly.
 Courtesy of GENERAL MOTORS CORP.
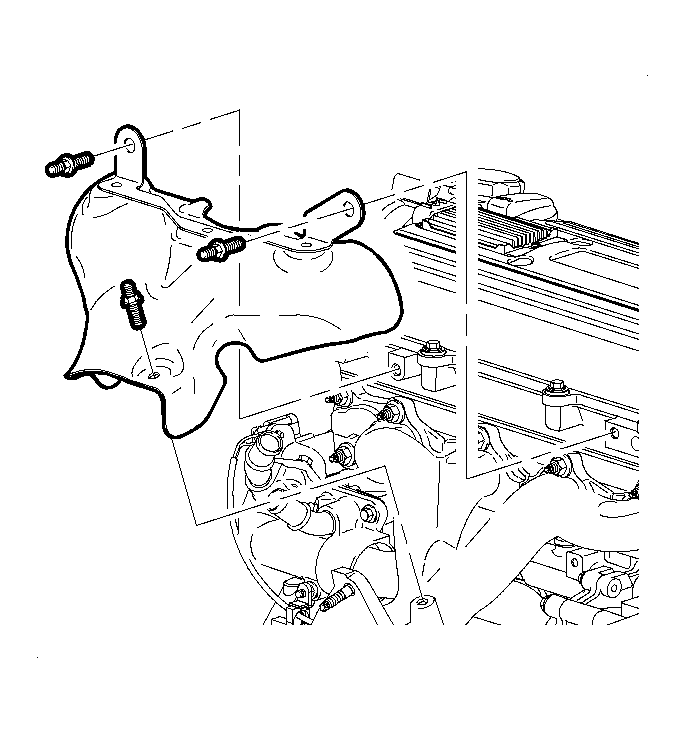
- Remove the exhaust manifold heat shield bolts.
- Remove the exhaust manifold heat shield.
- Disconnect the front and rear O2 sensor connectors. Remove the sensor if the exhaust manifold is being replaced using J 39194-C
.
- Raise the vehicle. Refer to Lifting and Jacking the Vehicle
in General Information.
 Courtesy of GENERAL MOTORS CORP.
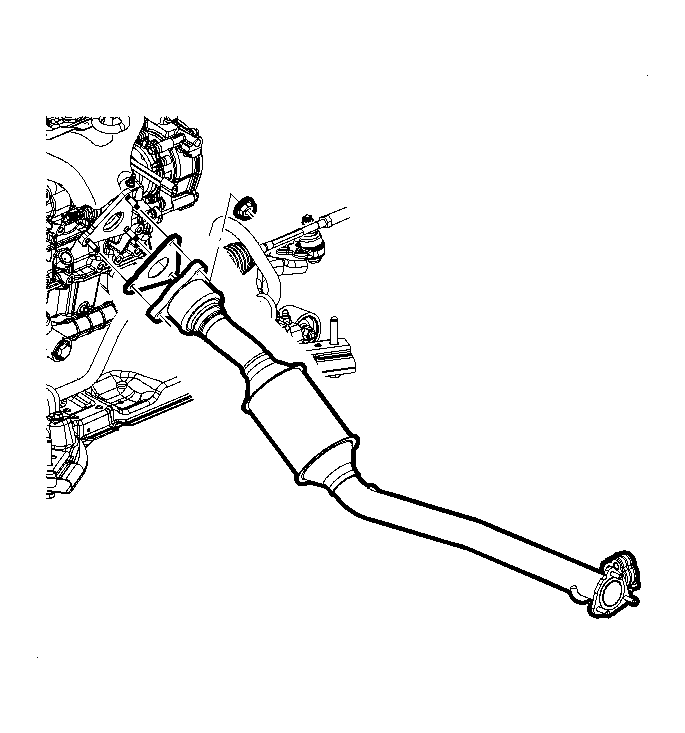
- Remove the exhaust manifold pipe to manifold nuts.
- Remove the exhaust manifold pipe to resonator pipe nuts behind the converter.
- Disconnect the rear O2 sensor wire from the heat shield.
- Separate the exhaust manifold pipe and resonator pipe. Discard the gaskets.
 Courtesy of GENERAL MOTORS CORP.
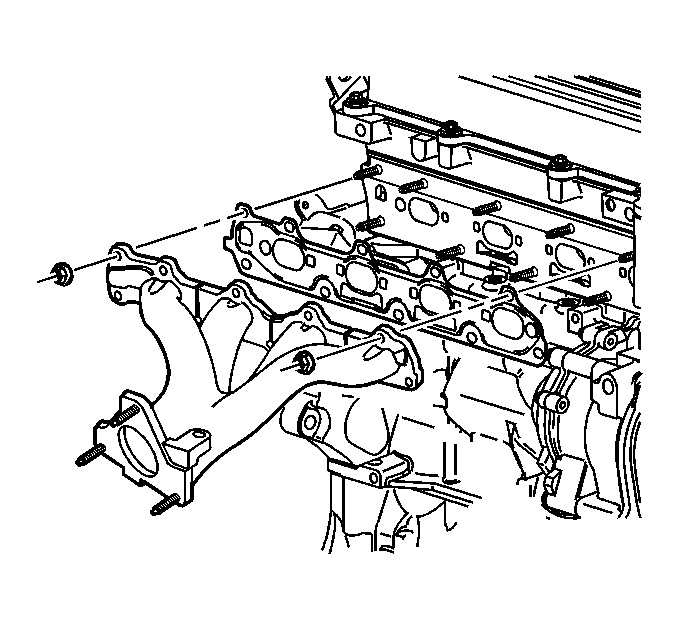
- Remove the exhaust manifold nuts.
- Remove the exhaust manifold assembly and discard the gasket.
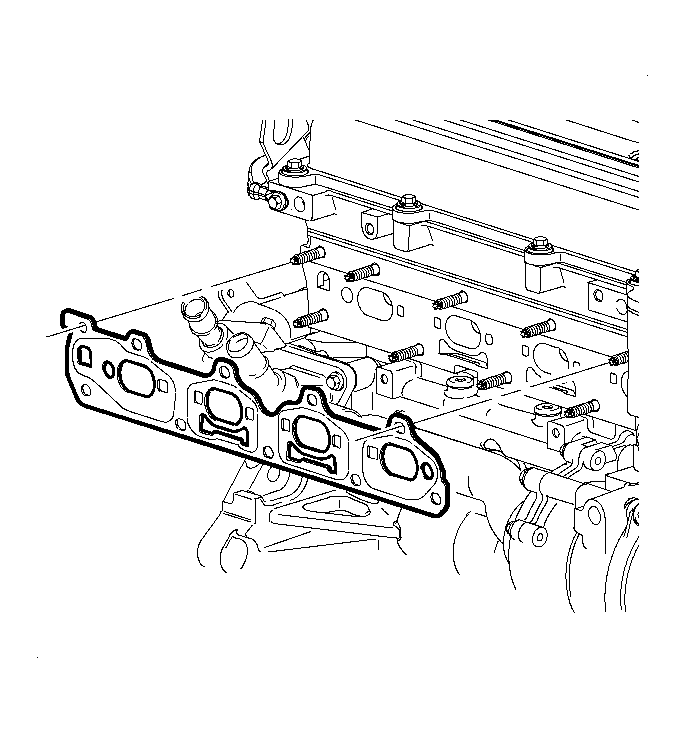 Courtesy of GENERAL MOTORS CORP.
- Remove the exhaust manifold gasket and discard.