- Place alignment marks on the shaft and outer race.
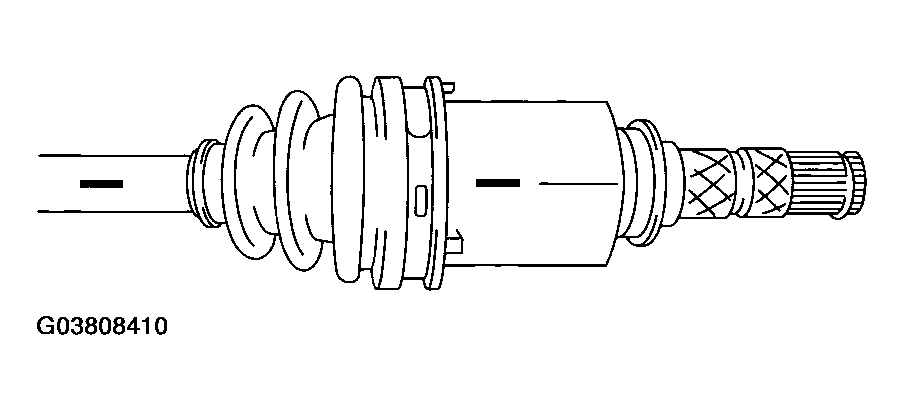 Courtesy of SUBARU OF AMERICA, INC.
- Remove the AARi boot band and boot.
CAUTION:
Be careful not to damage the boot.
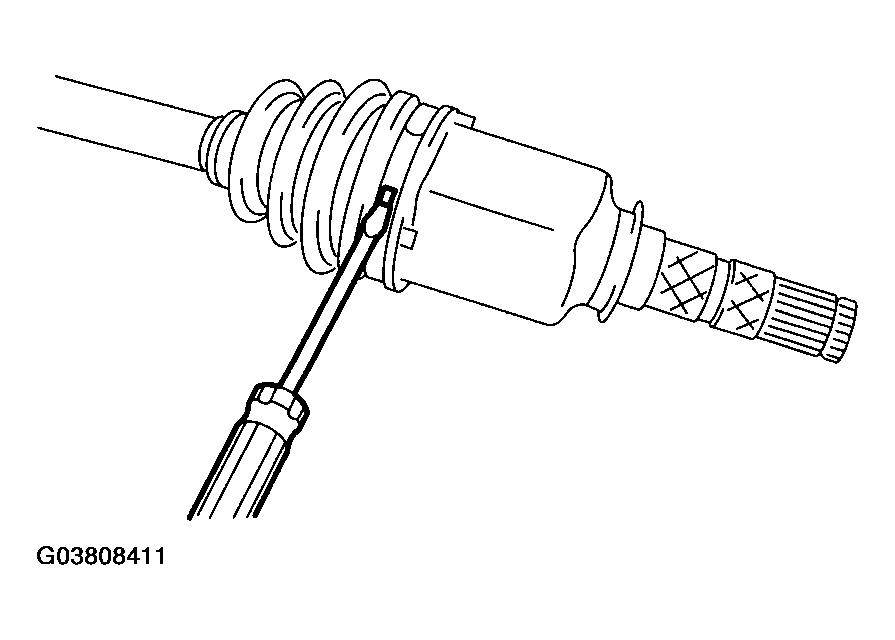 Courtesy of SUBARU OF AMERICA, INC.
- Remove the retainer from AARi outer race.
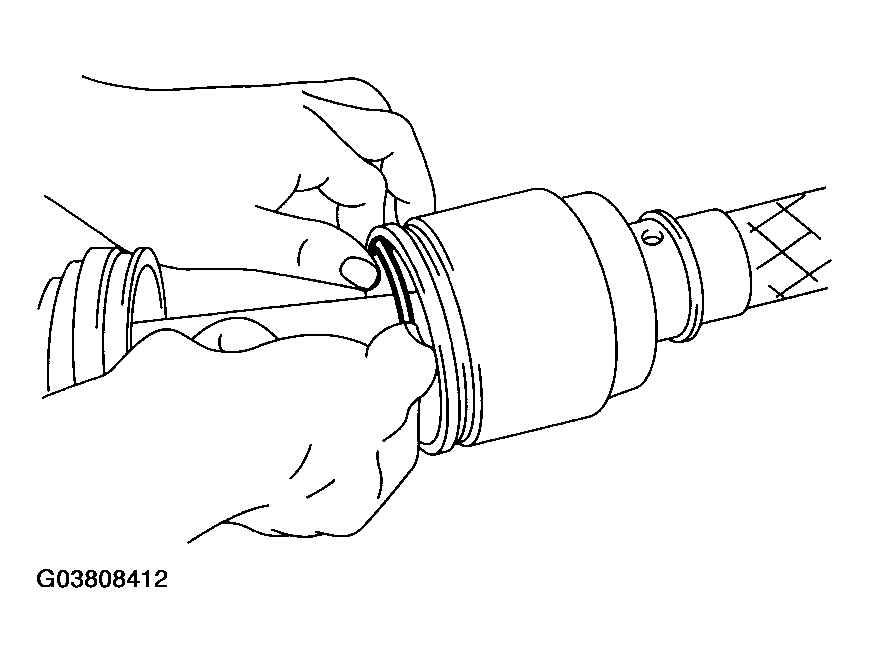 Courtesy of SUBARU OF AMERICA, INC.
- Remove the AARi outer race from shaft assembly.
- Wipe off the grease.
CAUTION:
The grease is a special grease. Do not confuse with other greases.
- Place an alignment mark on the trunnion and shaft.
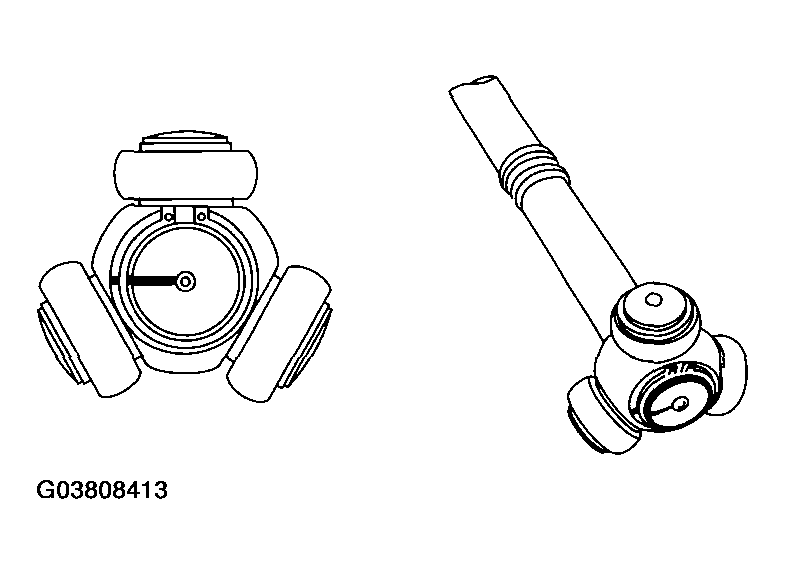 Courtesy of SUBARU OF AMERICA, INC.
- Remove the snap ring and trunnion.
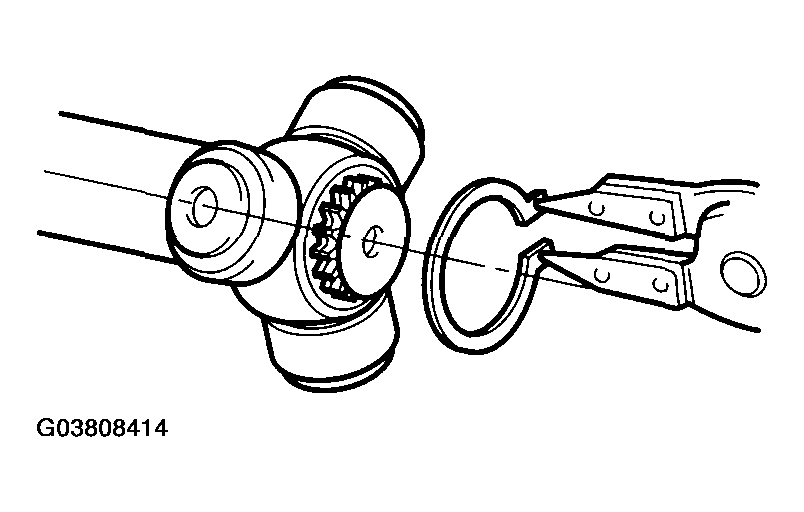 Courtesy of SUBARU OF AMERICA, INC.
- Remove the spider.
CAUTION:
Be sure to wrap the shaft splines with vinyl tape to prevent boot from scratches.
- Remove the AARi boot.