LH Side
- Release the fuel pressure. < Ref. to
, RELEASING OF FUEL PRESSURE , PROCEDURE , Fuel. >
- Open the fuel filler flap lid, and remove the fuel filler cap.
- Remove the battery. < Ref. to REMOVAL
, Battery. >
- Remove the two bolts which install the washer tank on the body.
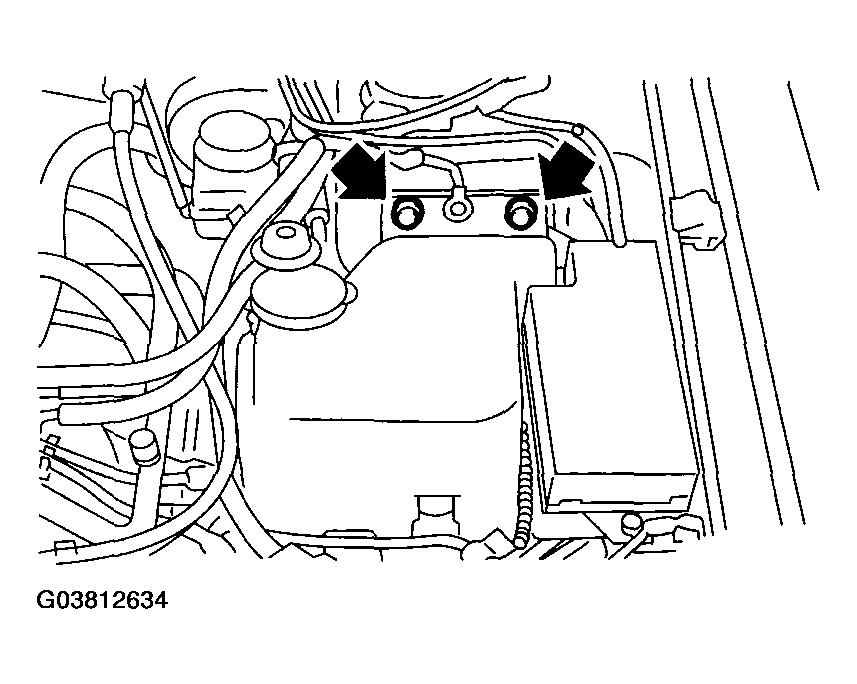 Courtesy of SUBARU OF AMERICA, INC.
- Disconnect the connector from the front window washer motor.
- Disconnect the connector from the rear gate glass washer motor.
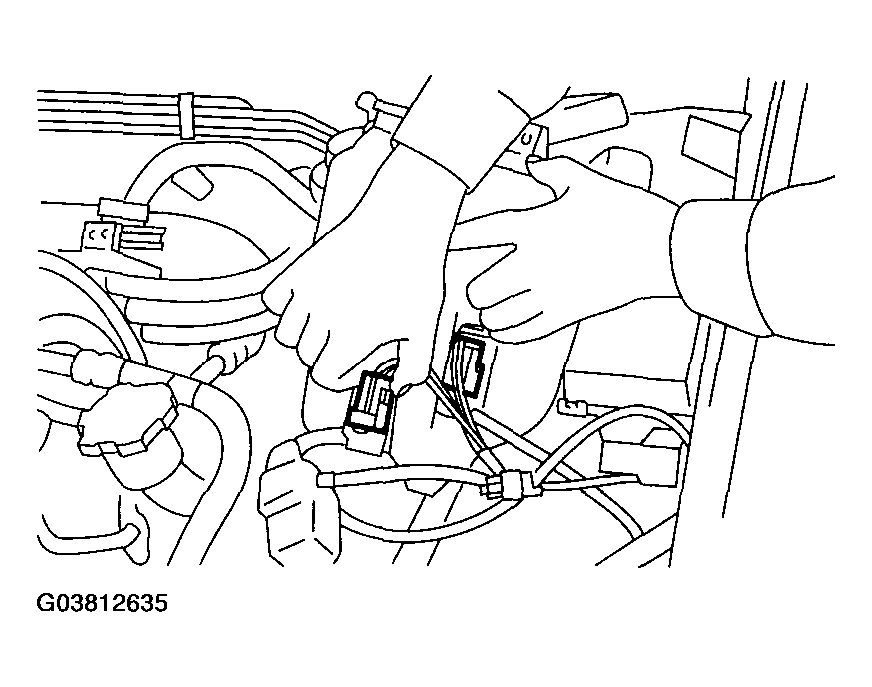 Courtesy of SUBARU OF AMERICA, INC.
- Disconnect the rear window glass washer hose from the washer motor, then plug the connection with a suitable cap.
- Move the washer tank, and secure it away from the working area.
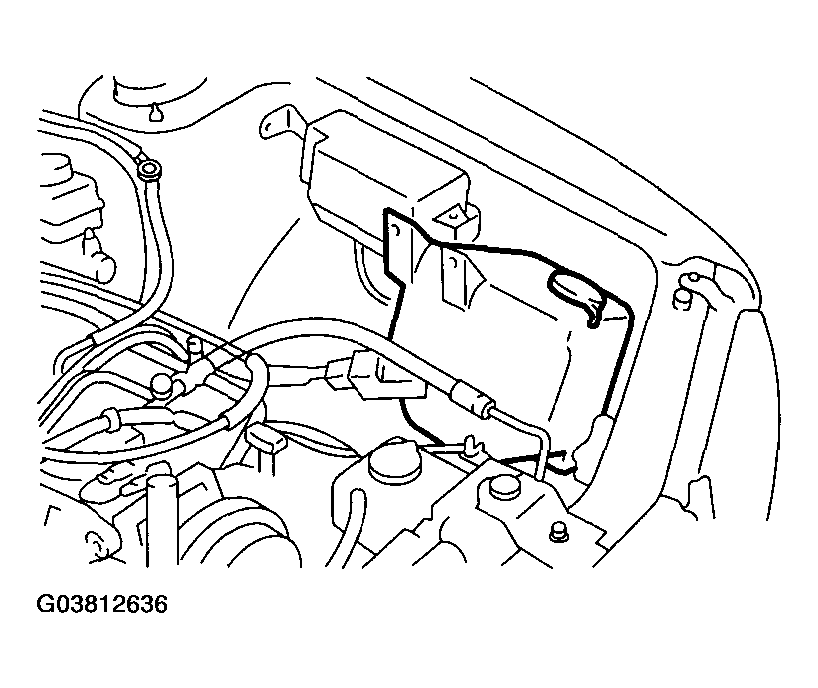 Courtesy of SUBARU OF AMERICA, INC.
- Remove the spark plug cords from spark plugs (#2 and #4 cylinders).
- Remove the fuel pipe protector LH.
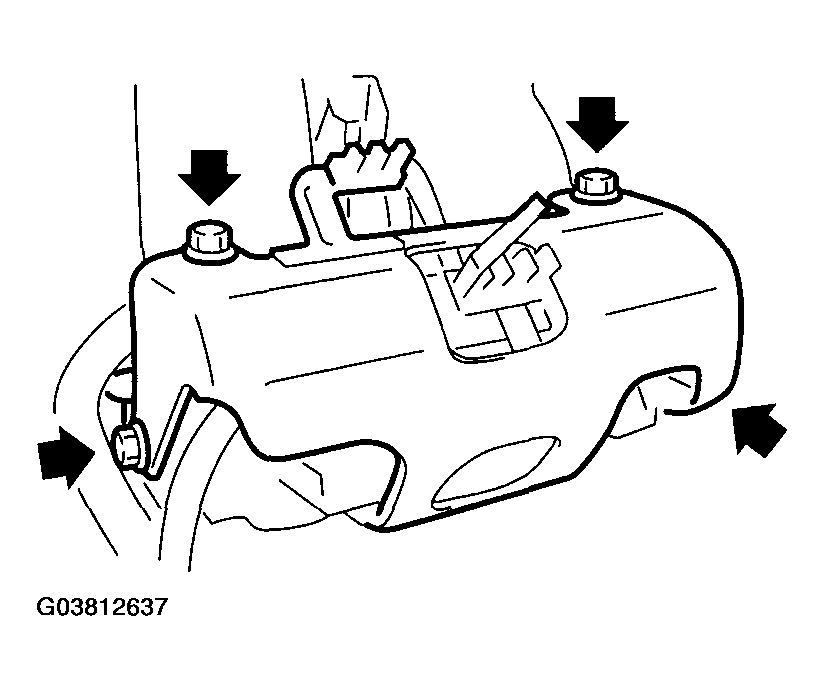 Courtesy of SUBARU OF AMERICA, INC.
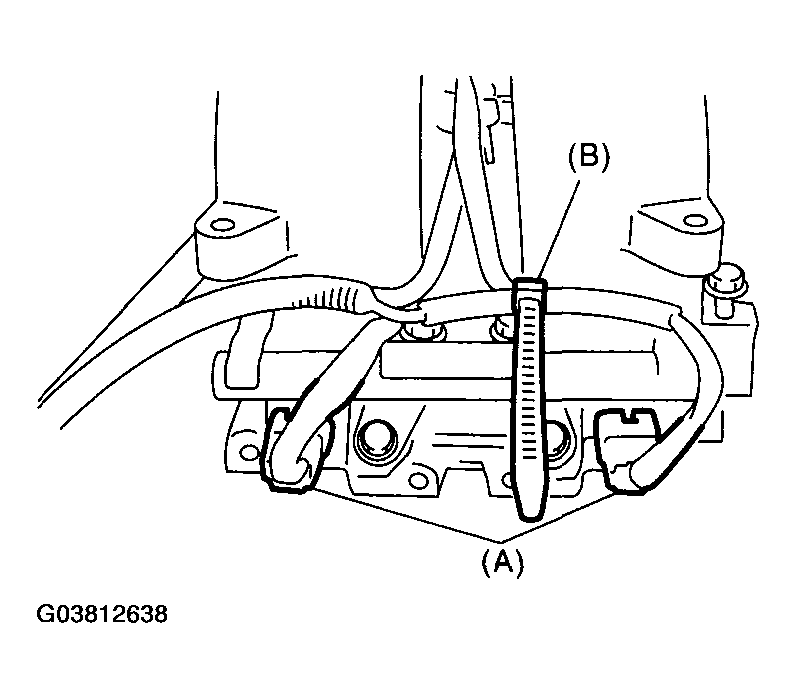
- Disconnect the connector (A) from fuel injector.
- Remove the harness band (B) which holds engine harness to injector pipe.
 Courtesy of SUBARU OF AMERICA, INC.
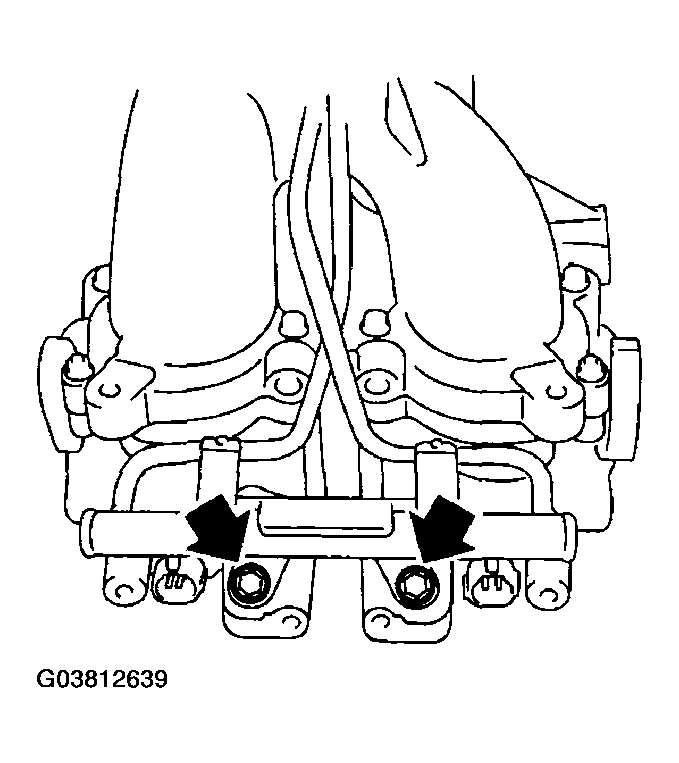
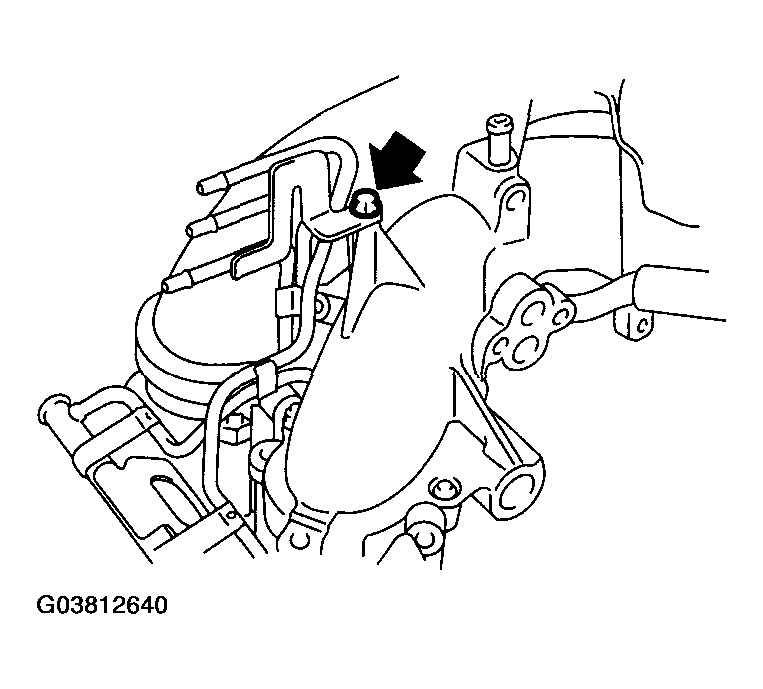
- Remove the bolts which hold fuel injector pipe onto intake manifold.
 Courtesy of SUBARU OF AMERICA, INC.
 Courtesy of SUBARU OF AMERICA, INC.
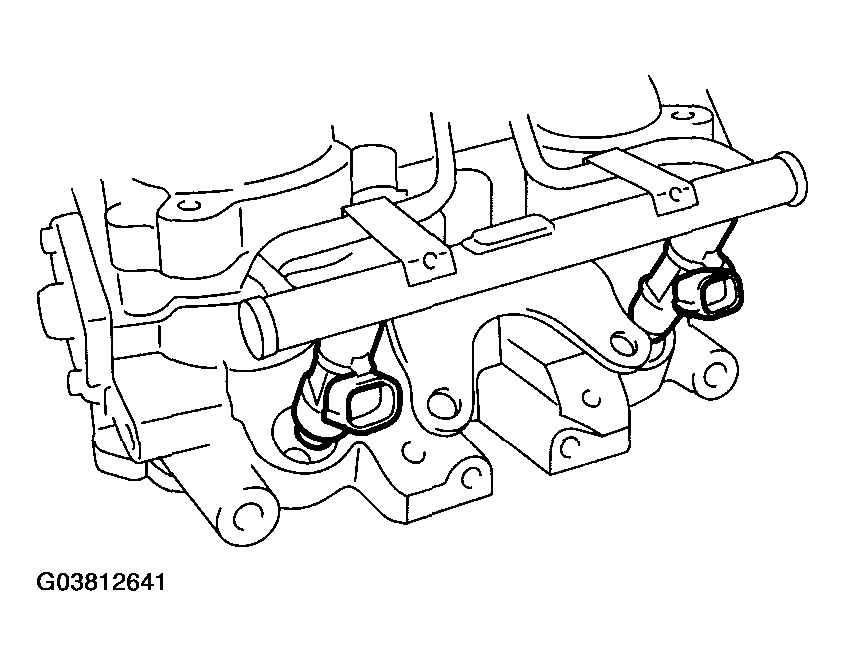
- Remove the fuel injector while lifting up the fuel injector pipe.
 Courtesy of SUBARU OF AMERICA, INC.