Except For STI Model
- Disconnect the ground cable from battery.
- Remove the gear shift knob.
- Remove the console box. < Refer to
REMOVAL
, Console Box. >
- Remove the console side cover and console front panel. < Refer to
CONSOLE FRONT PANEL
, REMOVAL, Center Console. >
- Remove the clamp.
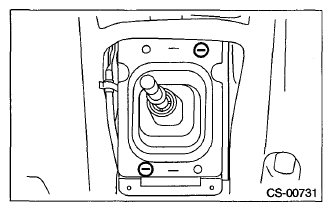 Courtesy of SUBARU OF AMERICA, INC.
- Remove the boot and insulator assembly.
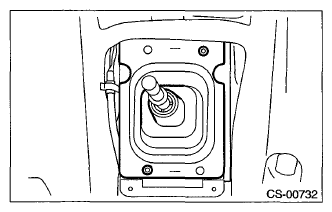 Courtesy of SUBARU OF AMERICA, INC.
- Remove the harness clamp from the plate COMPL.
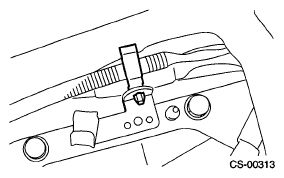 Courtesy of SUBARU OF AMERICA, INC.
- Remove the plate COMPL from the vehicle body.
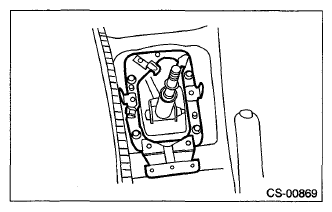 Courtesy of SUBARU OF AMERICA, INC.
- Lift up the vehicle.
- Remove the center exhaust pipe (rear). < Refer to
GENERAL DESCRIPTION
. >
- Remove the heat shield cover.
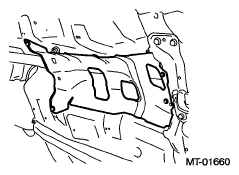 Courtesy of SUBARU OF AMERICA, INC.
- Remove the stay from transmission bracket.
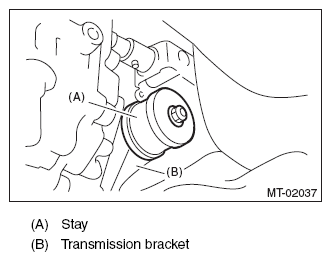 Courtesy of SUBARU OF AMERICA, INC.
- Remove the rod from joint.
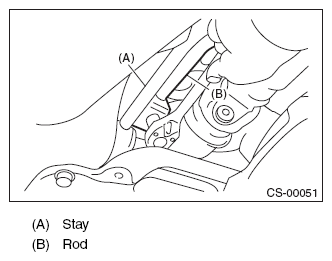 Courtesy of SUBARU OF AMERICA, INC.
- Remove the cushion rubber from the vehicle body.
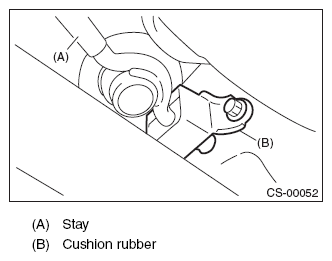 Courtesy of SUBARU OF AMERICA, INC.
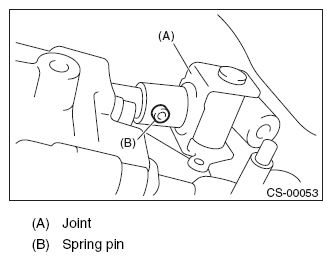
- Extract the spring pin and remove the joint.
 Courtesy of SUBARU OF AMERICA, INC.
- Lower the vehicle.
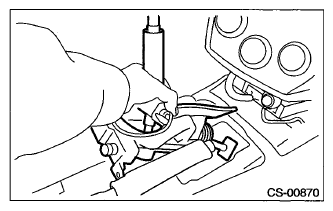
- Remove the gear shift lever.
 Courtesy of SUBARU OF AMERICA, INC.