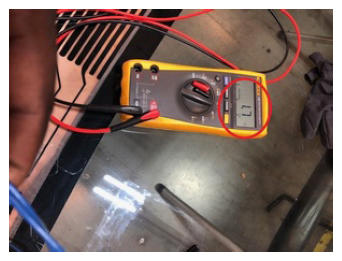
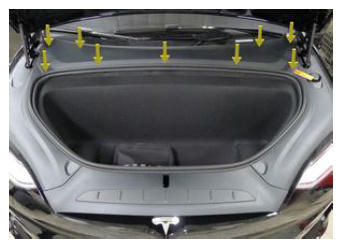
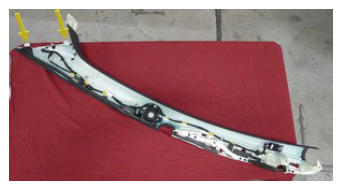
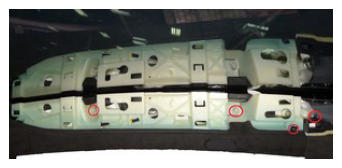
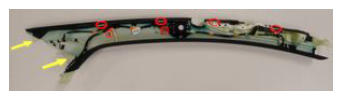
- Check continuity of wiper heater grid
NOTE:
All resistances @ 23°C. Tolerance +/- 15%, HWA (single circuit pre-03/2016): 1.45 ohms HWA (dual circuit post-03/2016): R1HWA: 1.52 ohms R2HWA: 1.54 ohms
 Courtesy of TESLA, INC. Courtesy of TESLA, INC.
|
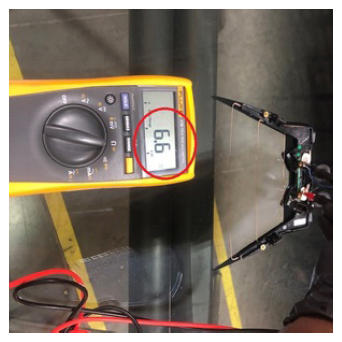
- Check continuity of Heated camera area
NOTE:
All resistances @ 23°C. Tolerance +/- 15%, HCA 7.44 ohms
 Courtesy of TESLA, INC. Courtesy of TESLA, INC.
|
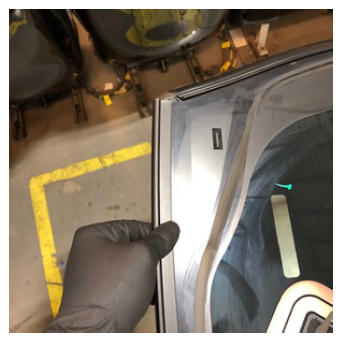
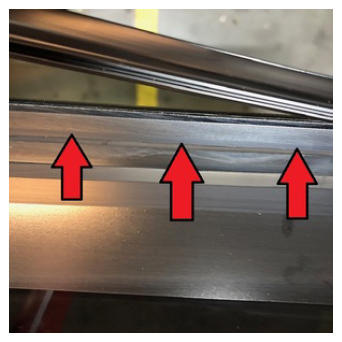
- Install windshield lower lip seal
NOTE:
Follow windshield alignment marks at lower corners of glass
 Courtesy of TESLA, INC. Courtesy of TESLA, INC.
|
 Courtesy of TESLA, INC. Courtesy of TESLA, INC.
|
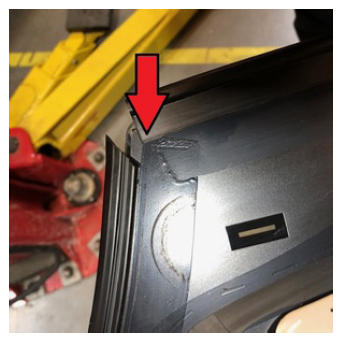
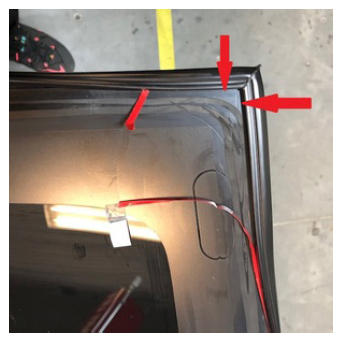
- Install windshield edge seal
NOTE:
Follow windshield aligN.ment marks at upper corners of glass. Start from one corner and peel tape as you apply inch by inch to ensure proper fitment.
 Courtesy of TESLA, INC. Courtesy of TESLA, INC.
|
 Courtesy of TESLA, INC. Courtesy of TESLA, INC.
|
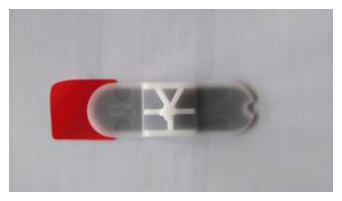
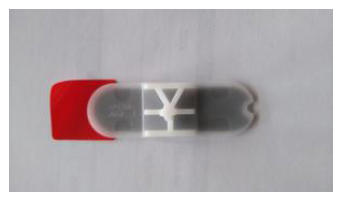
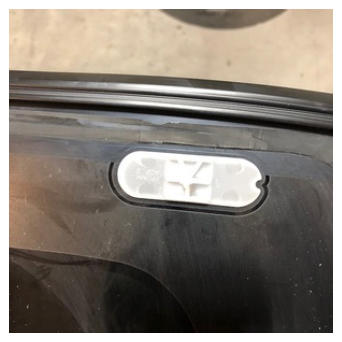
- Install LH side datum
NOTE:
Remove the adhesive cover from datum and install onto windshield
 Courtesy of TESLA, INC. Courtesy of TESLA, INC.
|
 Courtesy of TESLA, INC. Courtesy of TESLA, INC.
|
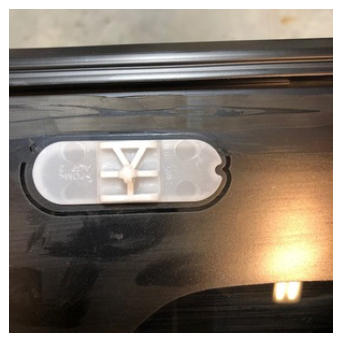
- Install RH side datum
NOTE:
Remove the adhesive cover from datum and install onto windshield
 Courtesy of TESLA, INC. Courtesy of TESLA, INC.
|
 Courtesy of TESLA, INC. Courtesy of TESLA, INC.
|
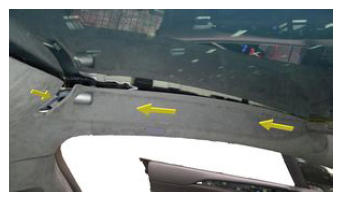
- Tape wiper heater area connectors to glass
 Courtesy of TESLA, INC. Courtesy of TESLA, INC.
|
- Apply primer to windshield and windshield frame
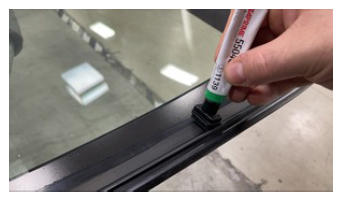 Courtesy of TESLA, INC. Courtesy of TESLA, INC.
|
 Courtesy of TESLA, INC. Courtesy of TESLA, INC.
|
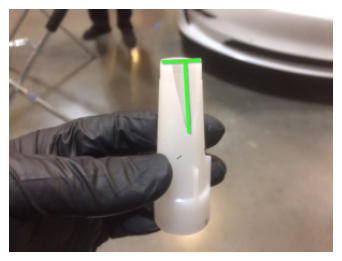
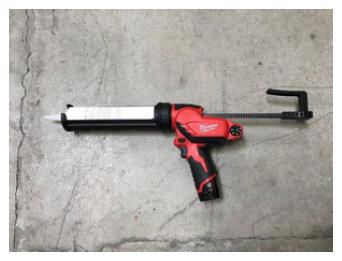
- Prepare caulking gun and urethane
NOTE:
Opening must be 8 mm wide and 14 mm tall
 Courtesy of TESLA, INC. Courtesy of TESLA, INC.
|
 Courtesy of TESLA, INC. Courtesy of TESLA, INC.
|
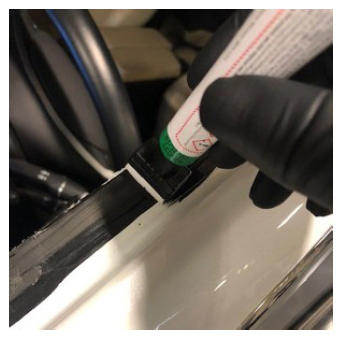
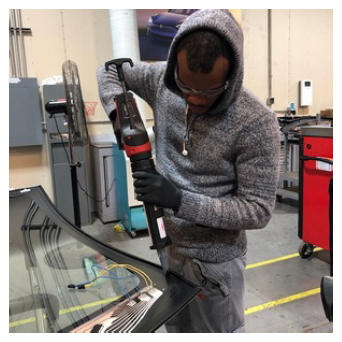
- Apply urethane following primer path on windshield
 Courtesy of TESLA, INC. Courtesy of TESLA, INC.
|
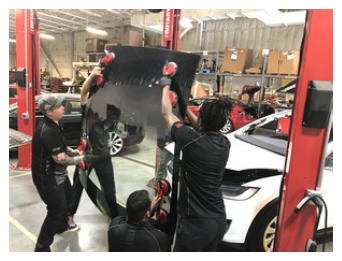
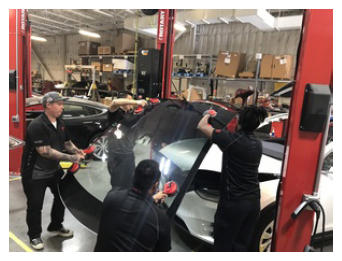
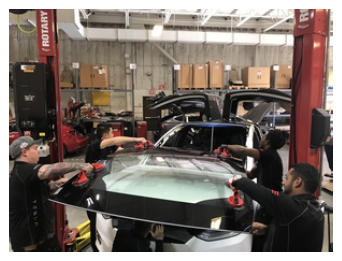
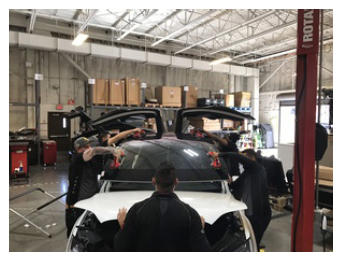
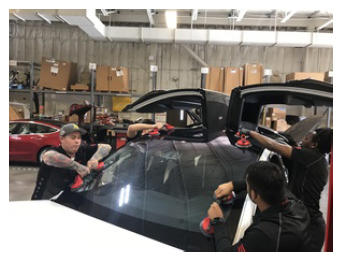
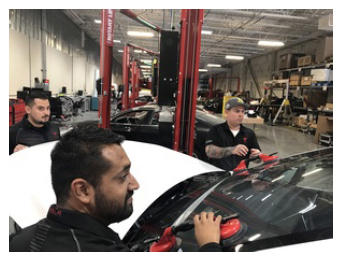
- Align windshield and apply pressure to all four corners of the glass
NOTE:
Recommend assistance
 Courtesy of TESLA, INC. Courtesy of TESLA, INC.
|
 Courtesy of TESLA, INC. Courtesy of TESLA, INC.
|
 Courtesy of TESLA, INC. Courtesy of TESLA, INC.
|
 Courtesy of TESLA, INC. Courtesy of TESLA, INC.
|
 Courtesy of TESLA, INC. Courtesy of TESLA, INC.
|
 Courtesy of TESLA, INC. Courtesy of TESLA, INC.
|
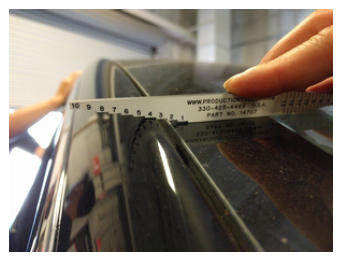
- Check gap and flush measurements
NOTE:
Use current CVIS specifications, repeat open/close hood and door steps until flushness and gaps are within specification then continue with next step in procedure. https://service.teslamotors.com/protected-doc/ModelS/TheoryOp/InspectionStandards/index_frames.html.
 Courtesy of TESLA, INC. Courtesy of TESLA, INC.
|
 Courtesy of TESLA, INC. Courtesy of TESLA, INC.
|
 Courtesy of TESLA, INC. Courtesy of TESLA, INC.
|
 Courtesy of TESLA, INC. Courtesy of TESLA, INC.
|
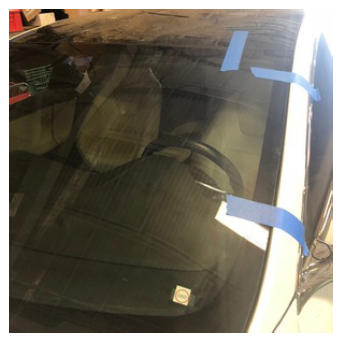
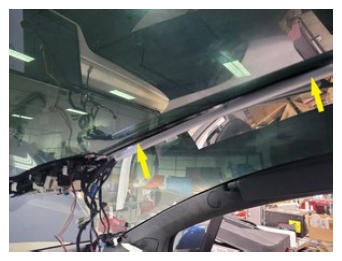
- Apply tape to secure windshield to body while urethane cures
 Courtesy of TESLA, INC. Courtesy of TESLA, INC.
|
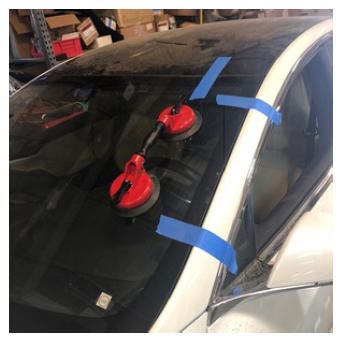
- Remove suction cups from windshield
 Courtesy of TESLA, INC. Courtesy of TESLA, INC.
|
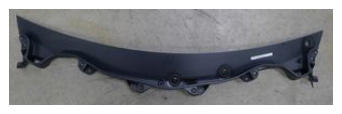
- Install wiper cowl screen panel
NOTE:
4x push clips, Secure cowl into lower windshield channel
 Courtesy of TESLA, INC. Courtesy of TESLA, INC.
|
 Courtesy of TESLA, INC. Courtesy of TESLA, INC.
|
 Courtesy of TESLA, INC. Courtesy of TESLA, INC.
|
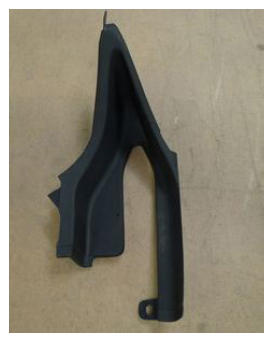
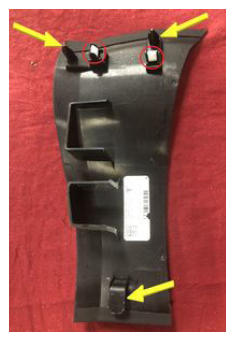
- Install LH outer hood hinge cover
NOTE:
1x clips
 Courtesy of TESLA, INC. Courtesy of TESLA, INC.
|
 Courtesy of TESLA, INC. Courtesy of TESLA, INC.
|
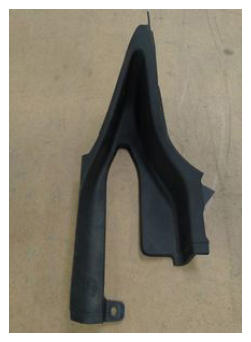
- Install RH outer hood hinge cover
NOTE:
1x clips
 Courtesy of TESLA, INC. Courtesy of TESLA, INC.
|
 Courtesy of TESLA, INC. Courtesy of TESLA, INC.
|
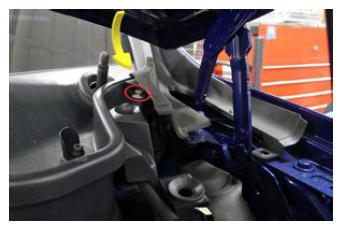
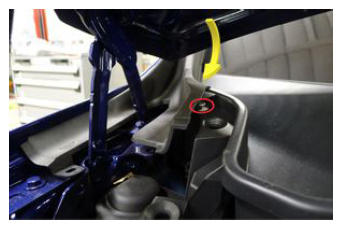
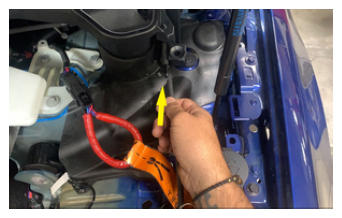
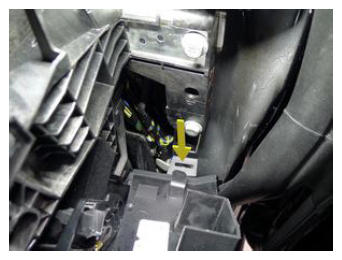
- Secure cowl screen washer supply hose located above LH shock tower cover
NOTE:
1x hose
 Courtesy of TESLA, INC. Courtesy of TESLA, INC.
|
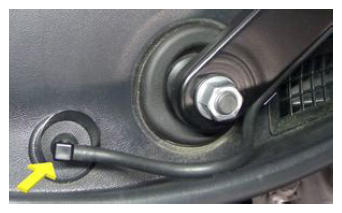
- Install RH wiper arm assembly and secure nuts
NOTE:
2x nuts, 15 mm, 32 N.m, Line up wiper to reference mark on windshield
 Courtesy of TESLA, INC. Courtesy of TESLA, INC.
|
 Courtesy of TESLA, INC. Courtesy of TESLA, INC.
|
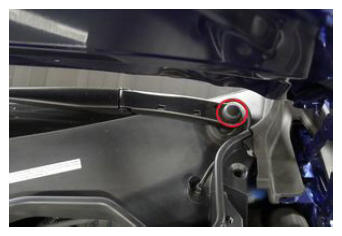
- Install LH wiper arm assembly and secure nut
NOTE:
1x nut, 15 mm, 32 N.m
 Courtesy of TESLA, INC. Courtesy of TESLA, INC.
|
- Secure LH wiper arm hose nozzle
NOTE:
1x hose, Hose is routed above the arm pivot
 Courtesy of TESLA, INC. Courtesy of TESLA, INC.
|
- Secure RH wiper arm hose nozzle
NOTE:
1x hose, Hose is routed below the arm pivot
 Courtesy of TESLA, INC. Courtesy of TESLA, INC.
|
- Install LH wiper arm nut cover
NOTE:
1x cover
 Courtesy of TESLA, INC. Courtesy of TESLA, INC.
|
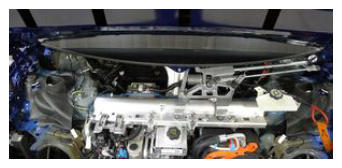
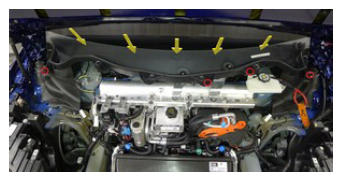
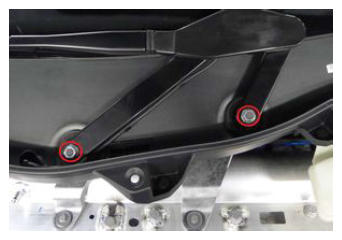
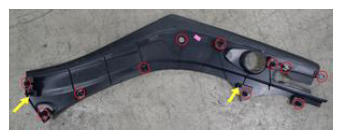
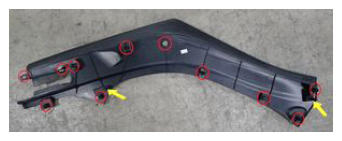
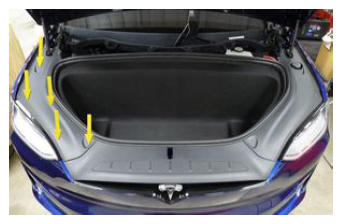
- Install LH underhood apron
NOTE:
11x clips, 2 datums
 Courtesy of TESLA, INC. Courtesy of TESLA, INC.
|
 Courtesy of TESLA, INC. Courtesy of TESLA, INC.
|
 Courtesy of TESLA, INC. Courtesy of TESLA, INC.
|
- Install RH underhood apron
NOTE:
11x clips, 2x datums
 Courtesy of TESLA, INC. Courtesy of TESLA, INC.
|
 Courtesy of TESLA, INC. Courtesy of TESLA, INC.
|
 Courtesy of TESLA, INC. Courtesy of TESLA, INC.
|
- Install rear underhood apron
NOTE:
11x clips, 2x datums
 Courtesy of TESLA, INC. Courtesy of TESLA, INC.
|
 Courtesy of TESLA, INC. Courtesy of TESLA, INC.
|
- Close hood
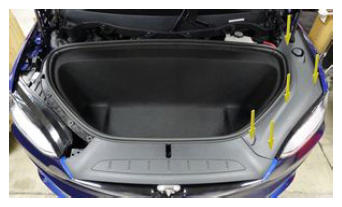
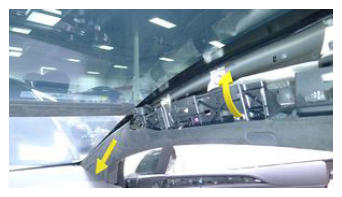
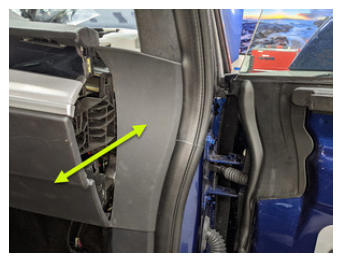
- Install RH upper A-pillar to vehicle
NOTE:
1x connector, 2x datums, Secure RH upper A-pillar harness, Align datums into IP sub assembly, Rotate upper A-pillar panel into position
 Courtesy of TESLA, INC. Courtesy of TESLA, INC.
|
 Courtesy of TESLA, INC. Courtesy of TESLA, INC.
|
 Courtesy of TESLA, INC. Courtesy of TESLA, INC.
|
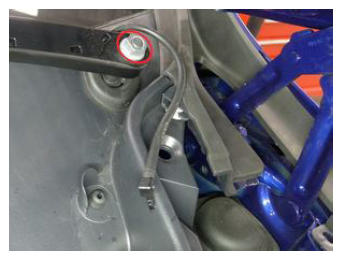
- Install bolts securing RH upper A-pillar to body
NOTE:
2x bolts, 10 mm, 5 N.m, 1x screw, T20, 2.5 N.m, 1x nyloc nut, 13 mm, 5 N.m, Install new nut
 Courtesy of TESLA, INC. Courtesy of TESLA, INC.
|
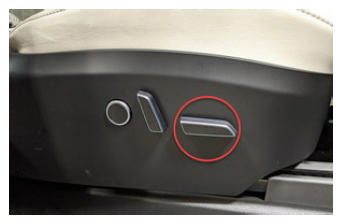
- Install RH sunvisor bezel
NOTE:
6x clips, 1x tab, Insert tab and slide bezel towards rear of vehicle, then secure clips
 Courtesy of TESLA, INC. Courtesy of TESLA, INC.
|
- Install RH mid A-pillar trim
NOTE:
2x clips, 3x datums, Verify weather seal is seated properly
 Courtesy of TESLA, INC. Courtesy of TESLA, INC.
|
 Courtesy of TESLA, INC. Courtesy of TESLA, INC.
|
 Courtesy of TESLA, INC. Courtesy of TESLA, INC.
|
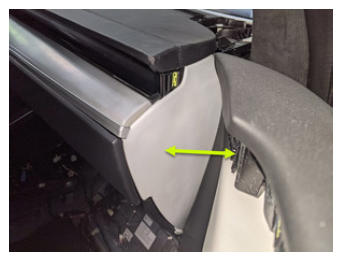
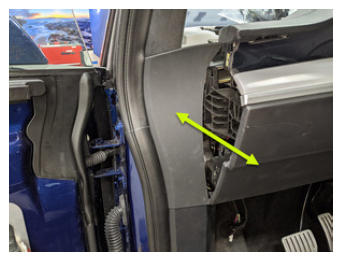
- Install RH IP end cap
NOTE:
3x clips
 Courtesy of TESLA, INC. Courtesy of TESLA, INC.
|
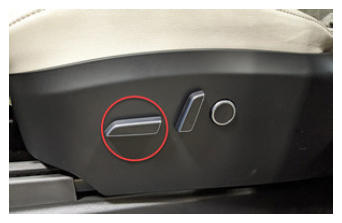
- Move RH front seat to original position
 Courtesy of TESLA, INC. Courtesy of TESLA, INC.
|
- Close RH front door
- Install LH upper A-pillar to vehicle
NOTE:
1x connector, 2x datums, 6x clips, Secure LH upper A-pillar harness, Align datums into IP sub assembly, Rotate upper A-pillar panel into position engaging clips fully
 Courtesy of TESLA, INC. Courtesy of TESLA, INC.
|
 Courtesy of TESLA, INC. Courtesy of TESLA, INC.
|
 Courtesy of TESLA, INC. Courtesy of TESLA, INC.
|
- Install bolts securing LH upper A-pillar to body
NOTE:
2x bolts, 10 mm, 5 N.m, 1x screw, T20, 2.5 N.m, 1x nyloc nut, 13 mm, 5 N.m, Install new nut
 Courtesy of TESLA, INC. Courtesy of TESLA, INC.
|
- Install LH sunvisor bezel
NOTE:
6x clips, 5x tabs, Insert tabs and slide bezel towards rear of vehicle, then secure clips
 Courtesy of TESLA, INC. Courtesy of TESLA, INC.
|
 Courtesy of TESLA, INC. Courtesy of TESLA, INC.
|
- Install LH mid A-pillar trim
NOTE:
2x clips, 3x datums, Insert mid A-pillar trim into lower A-pillar trim, Secure clips into upper A-pillar and IP sub assembly, Verify weather seal is seated properly
 Courtesy of TESLA, INC. Courtesy of TESLA, INC.
|
 Courtesy of TESLA, INC. Courtesy of TESLA, INC.
|
 Courtesy of TESLA, INC. Courtesy of TESLA, INC.
|
- Install LH IP end cap
NOTE:
7x clips, 1x datum
 Courtesy of TESLA, INC. Courtesy of TESLA, INC.
|
 Courtesy of TESLA, INC. Courtesy of TESLA, INC.
|
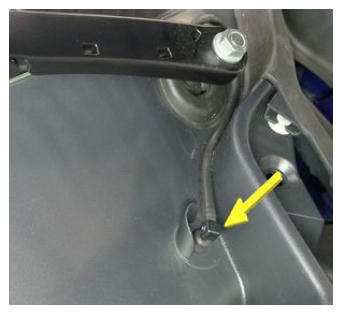
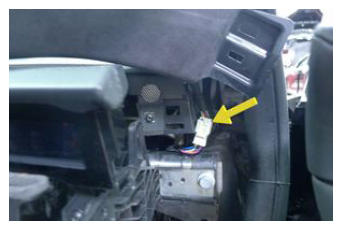
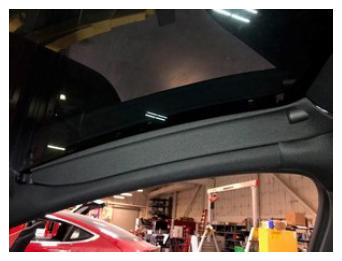
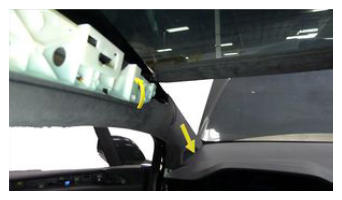
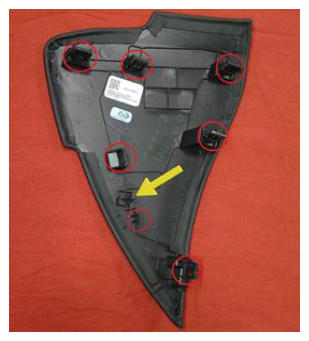
- Secure harness to windshield
NOTE:
Install harness guide into windshield retainer
 Courtesy of TESLA, INC. Courtesy of TESLA, INC.
|
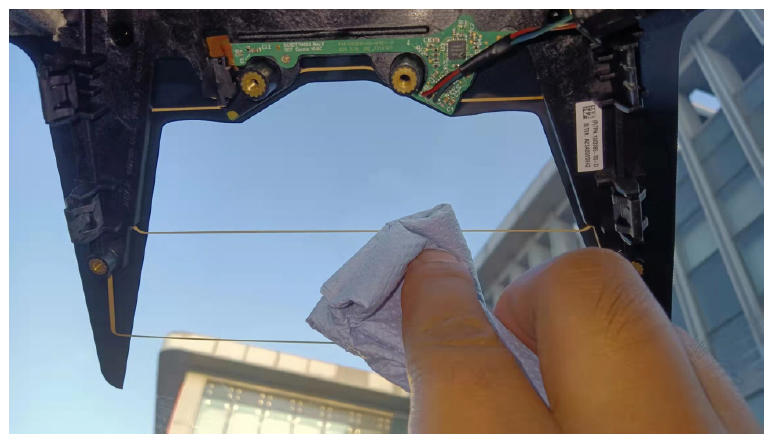
- Clean the inner windshield camera viewing area with a clean microfiber cloth and glass cleaner. Let the windshield fully dry before continuing.
CAUTION:
Verify that the windshield has no stains or leftover residue. Otherwise, Autopilot features may be hindered.
 Courtesy of TESLA, INC. Courtesy of TESLA, INC.
|
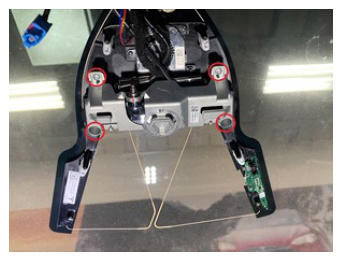
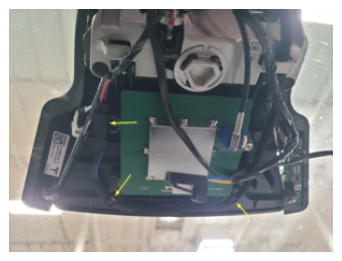
- Position triple camera and install screws securing triple camera mounting plate to windshield bracket
NOTE:
4x screws, T10, 0.8 N.m
 Courtesy of TESLA, INC. Courtesy of TESLA, INC.
|
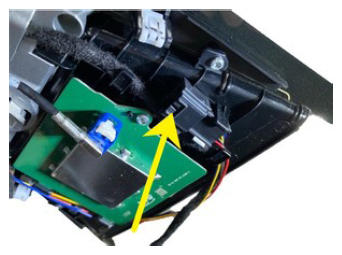
- Install glare shield
NOTE:
2x bolts, T10, 1 N.m, 2x datums, 2x tabs, Slide tabs into triple camera assembly and align datums
 Courtesy of TESLA, INC. Courtesy of TESLA, INC.
|
- Secure heater grid harness
NOTE:
2x hooks, 1x connector retainer
 Courtesy of TESLA, INC. Courtesy of TESLA, INC.
|
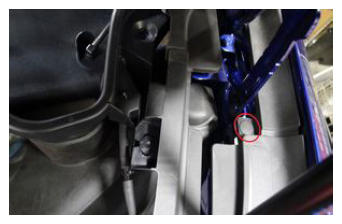
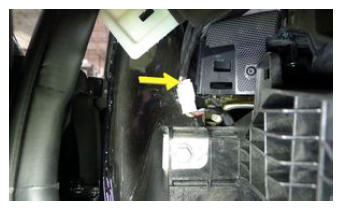
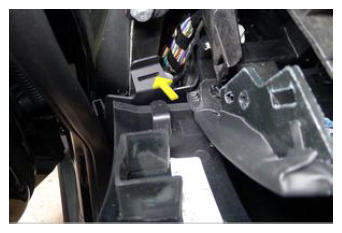
- Connect GNSS antenna connector
NOTE:
1x connector
 Courtesy of TESLA, INC. Courtesy of TESLA, INC.
|
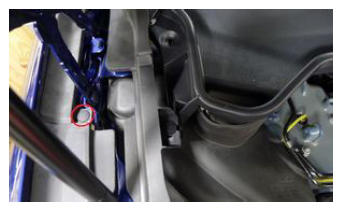
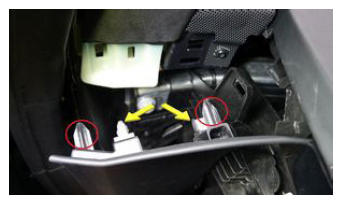
- Secure harness connector for fan
NOTE:
1x connector
 Courtesy of TESLA, INC. Courtesy of TESLA, INC.
|
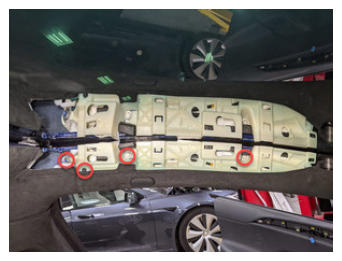
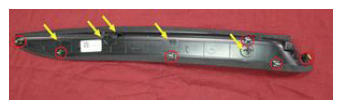
- Install umbilical wire harness cover
NOTE:
16x retaining tabs, Slide cover into headliner and secure tabs in windshield bracket
 Courtesy of TESLA, INC. Courtesy of TESLA, INC.
|
 Courtesy of TESLA, INC. Courtesy of TESLA, INC.
|
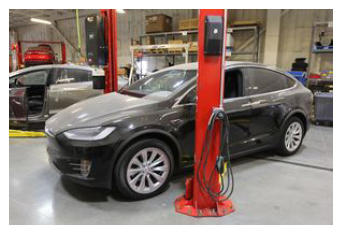
- Park vehicle on a flat surface
NOTE:
Make sure there is at least 3.5' of clearance in front of vehicle
 Courtesy of TESLA, INC. Courtesy of TESLA, INC.
|
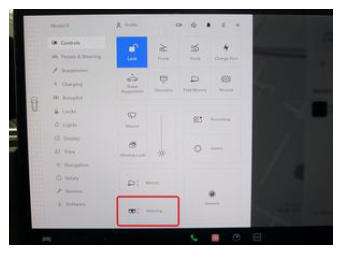
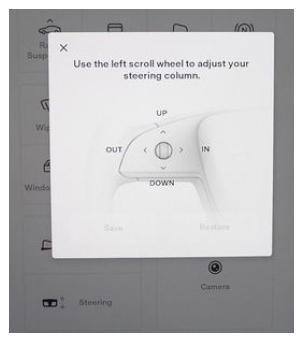
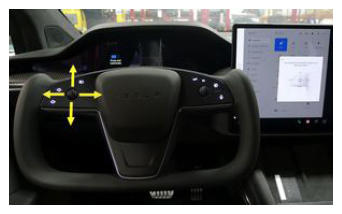
- Adjust steering column back to original position
NOTE:
Via UI>Controls>Steering, Use left steering wheel scroll wheel to adjust steering column
 Courtesy of TESLA, INC. Courtesy of TESLA, INC.
|
 Courtesy of TESLA, INC. Courtesy of TESLA, INC.
|
 Courtesy of TESLA, INC. Courtesy of TESLA, INC.
|
- Move LH front seat to original position
 Courtesy of TESLA, INC. Courtesy of TESLA, INC.
|
- Raise LH and RH front windows
- Close LH front door
- Vehicle will need to be driven by customer to complete the calibration procedure. During this time DAS functions will be completely unavailable
NOTE:
No time was recorded as this will be completed by the customer