Reassembly (Control Valve Assembly)
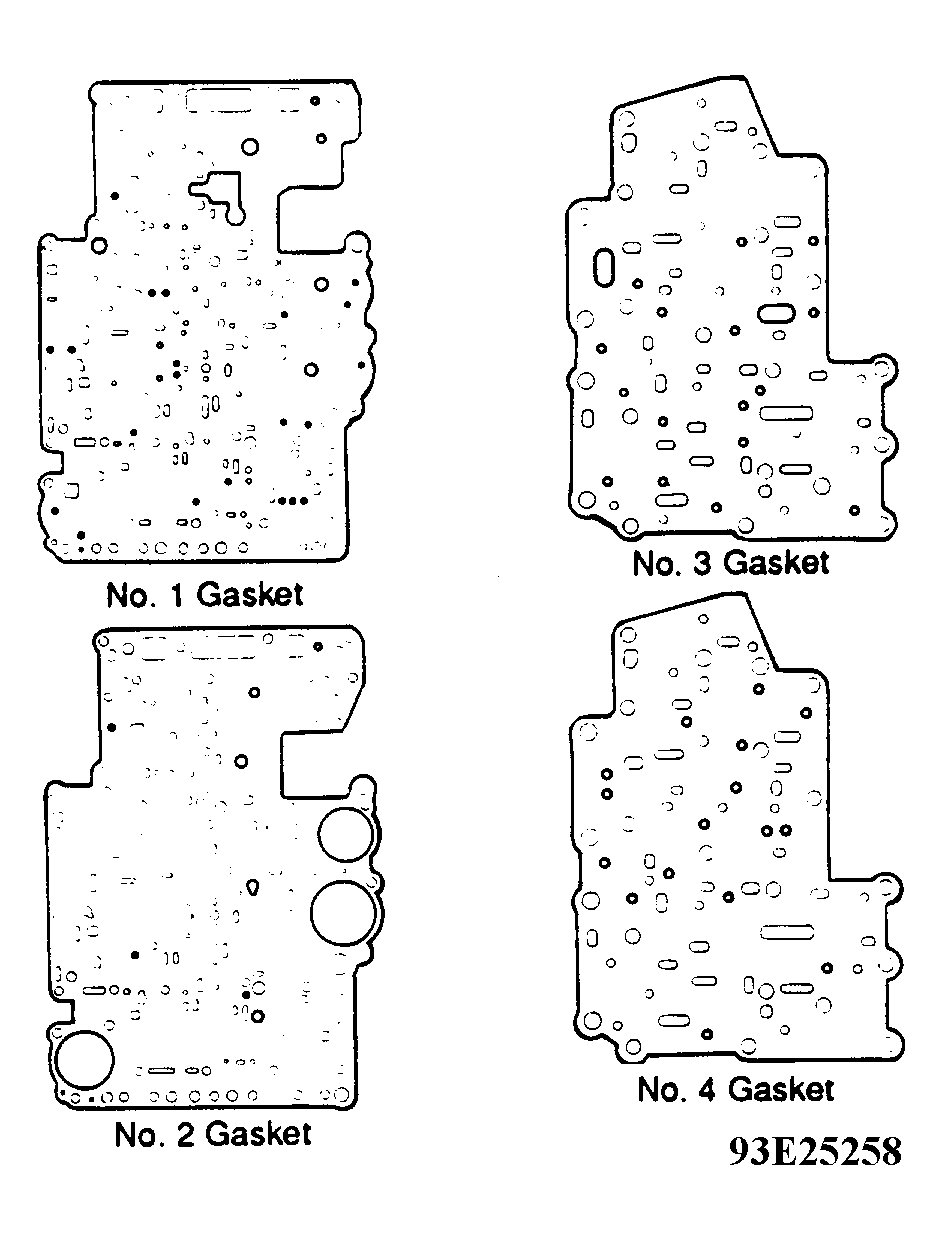
- Position NEW No. 1 gasket and body plate on lower valve body. See Fig 1. Temporarily secure body plate with 2 bolts. Use 2 oil tube clamp bolts. Position NEW No. 2 gasket on body plate.
- Position lower valve body on rear upper valve body. Temporarily install 6 wave washers and bolts. See Fig 2.
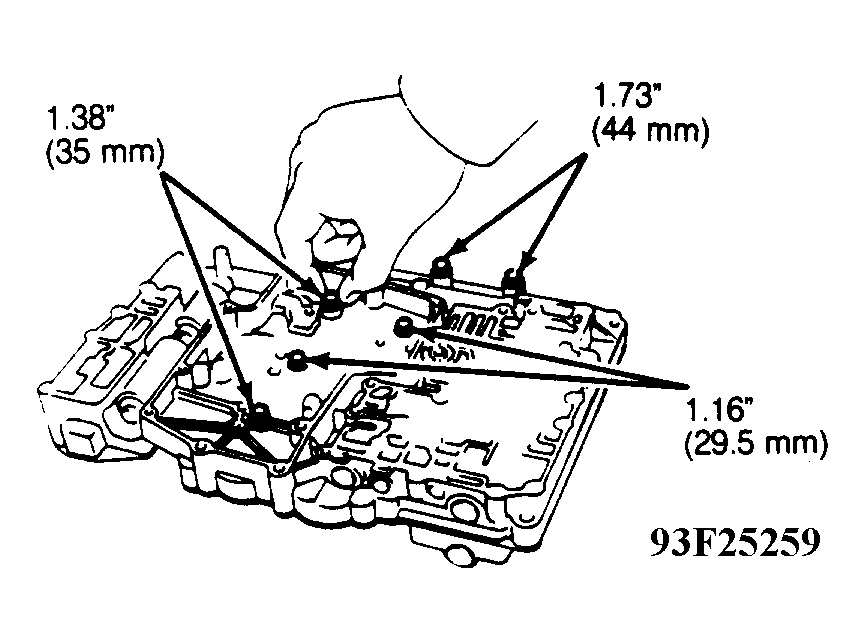
- Remove 2 temporary installed bolts. Position lower valve body on front upper valve body. Temporarily install 3 wave washers and bolts. See Fig 3.
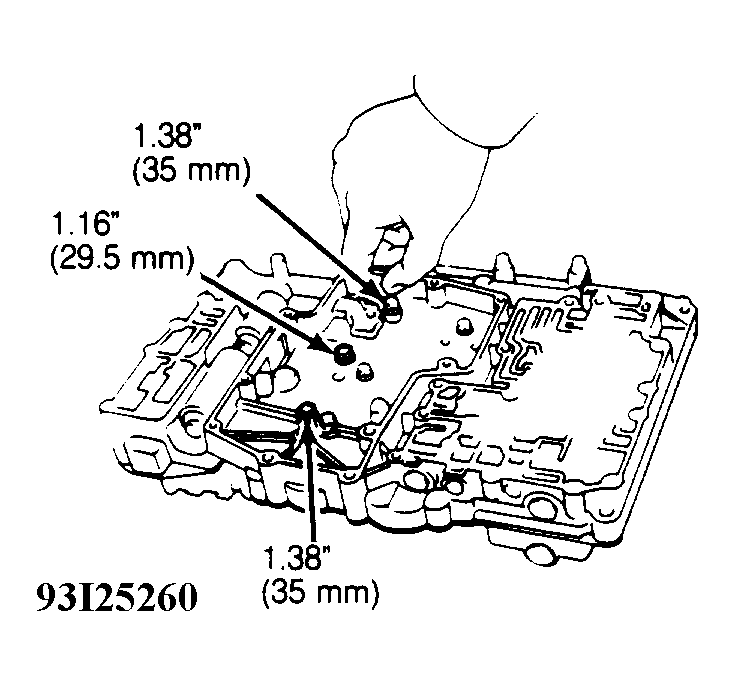
- Turn valve body over. Temporarily install 7 wave washers and bolts. See Fig 4.
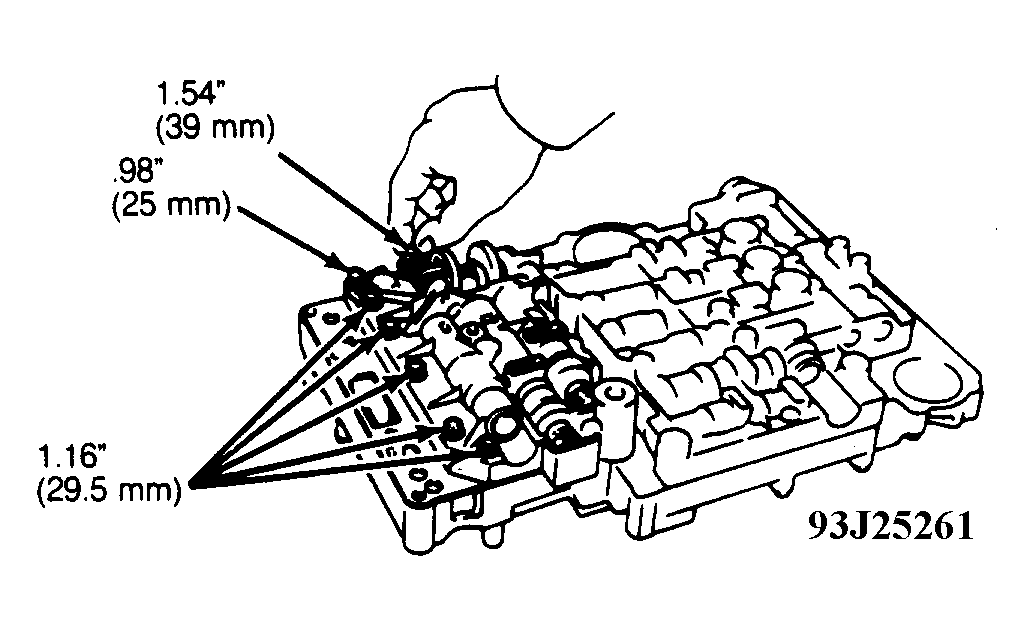
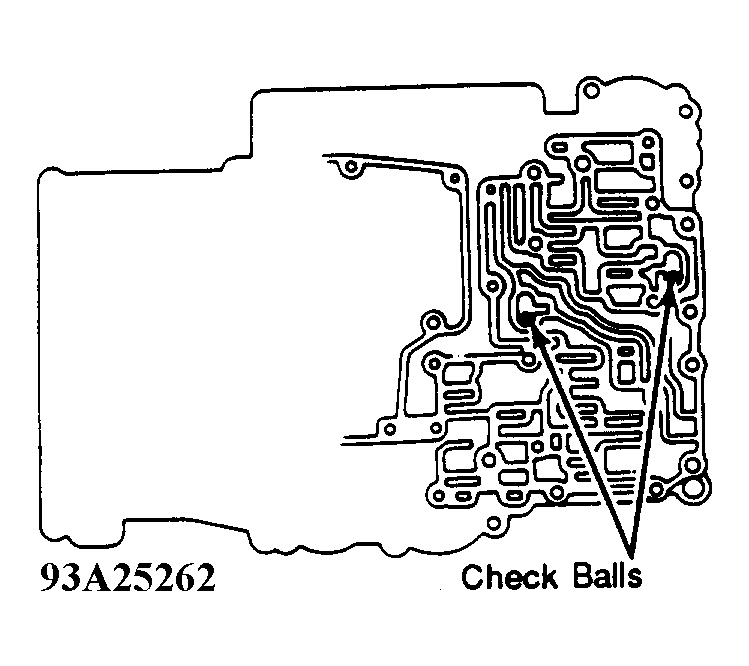
- Turn valve body over. Install 2 check balls into lower valve. See Fig 5.
- Position NEW No. 3 gasket, body plate and new No. 4 gasket on lower valve body. Install body cover with 15 wave washers and bolts. See Fig 6. Torque bolts to 48 INCH lbs. (5.4 N.m).
- Torque upper and lower valve body bolts to 48 INCH lbs. (5.4 N.m). Install lock-up relay valve sleeve pin. Temporarily install lock-up relay valve body plate. Permanently install lock-up relay valve body plate when valve body is installed in transmission case.
- Install spacer, detent spring and cover with wave washer and bolt. Torque bolt to 48 INCH lbs. (5.4 N.m). Install manual valve.
- Install clamp with 2 bolts and wave washers. Using plastic hammer, tap in oil tube. DO NOT
bend or damage tube. Install tube clamp with 2 wave washers and bolts. Install 2 line pressure tubes.
 Courtesy of © TOYOTA, LICENSE AGREEMENT TMS1002
 Courtesy of © TOYOTA, LICENSE AGREEMENT TMS1002
 Courtesy of © TOYOTA, LICENSE AGREEMENT TMS1002
 Courtesy of © TOYOTA, LICENSE AGREEMENT TMS1002
 Courtesy of © TOYOTA, LICENSE AGREEMENT TMS1002
 Courtesy of © TOYOTA, LICENSE AGREEMENT TMS1002